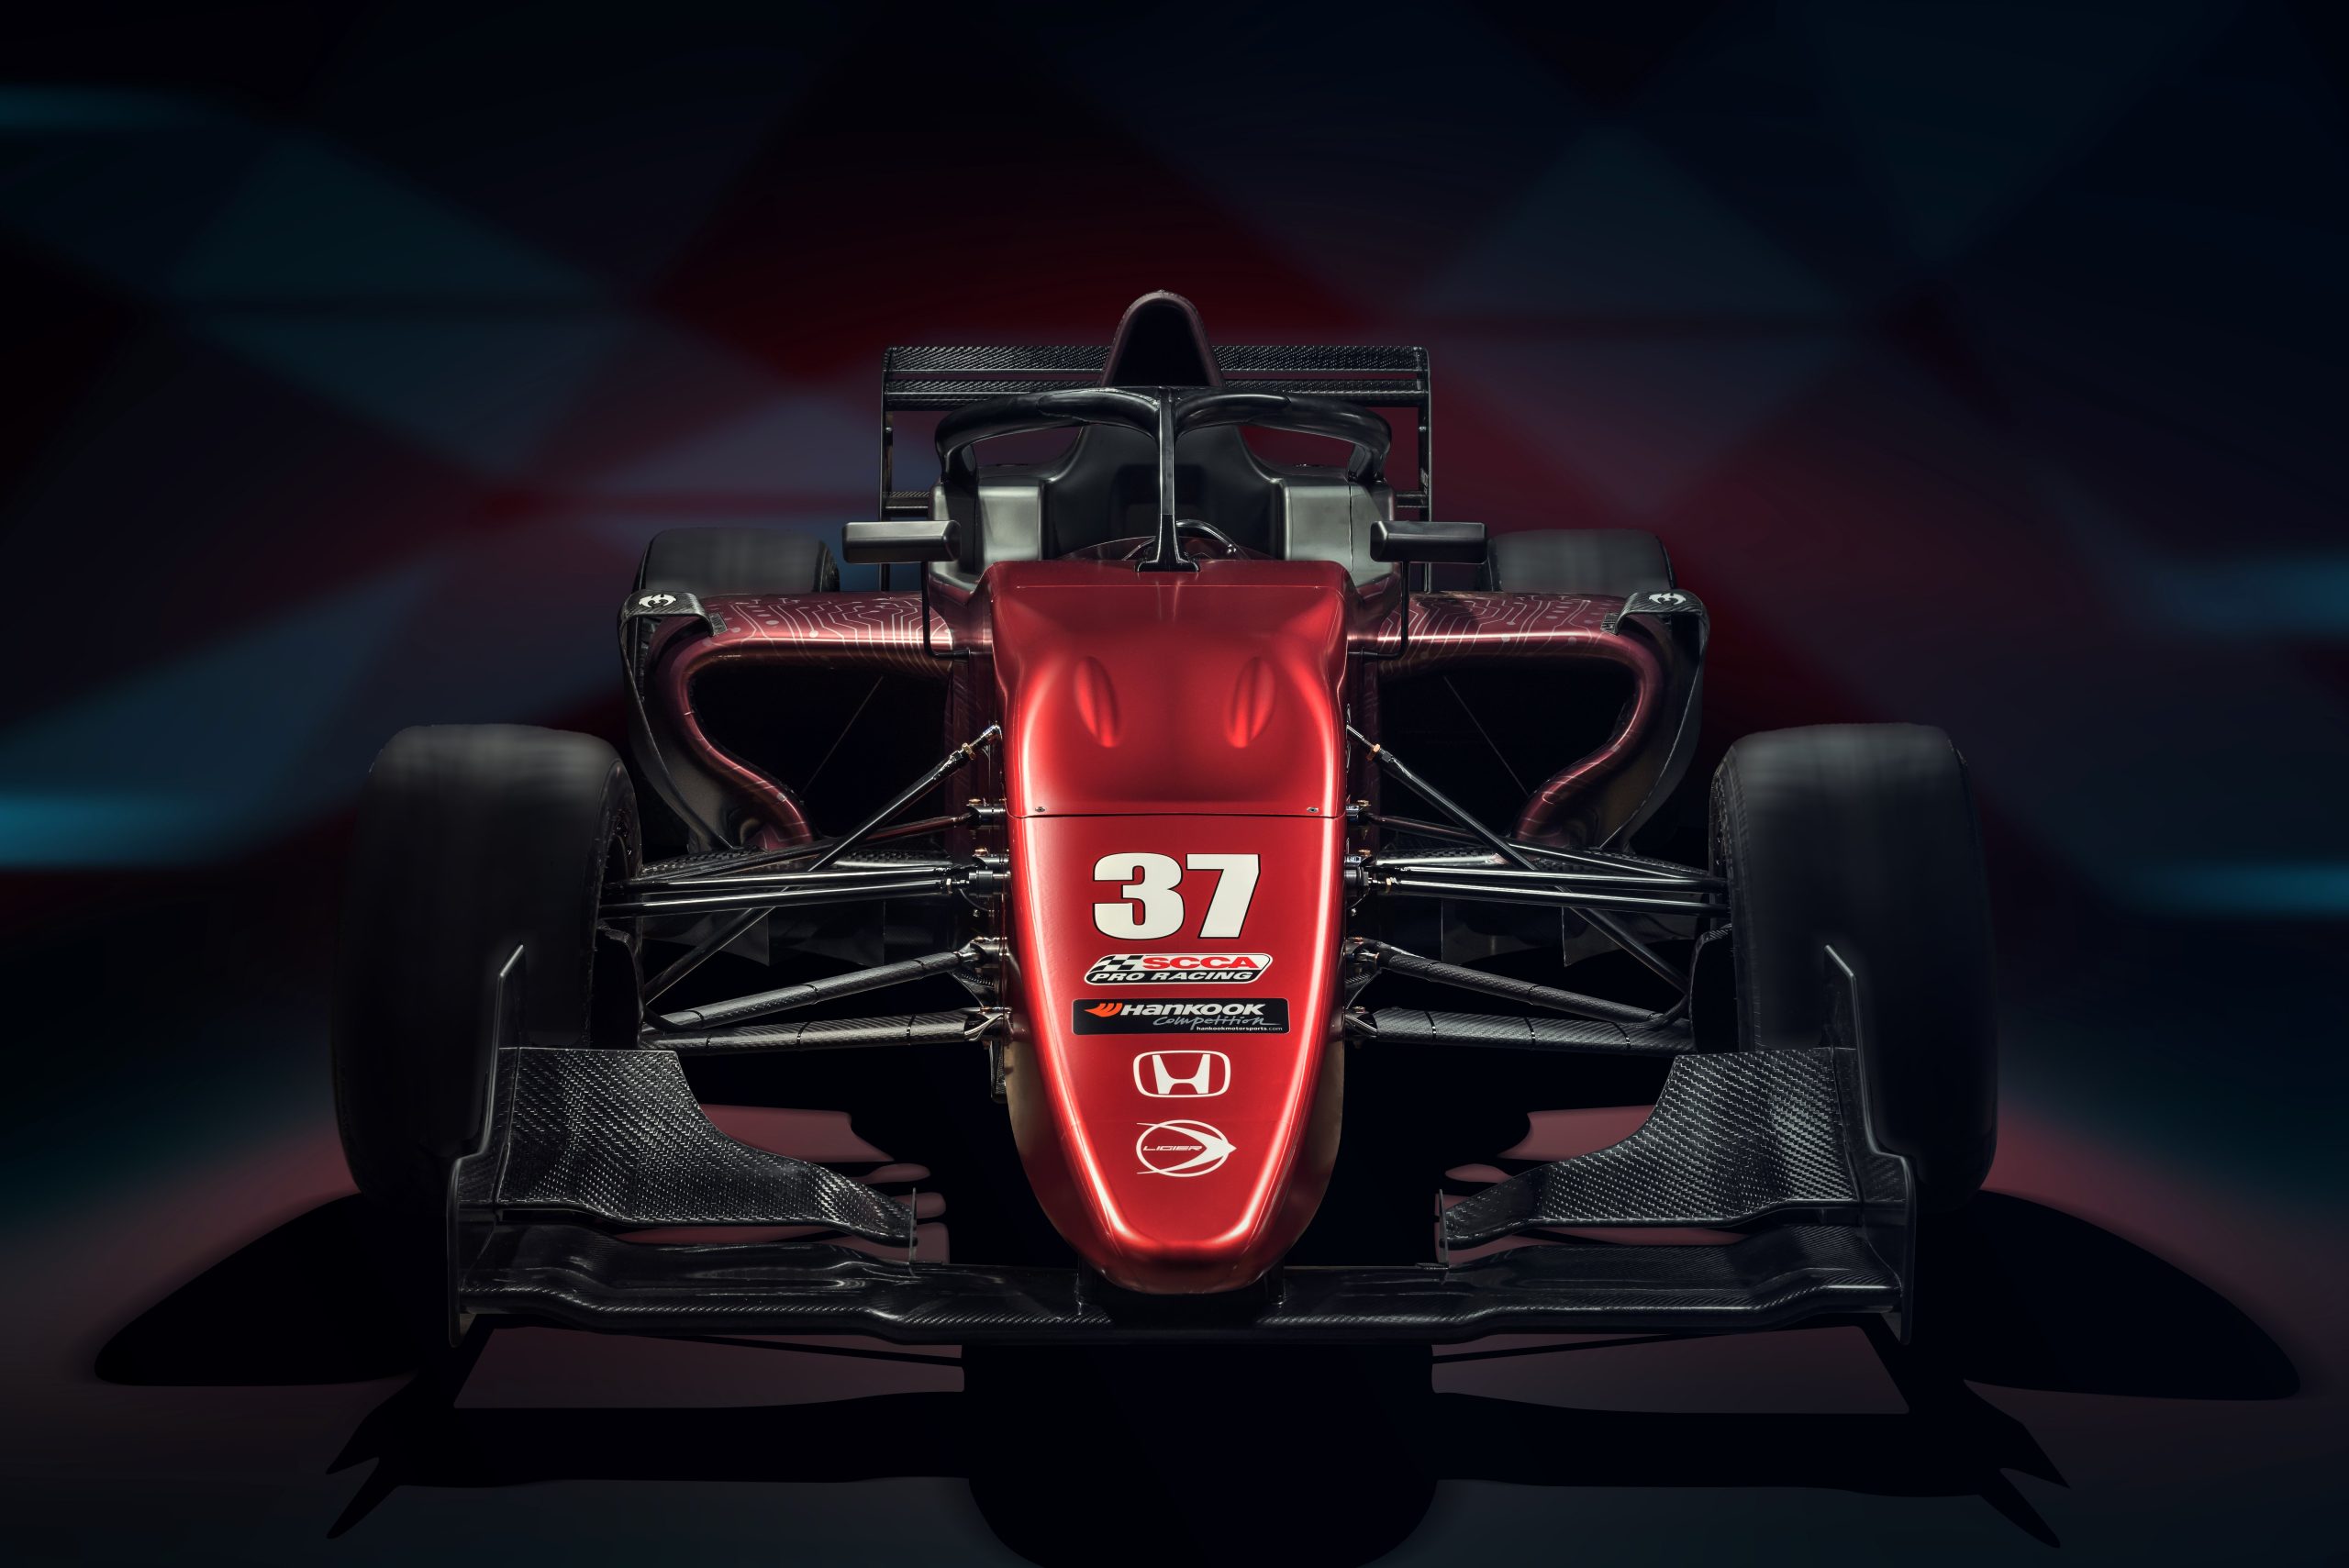
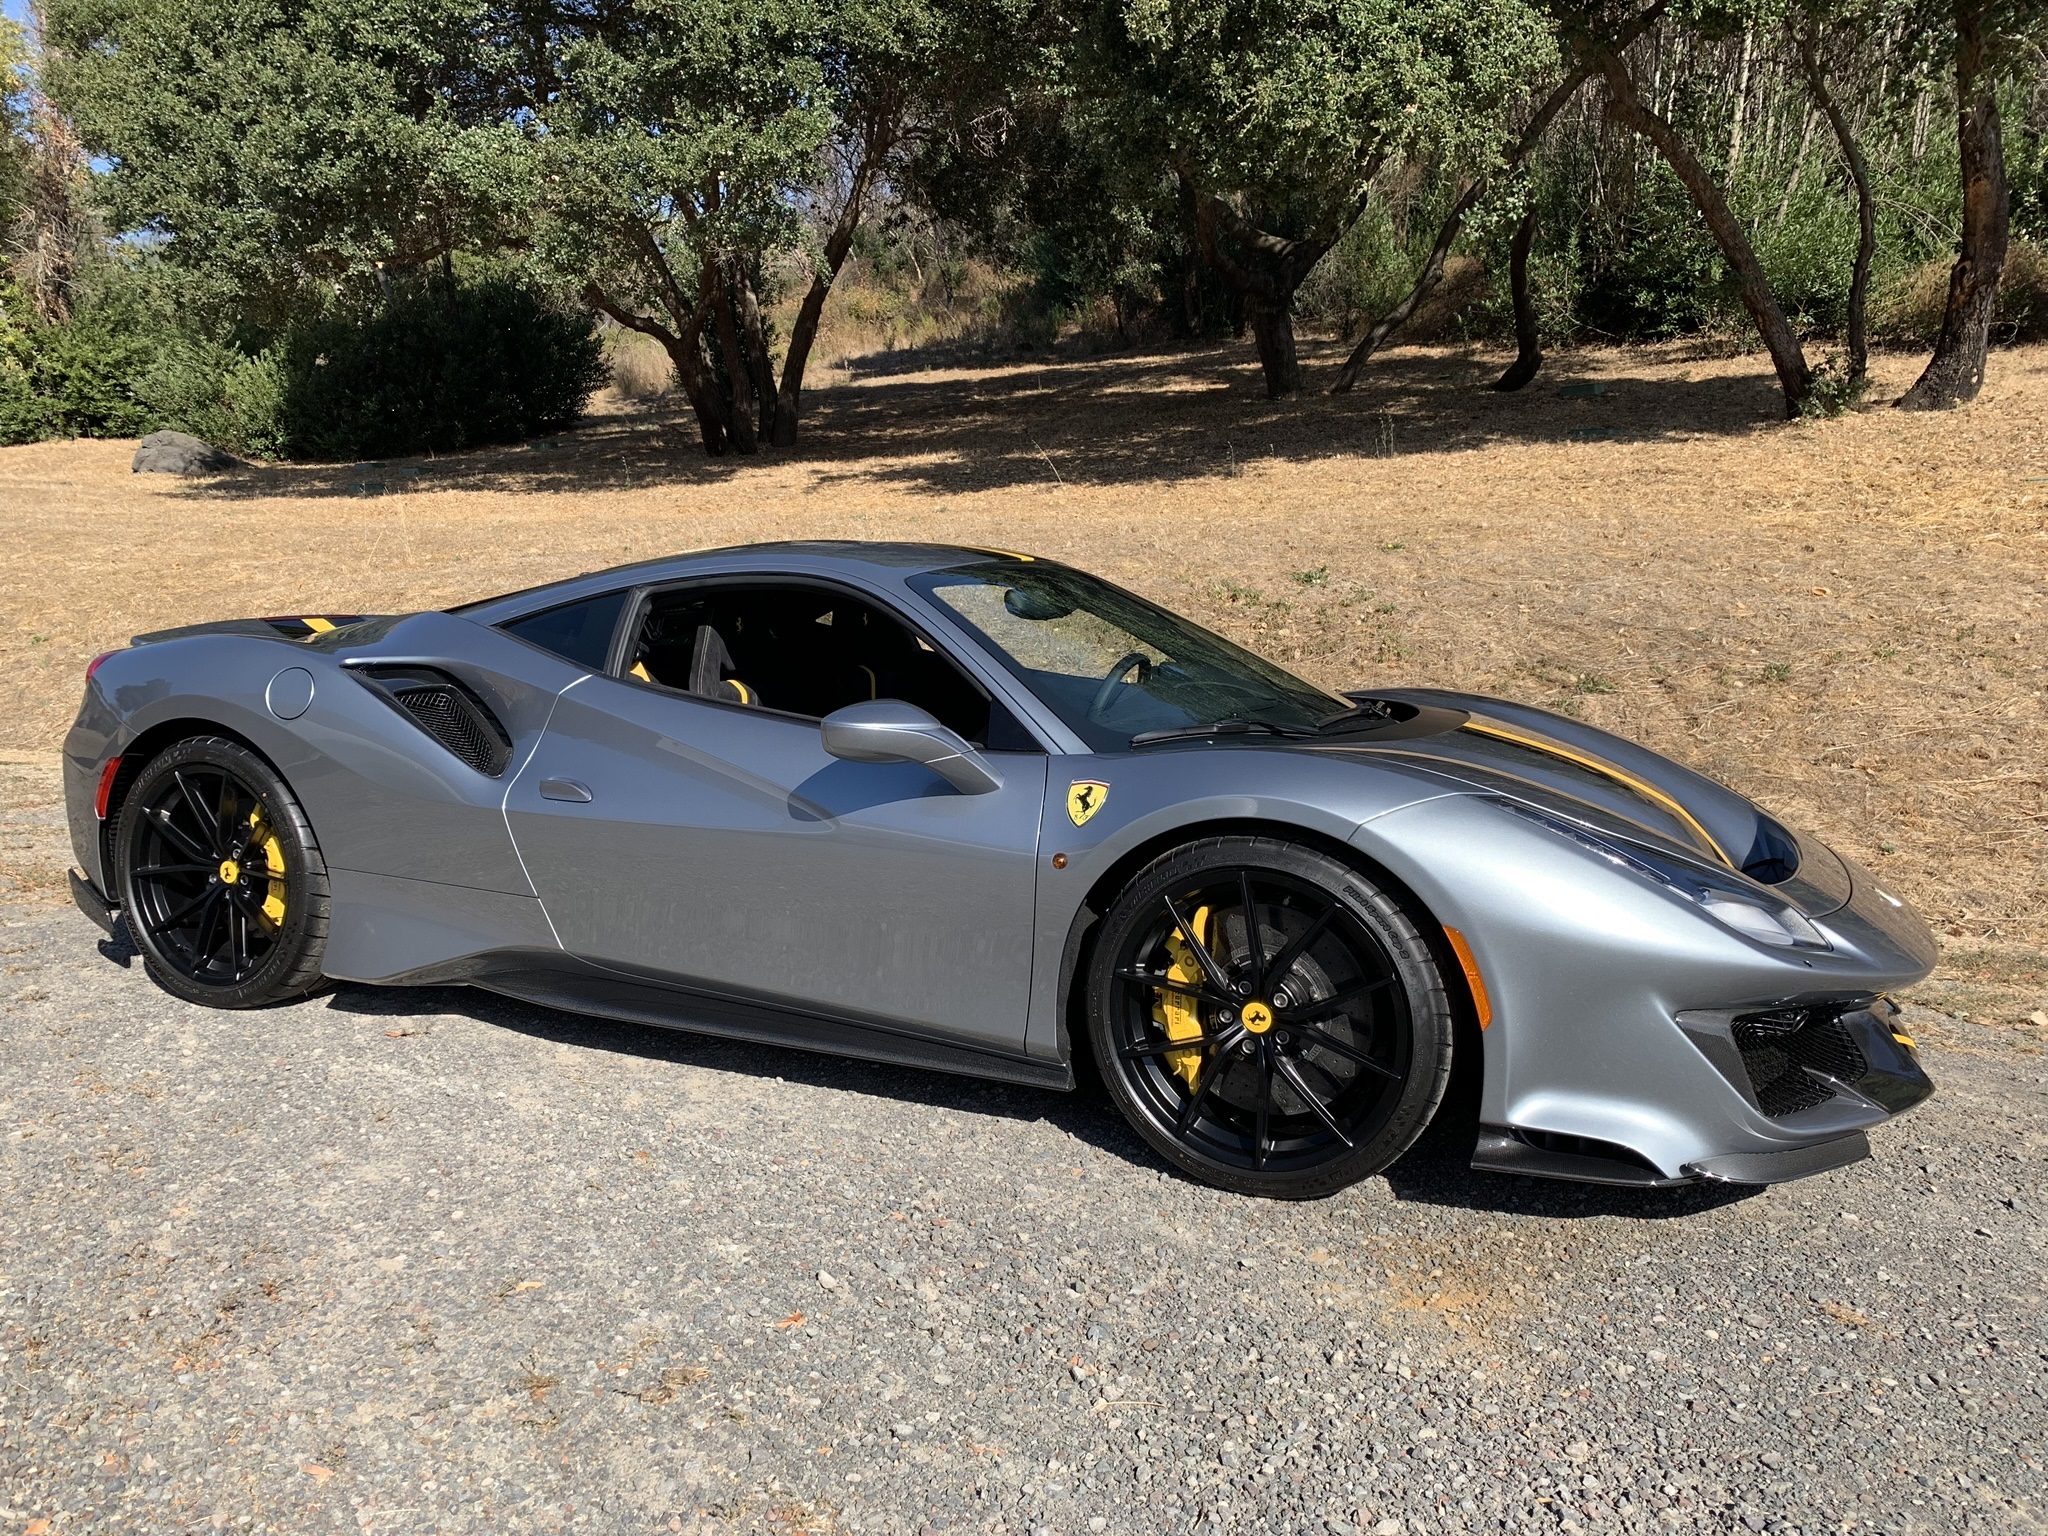
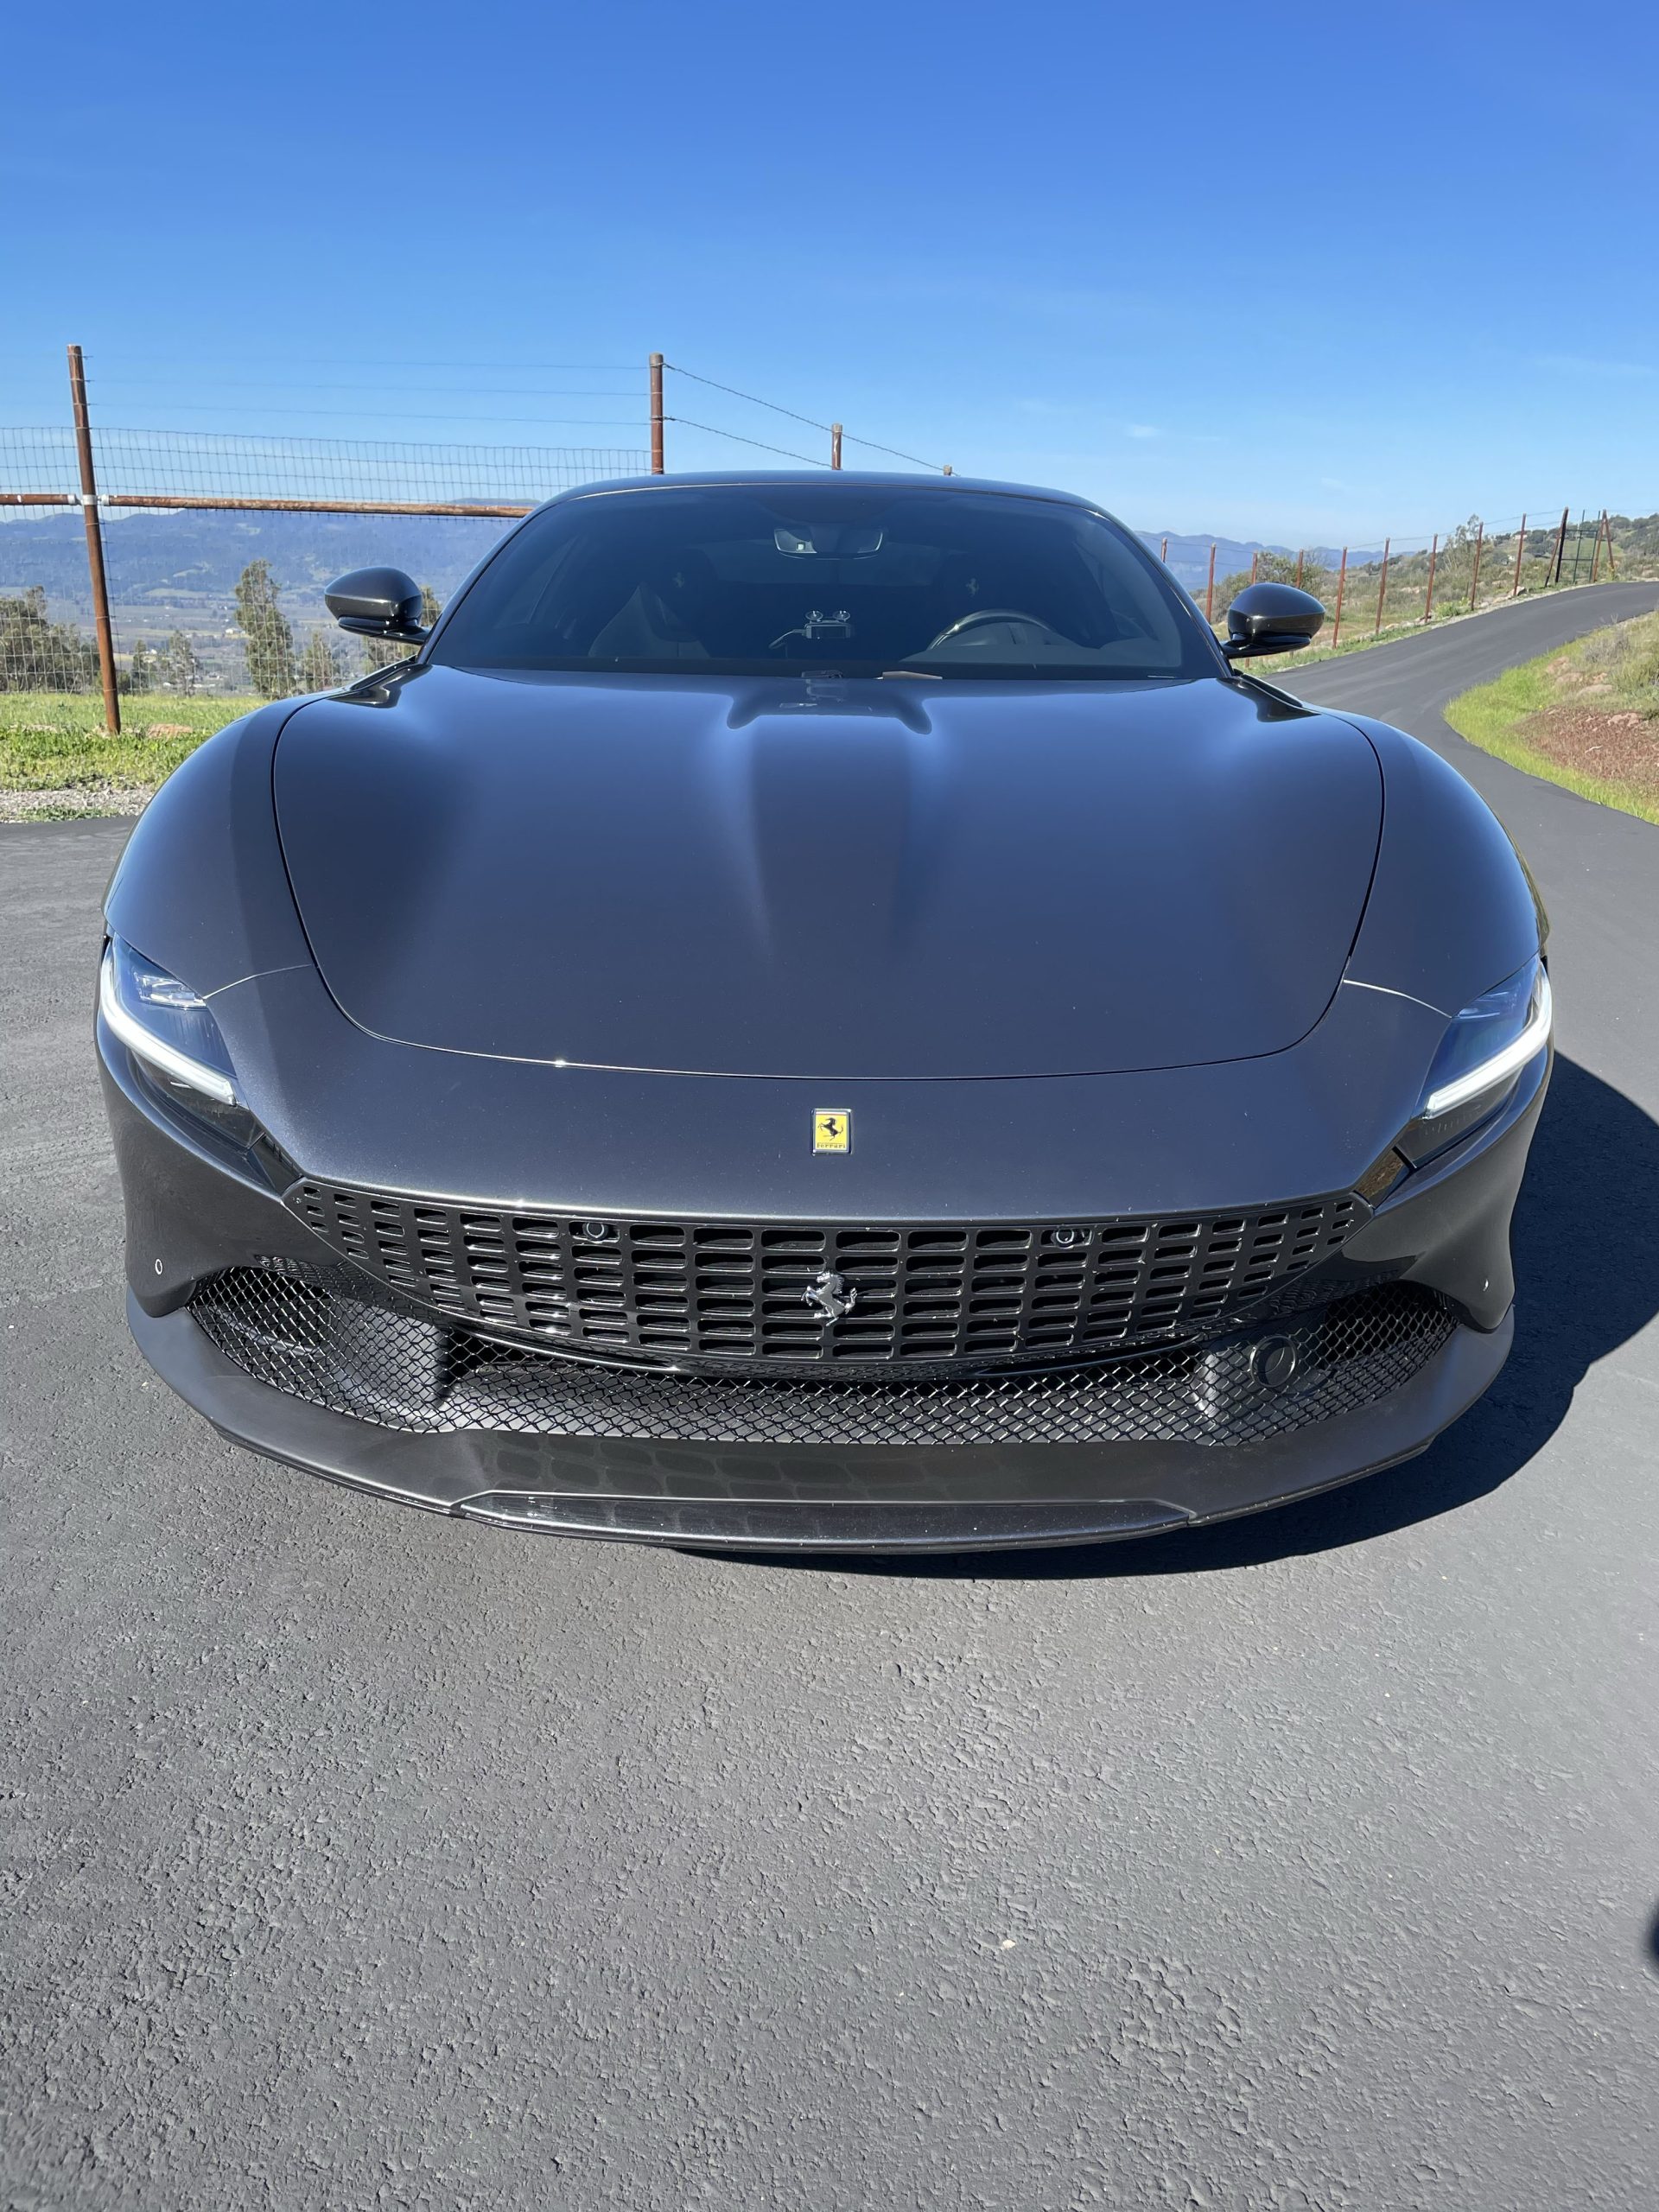
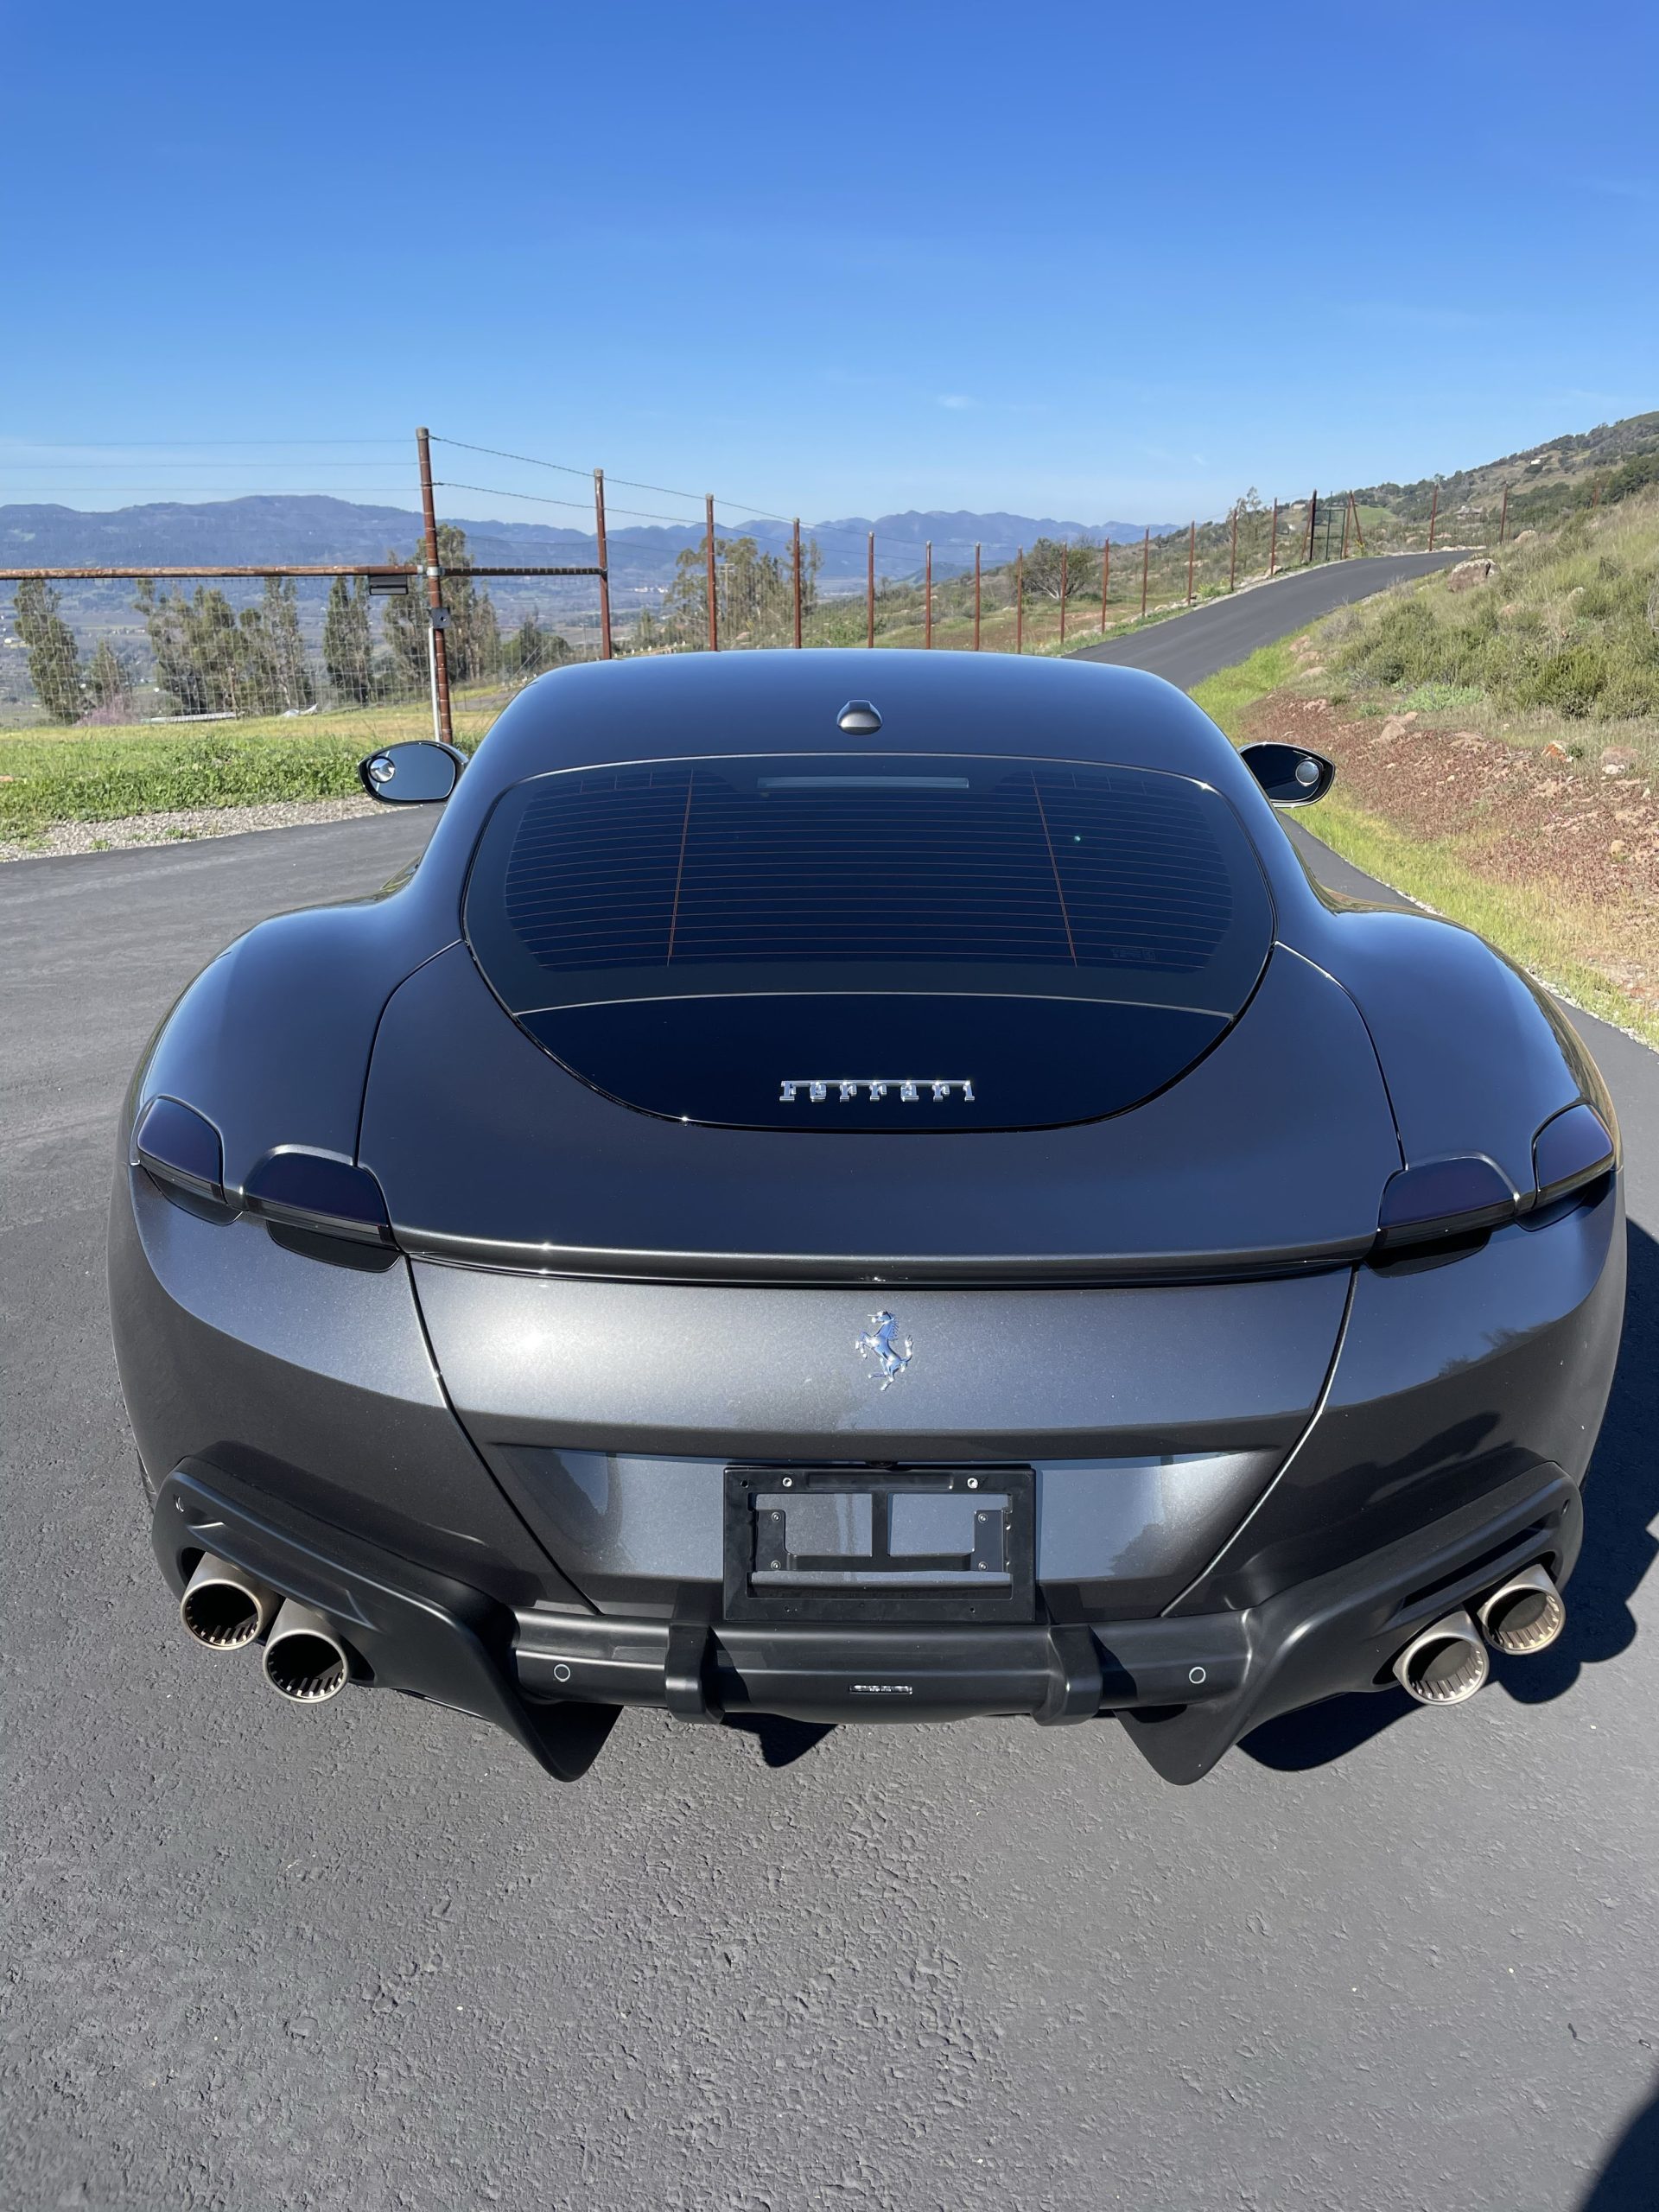
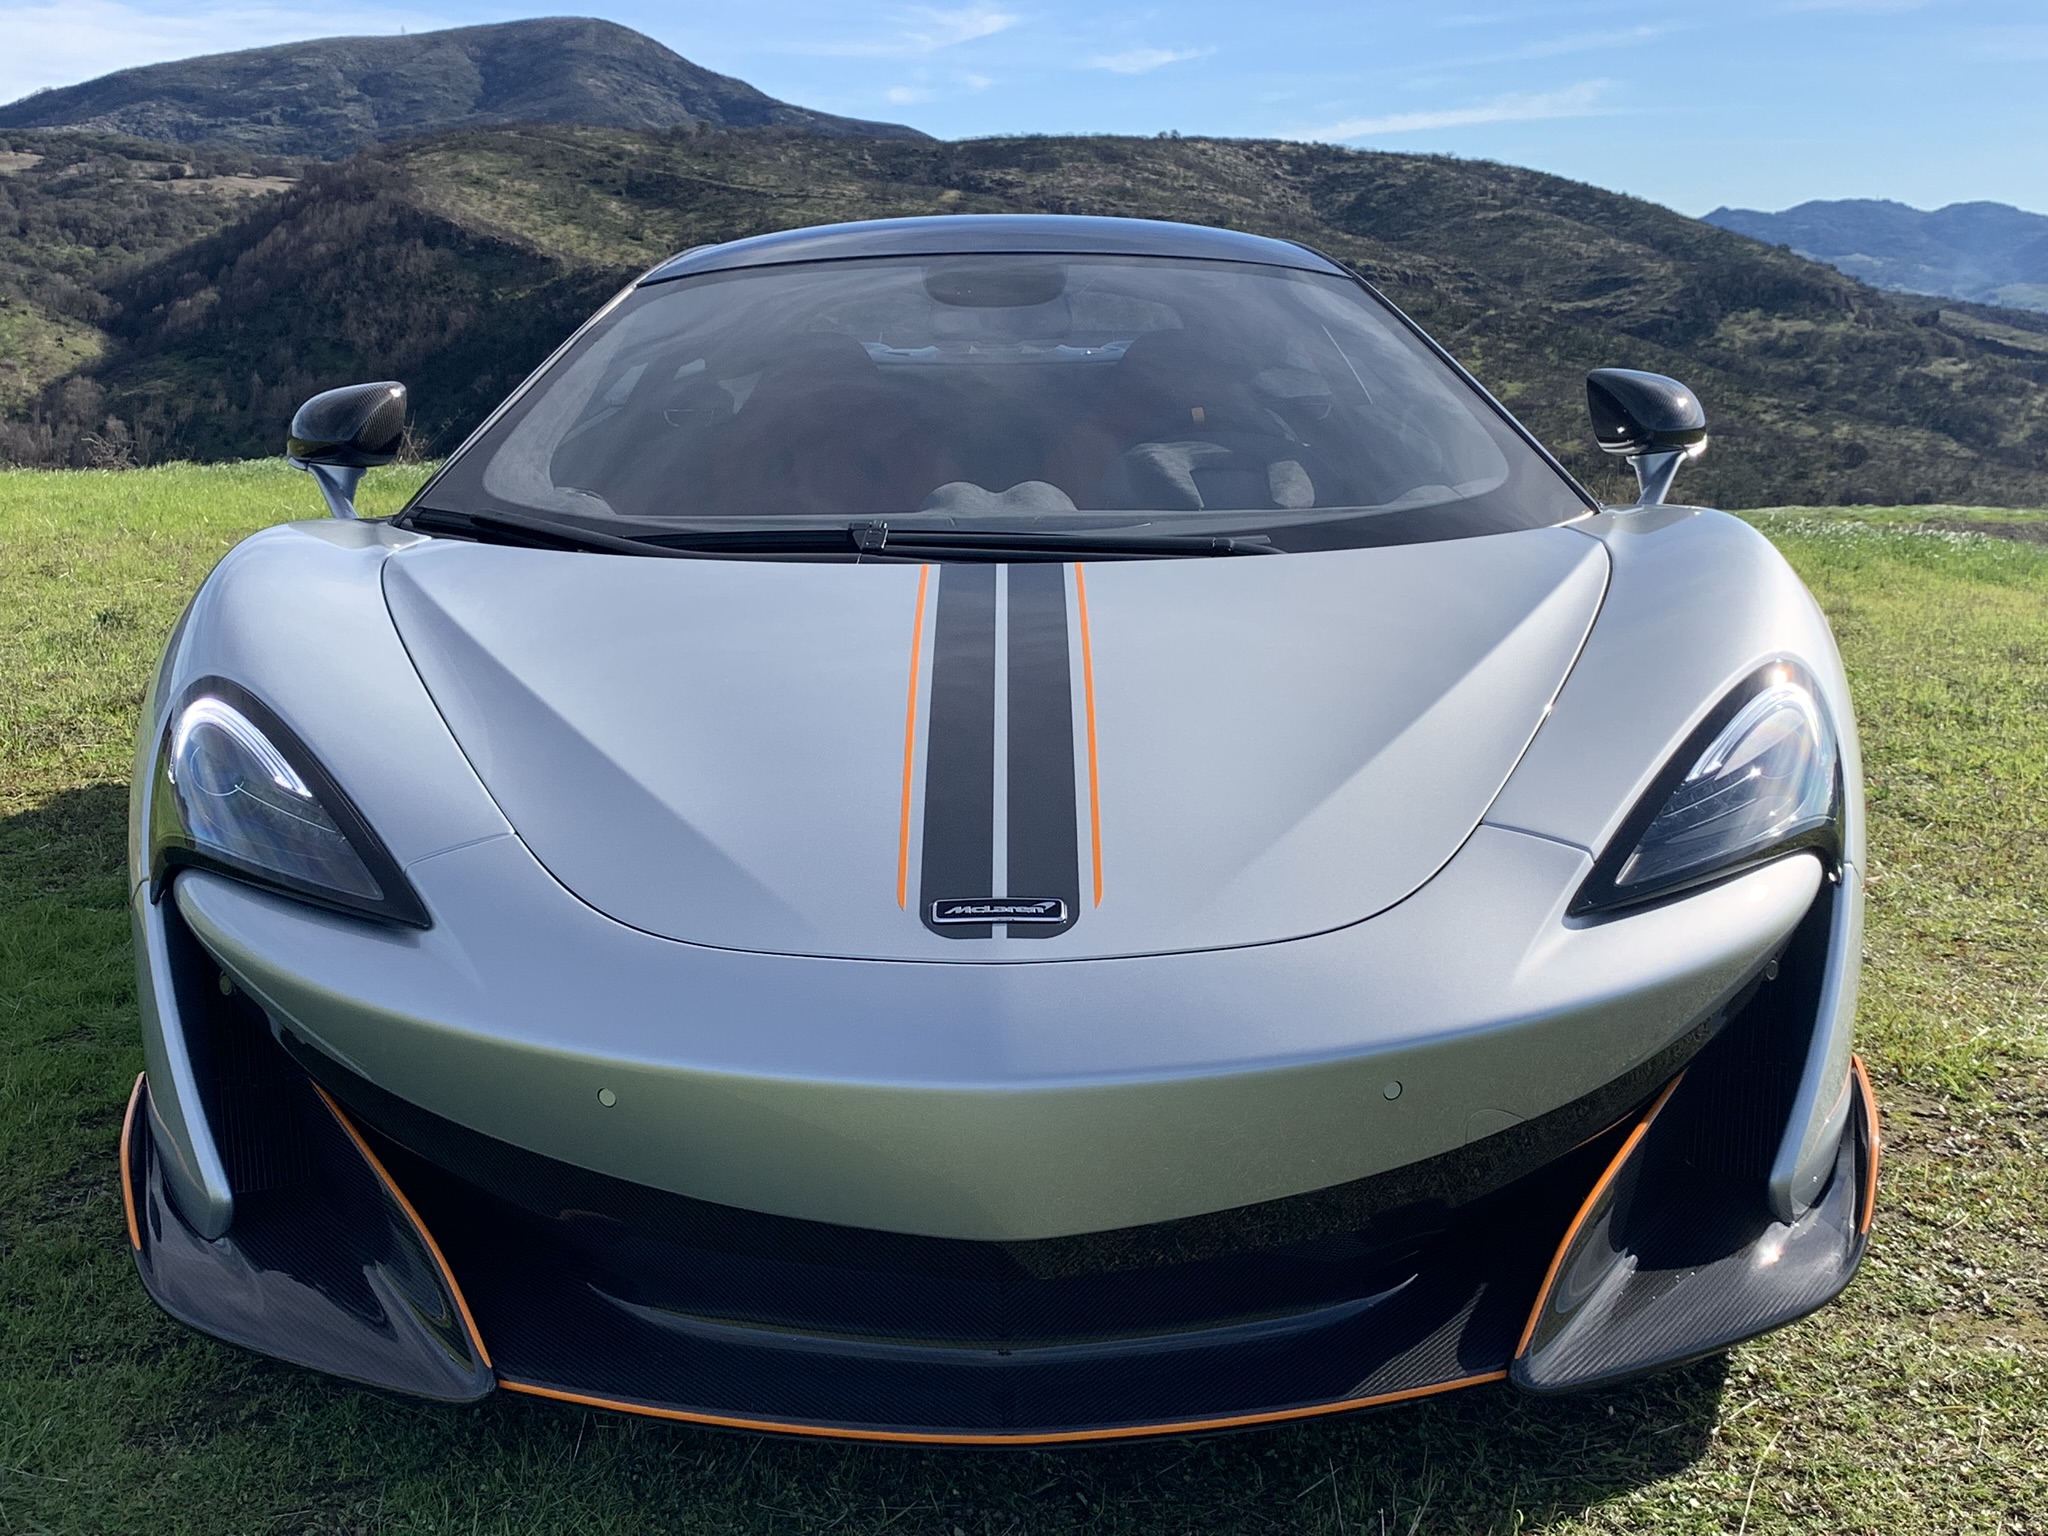
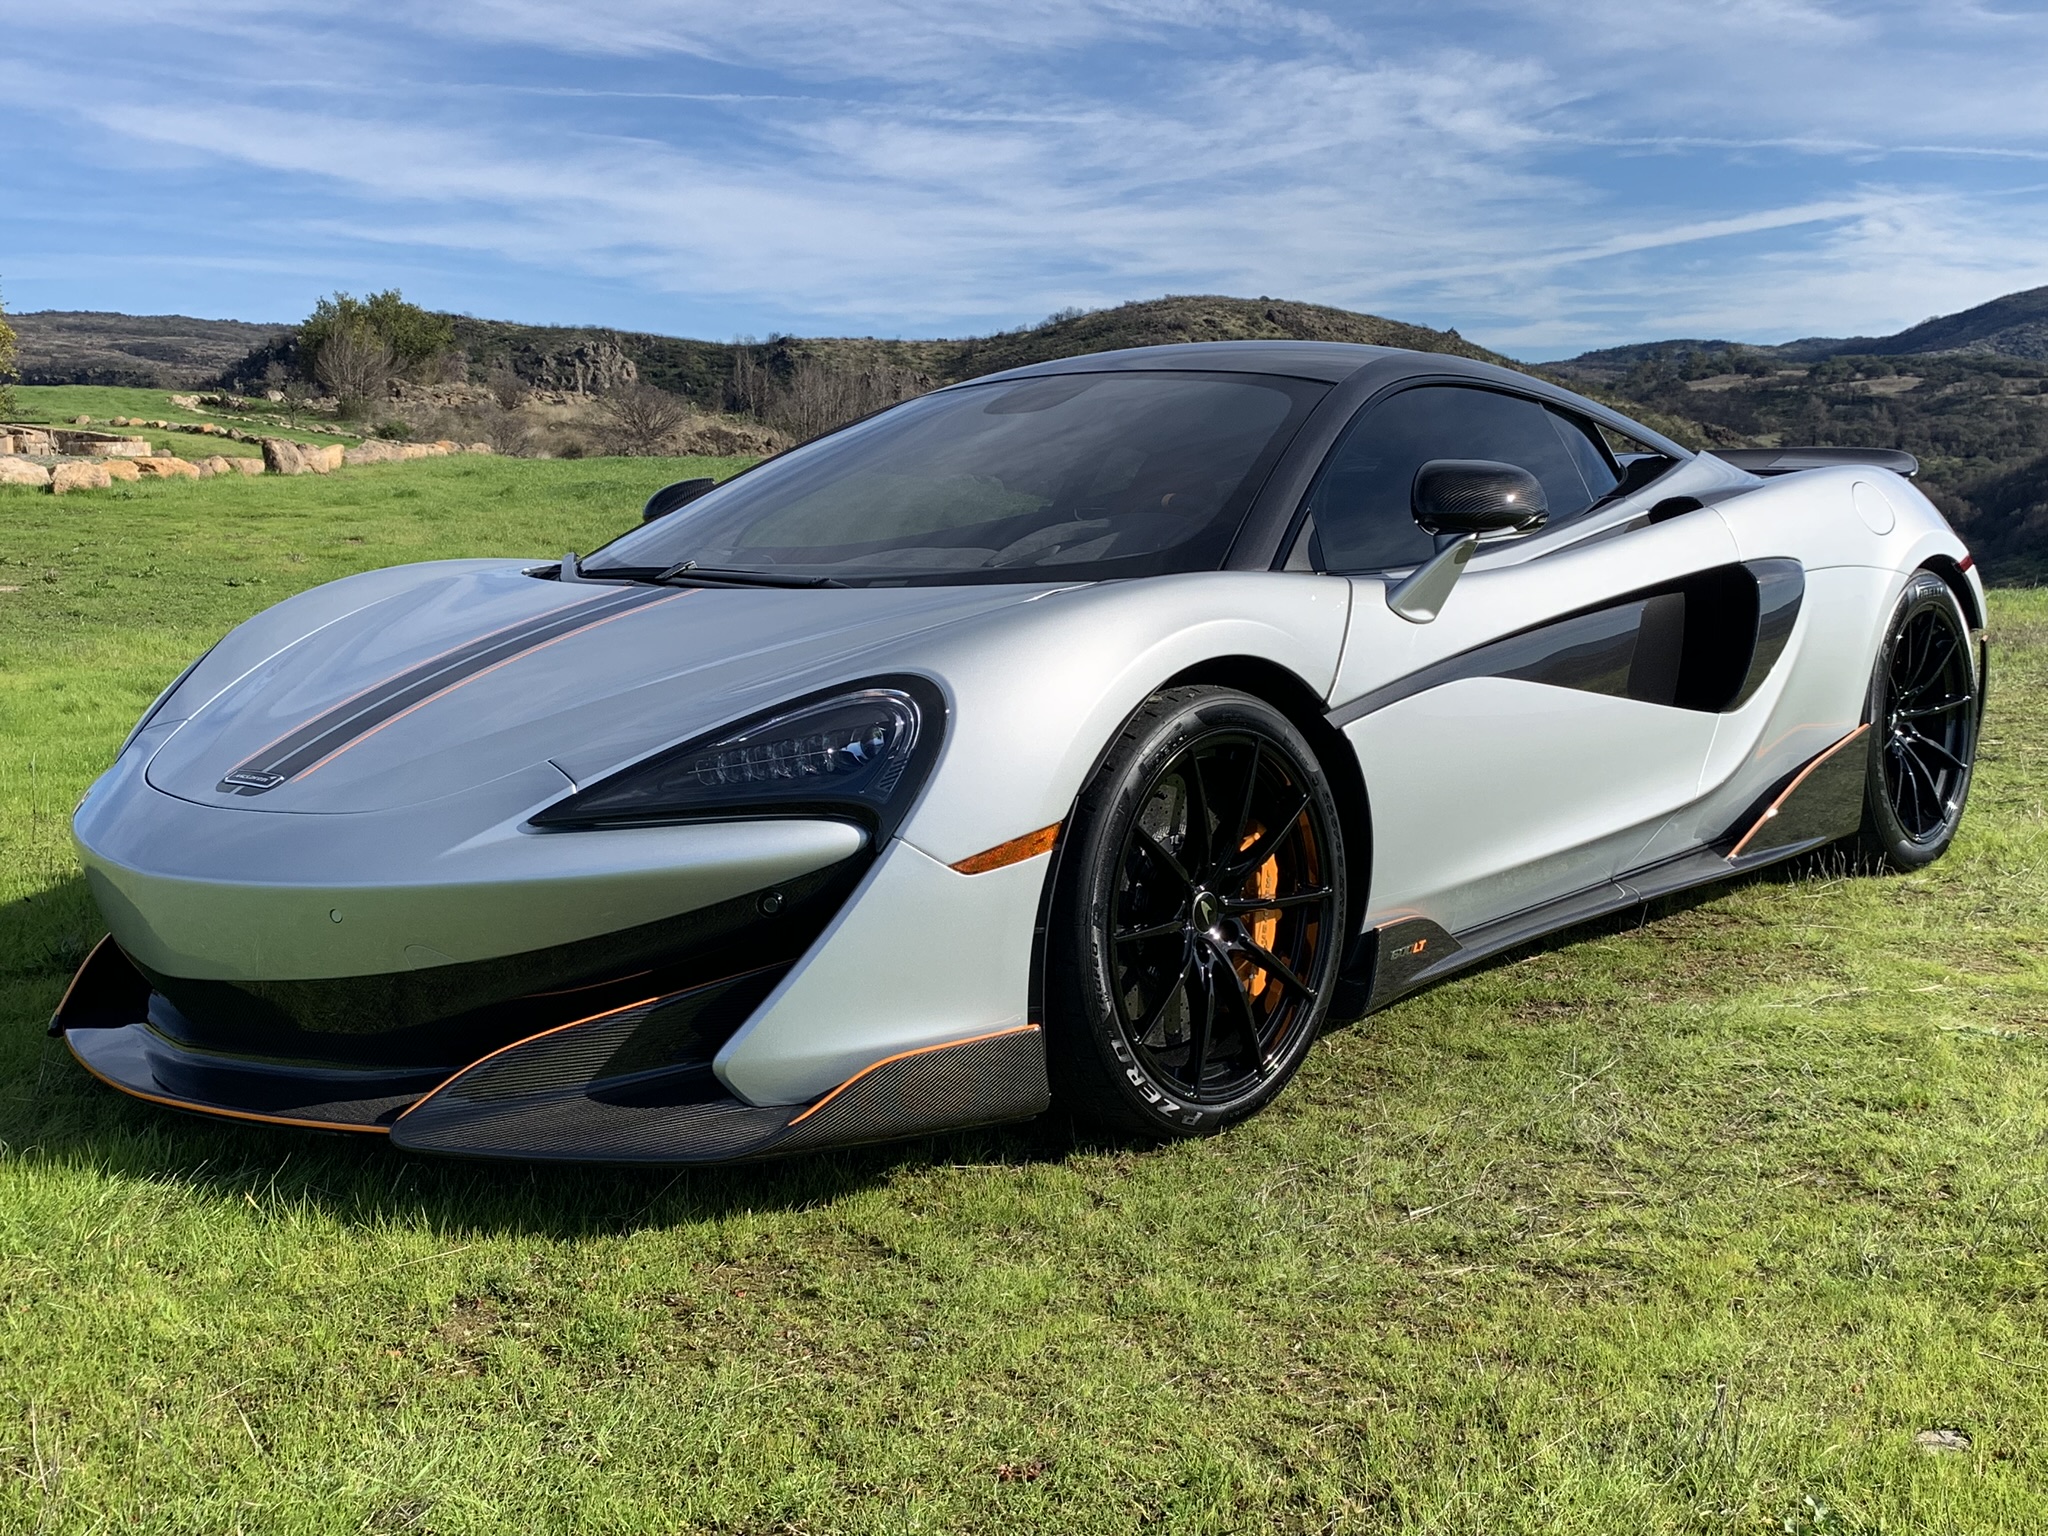
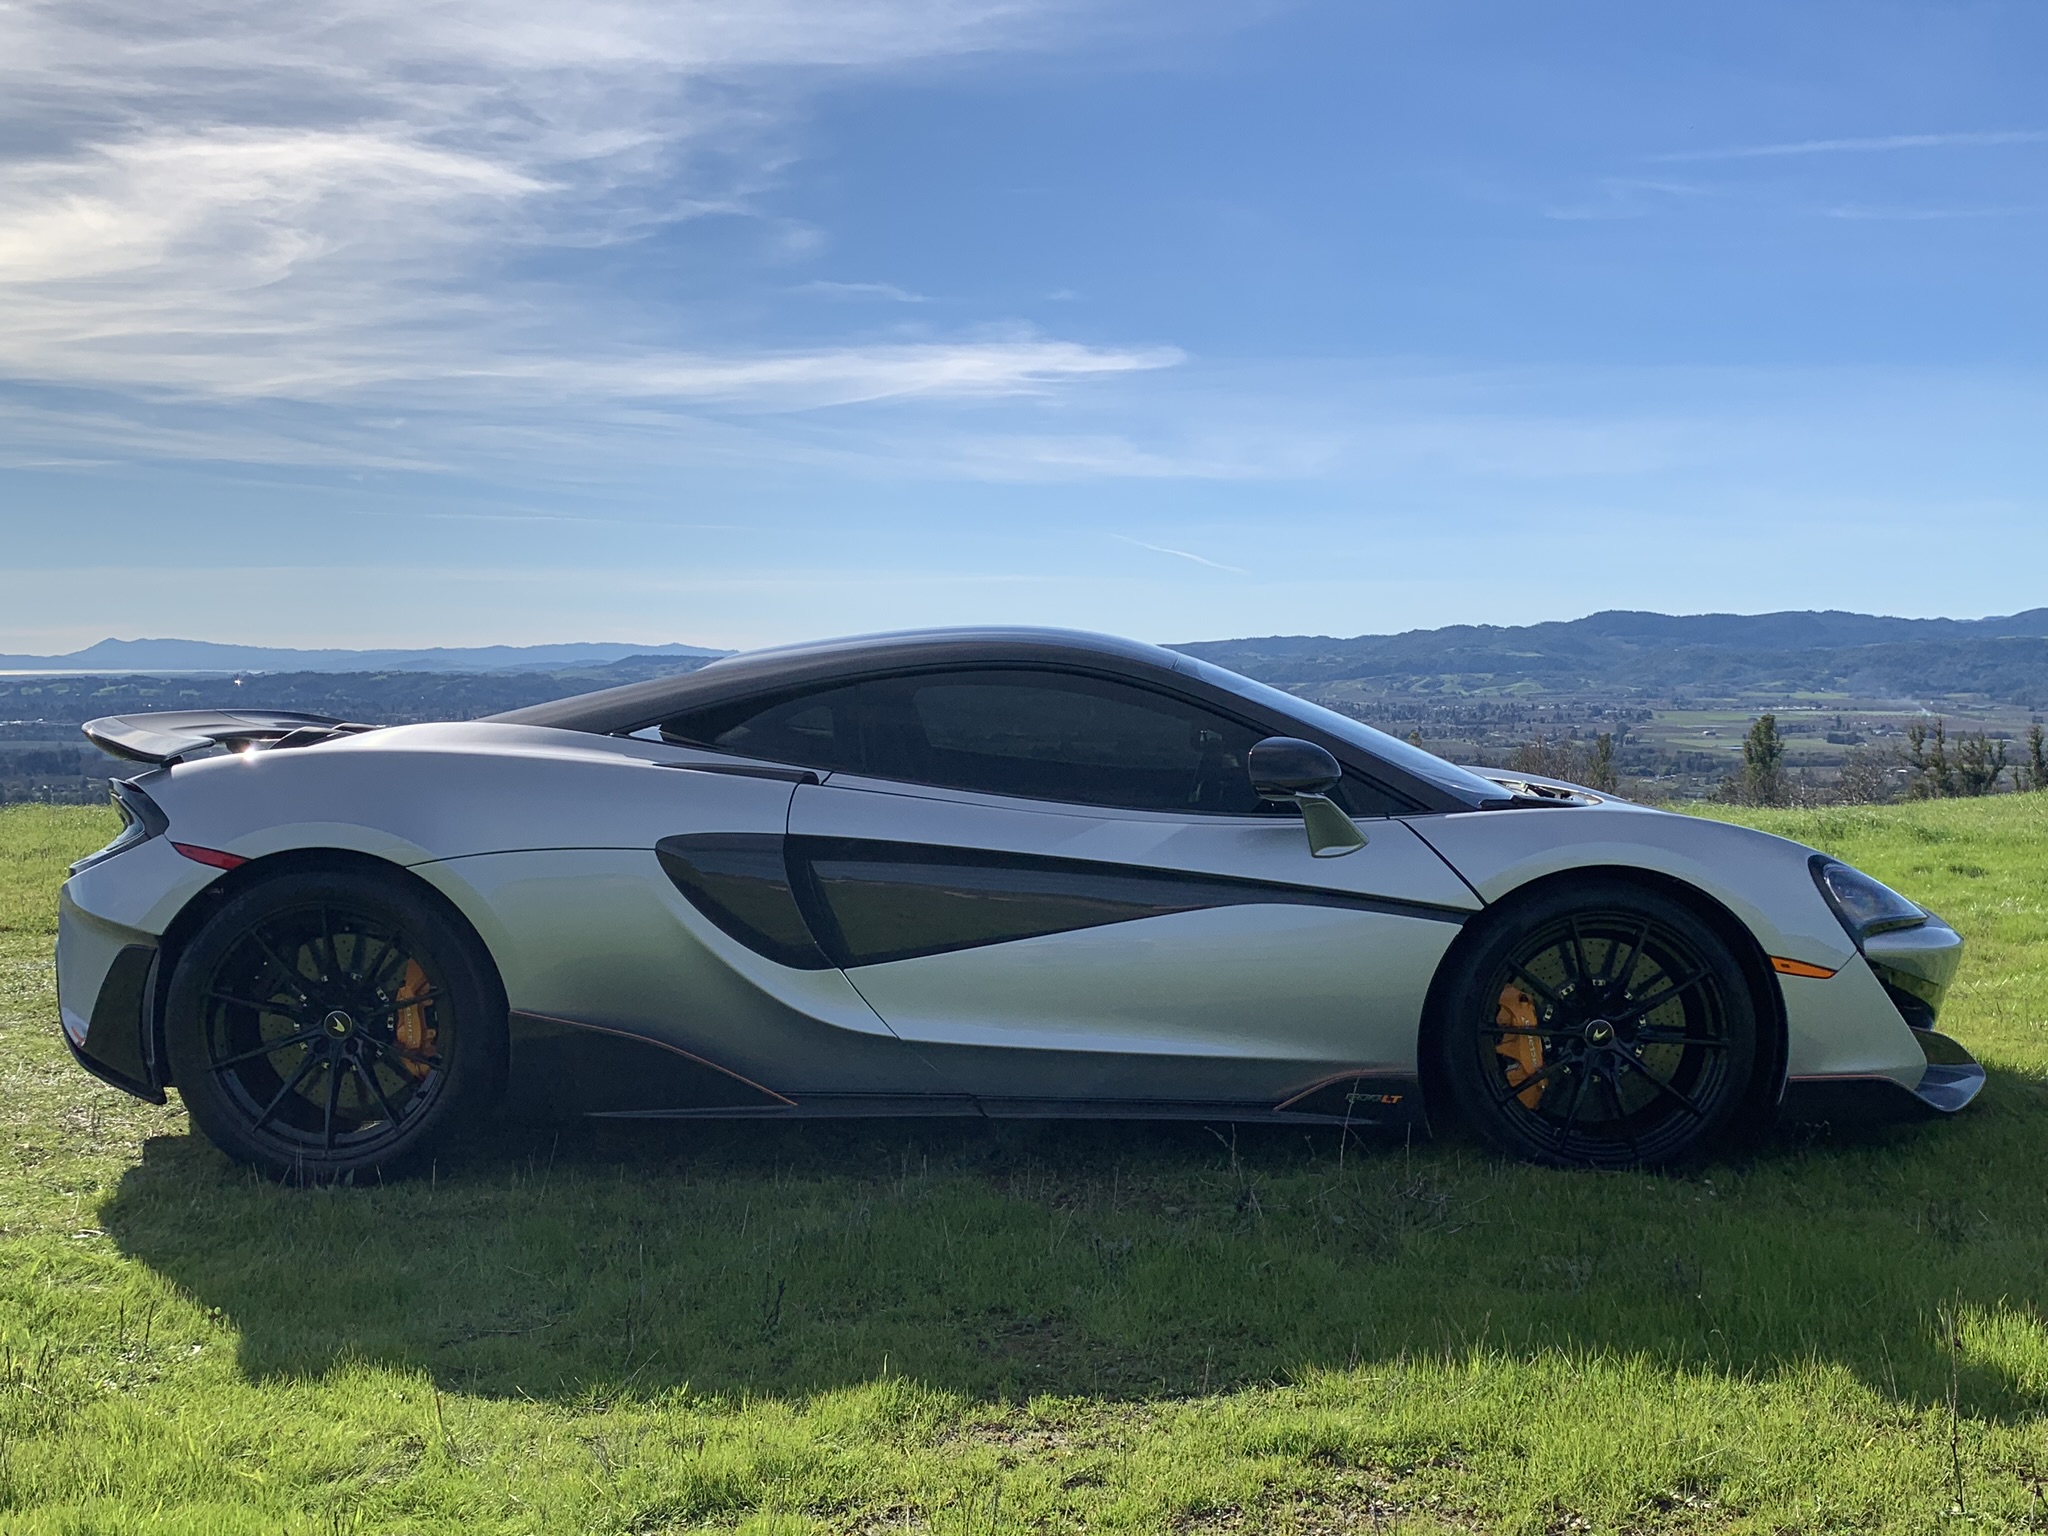
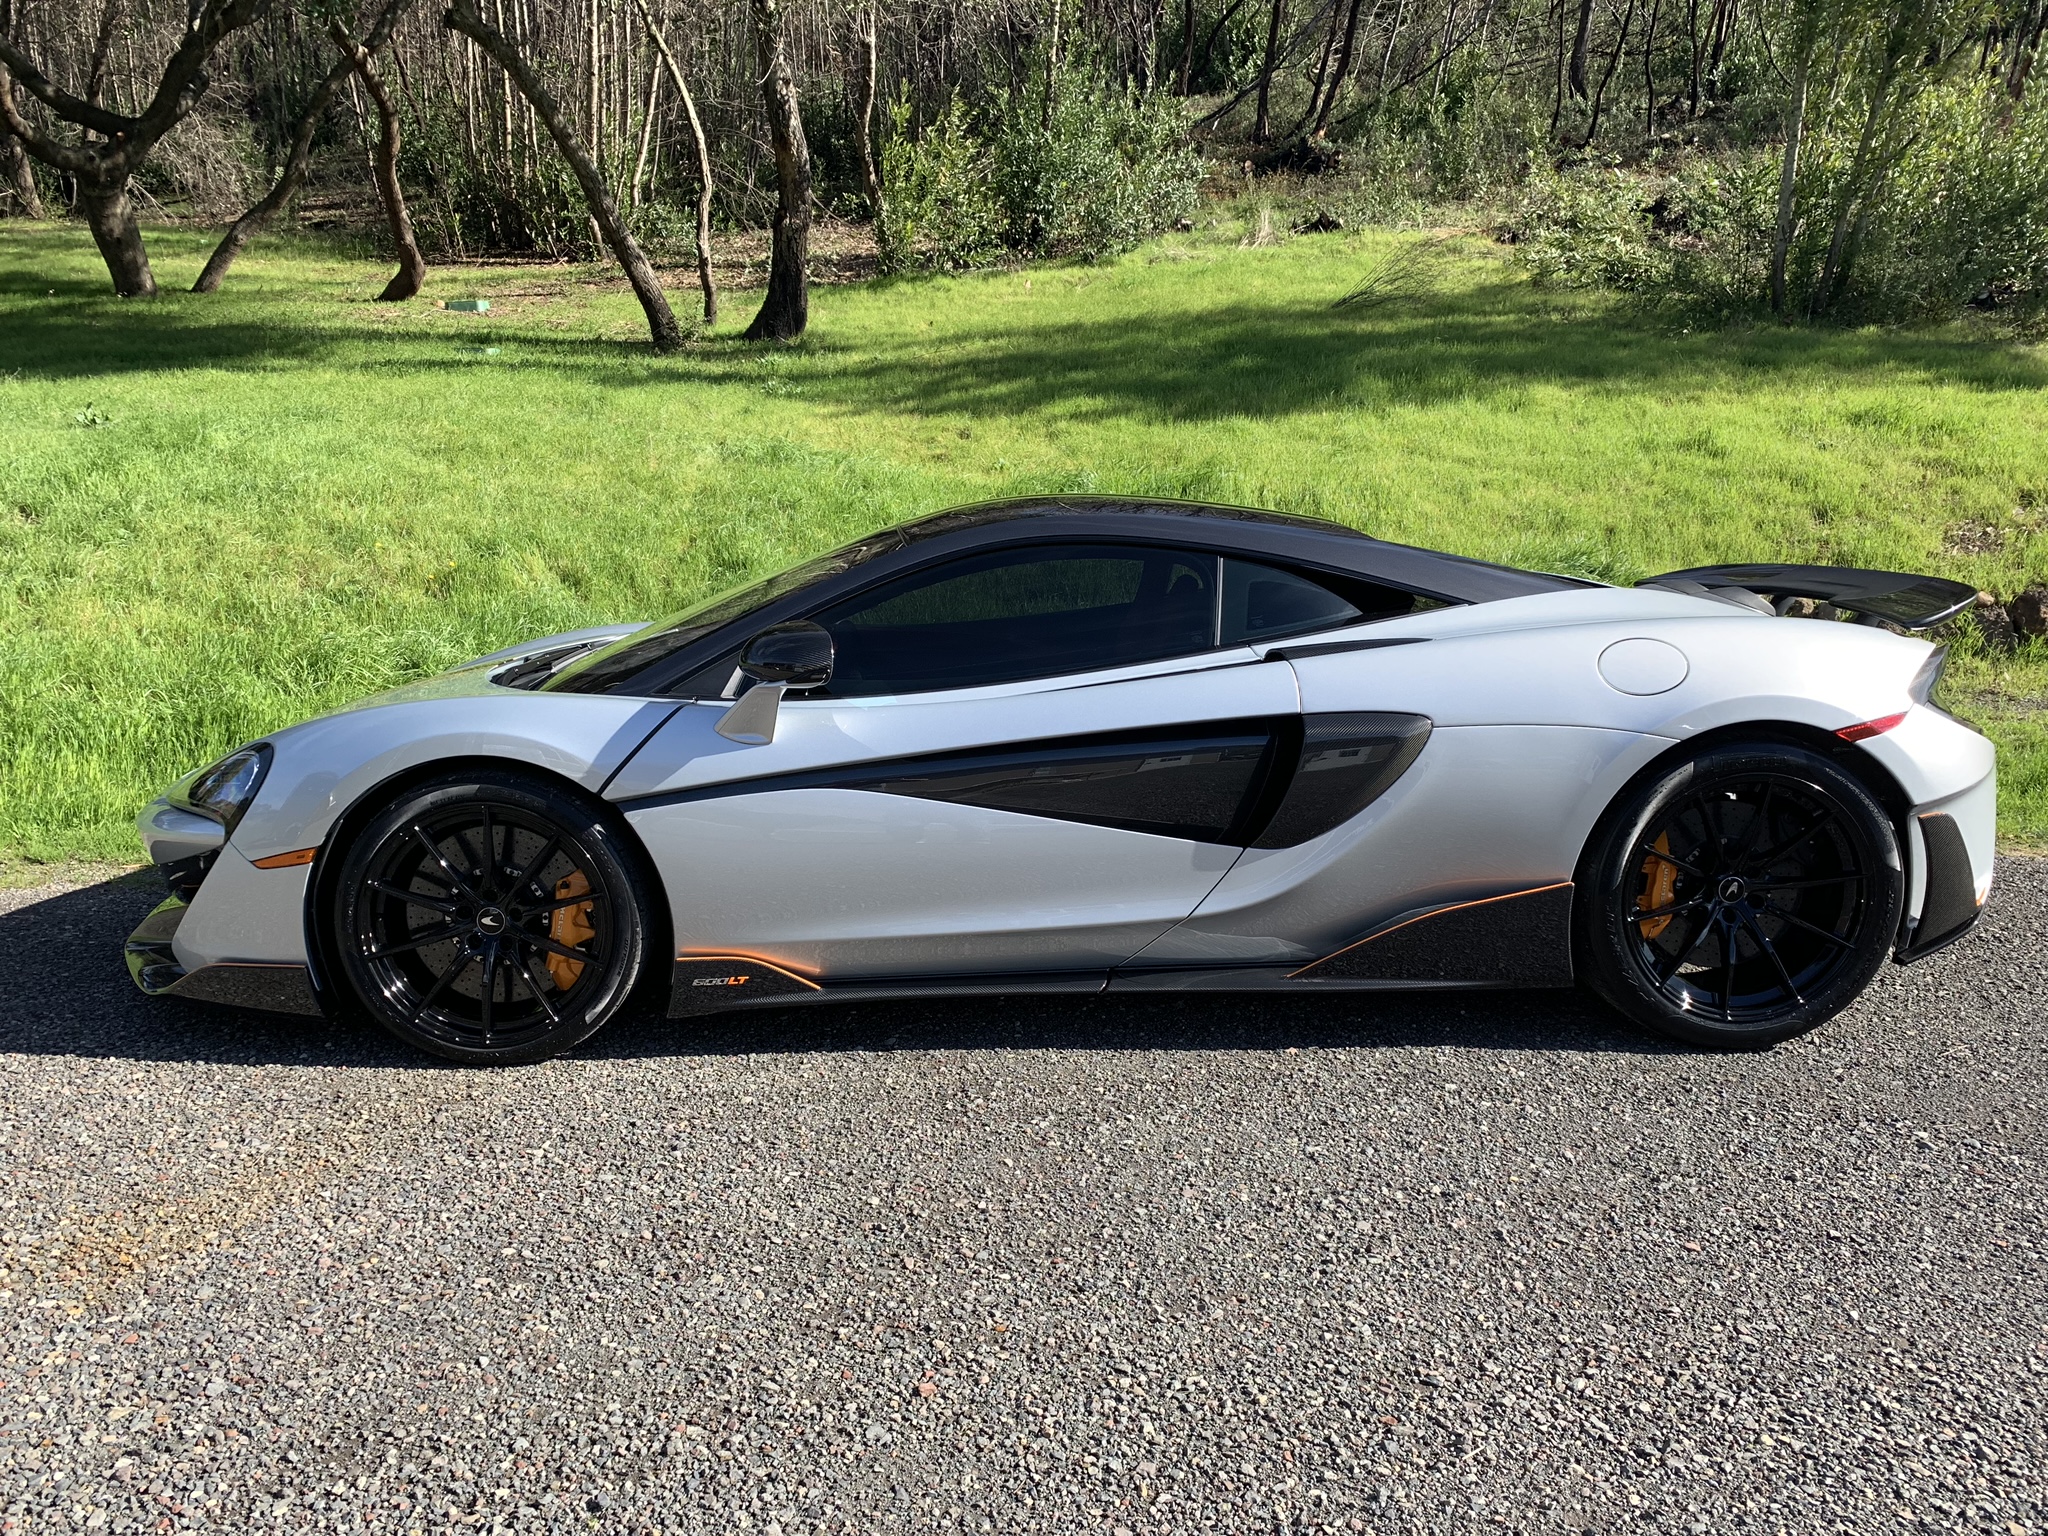
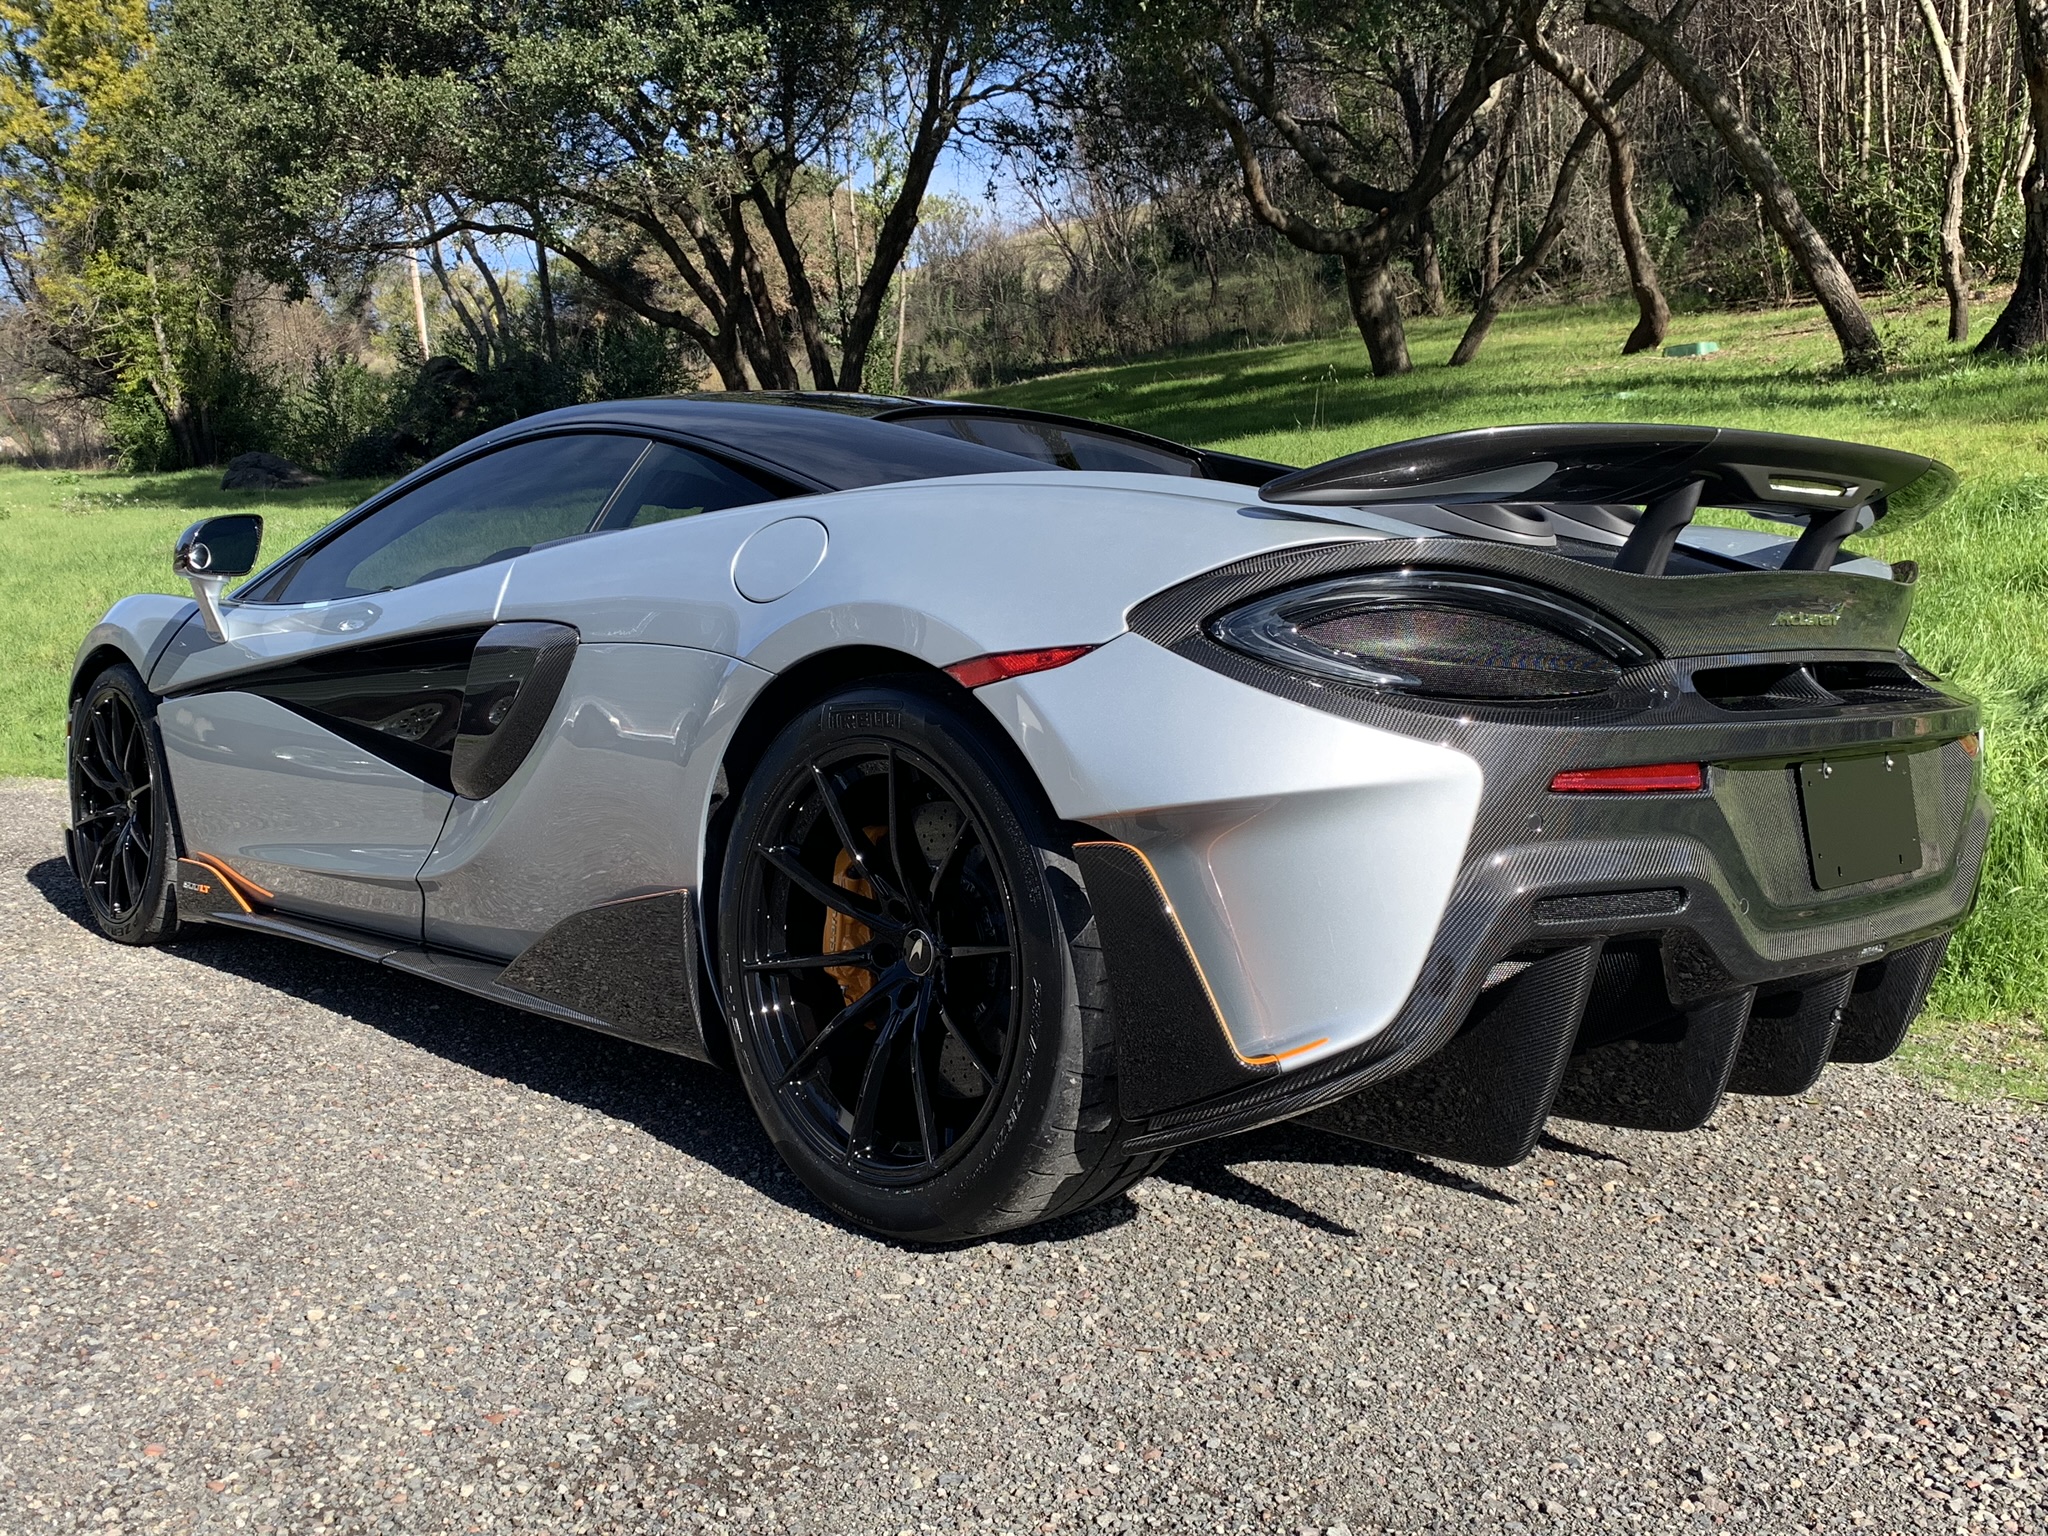
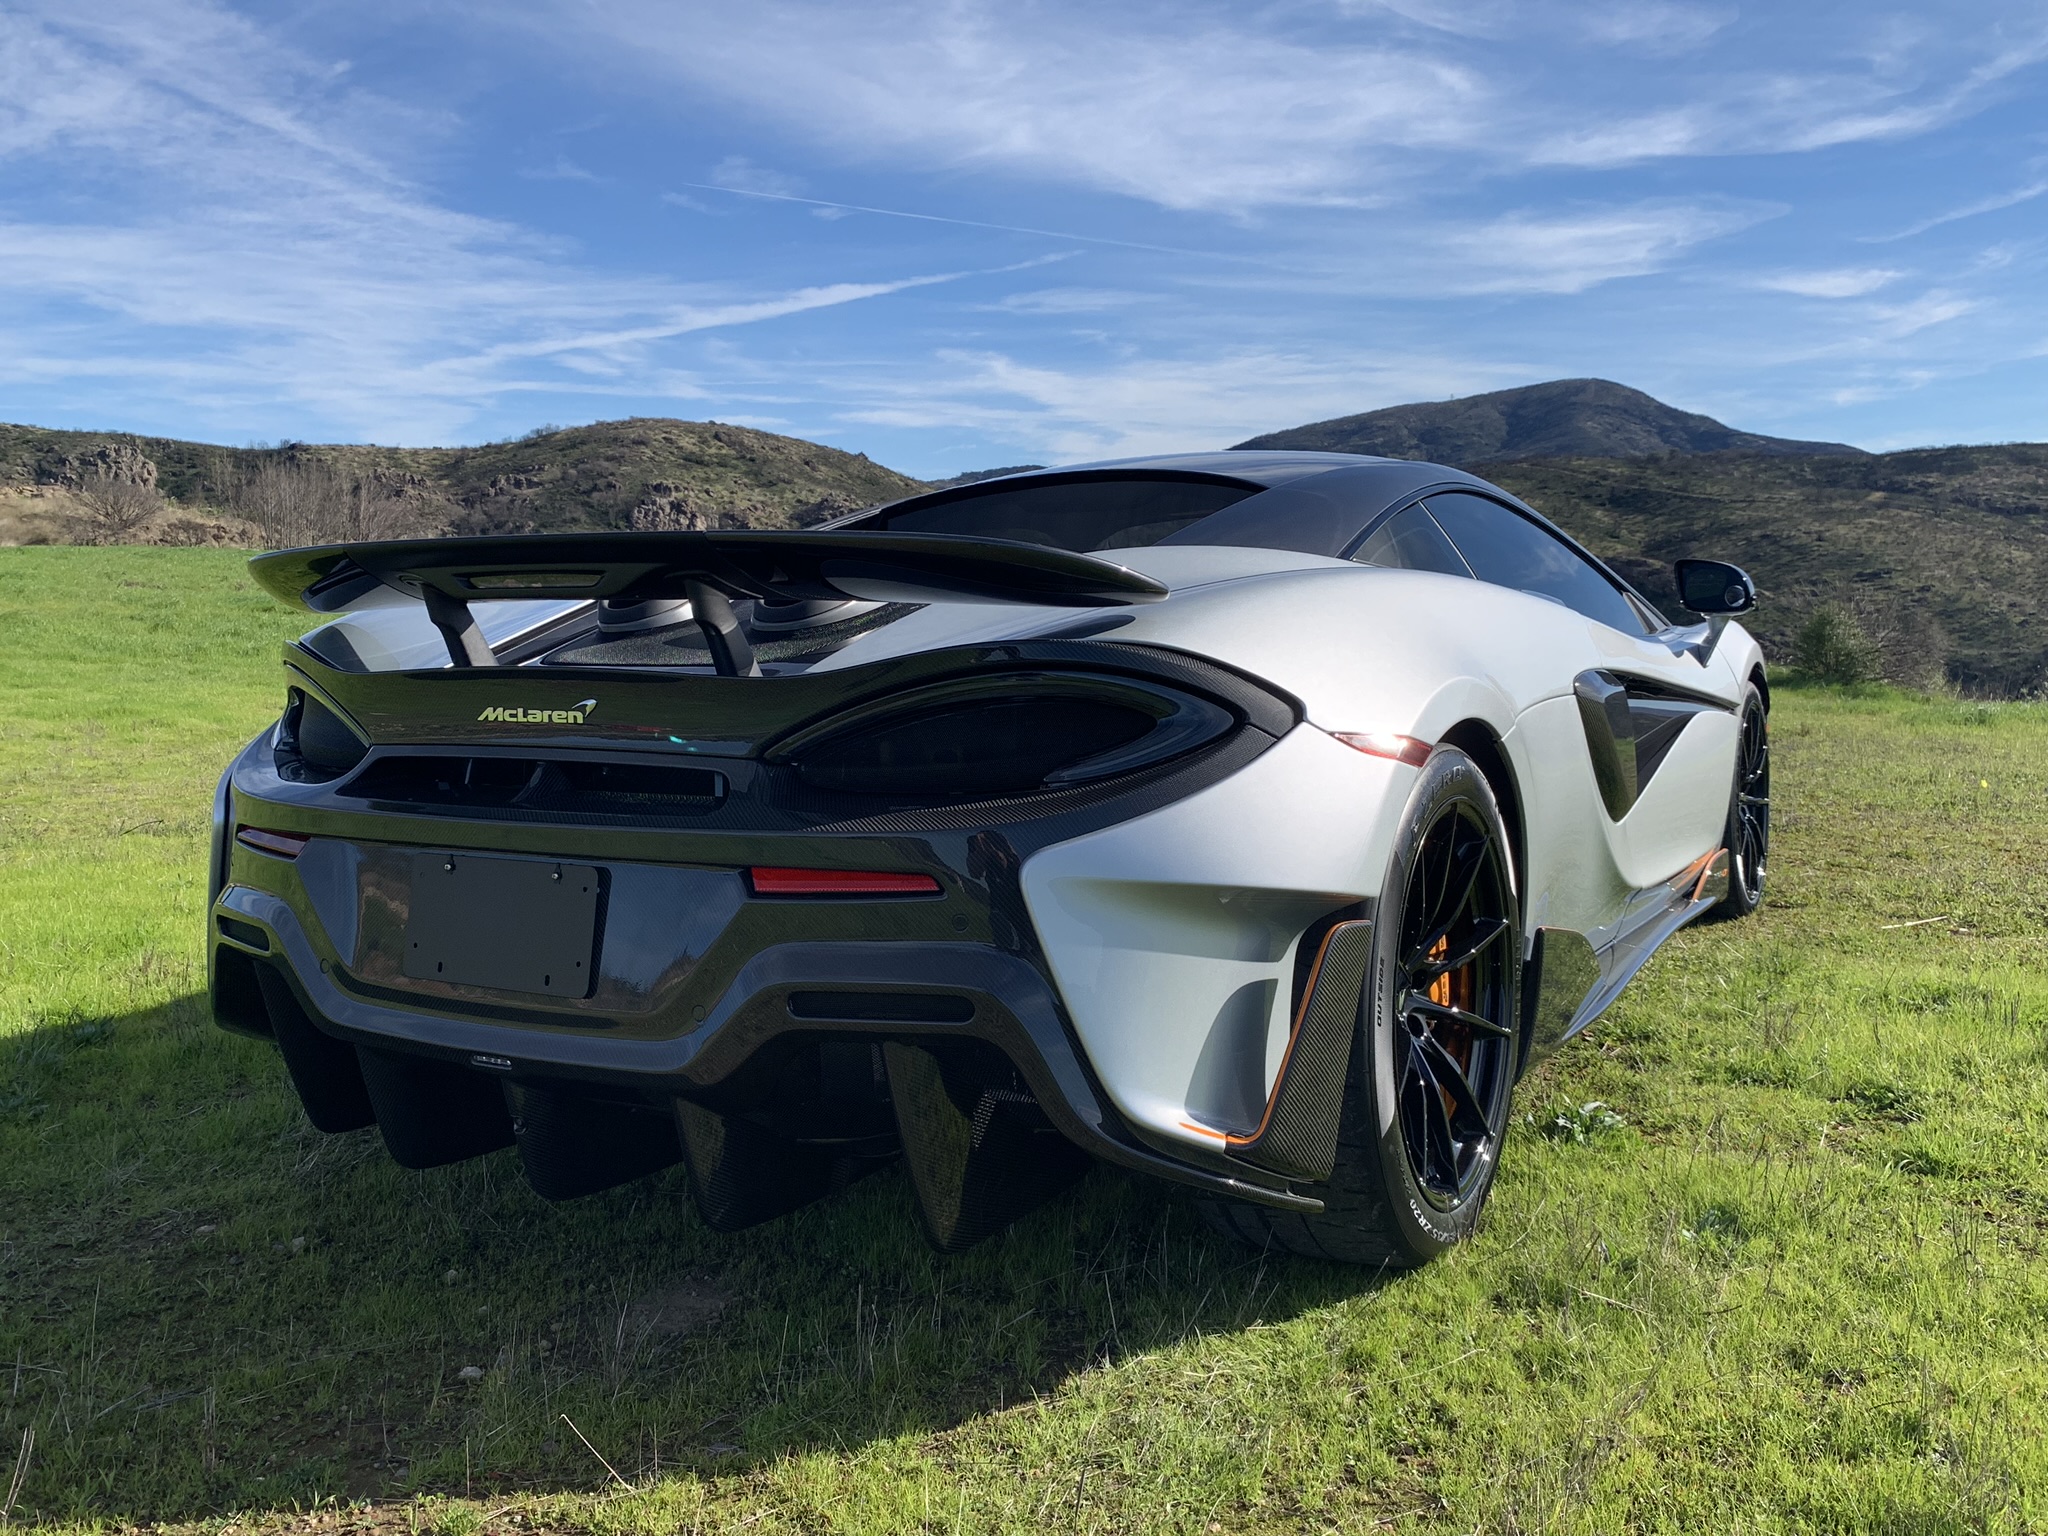
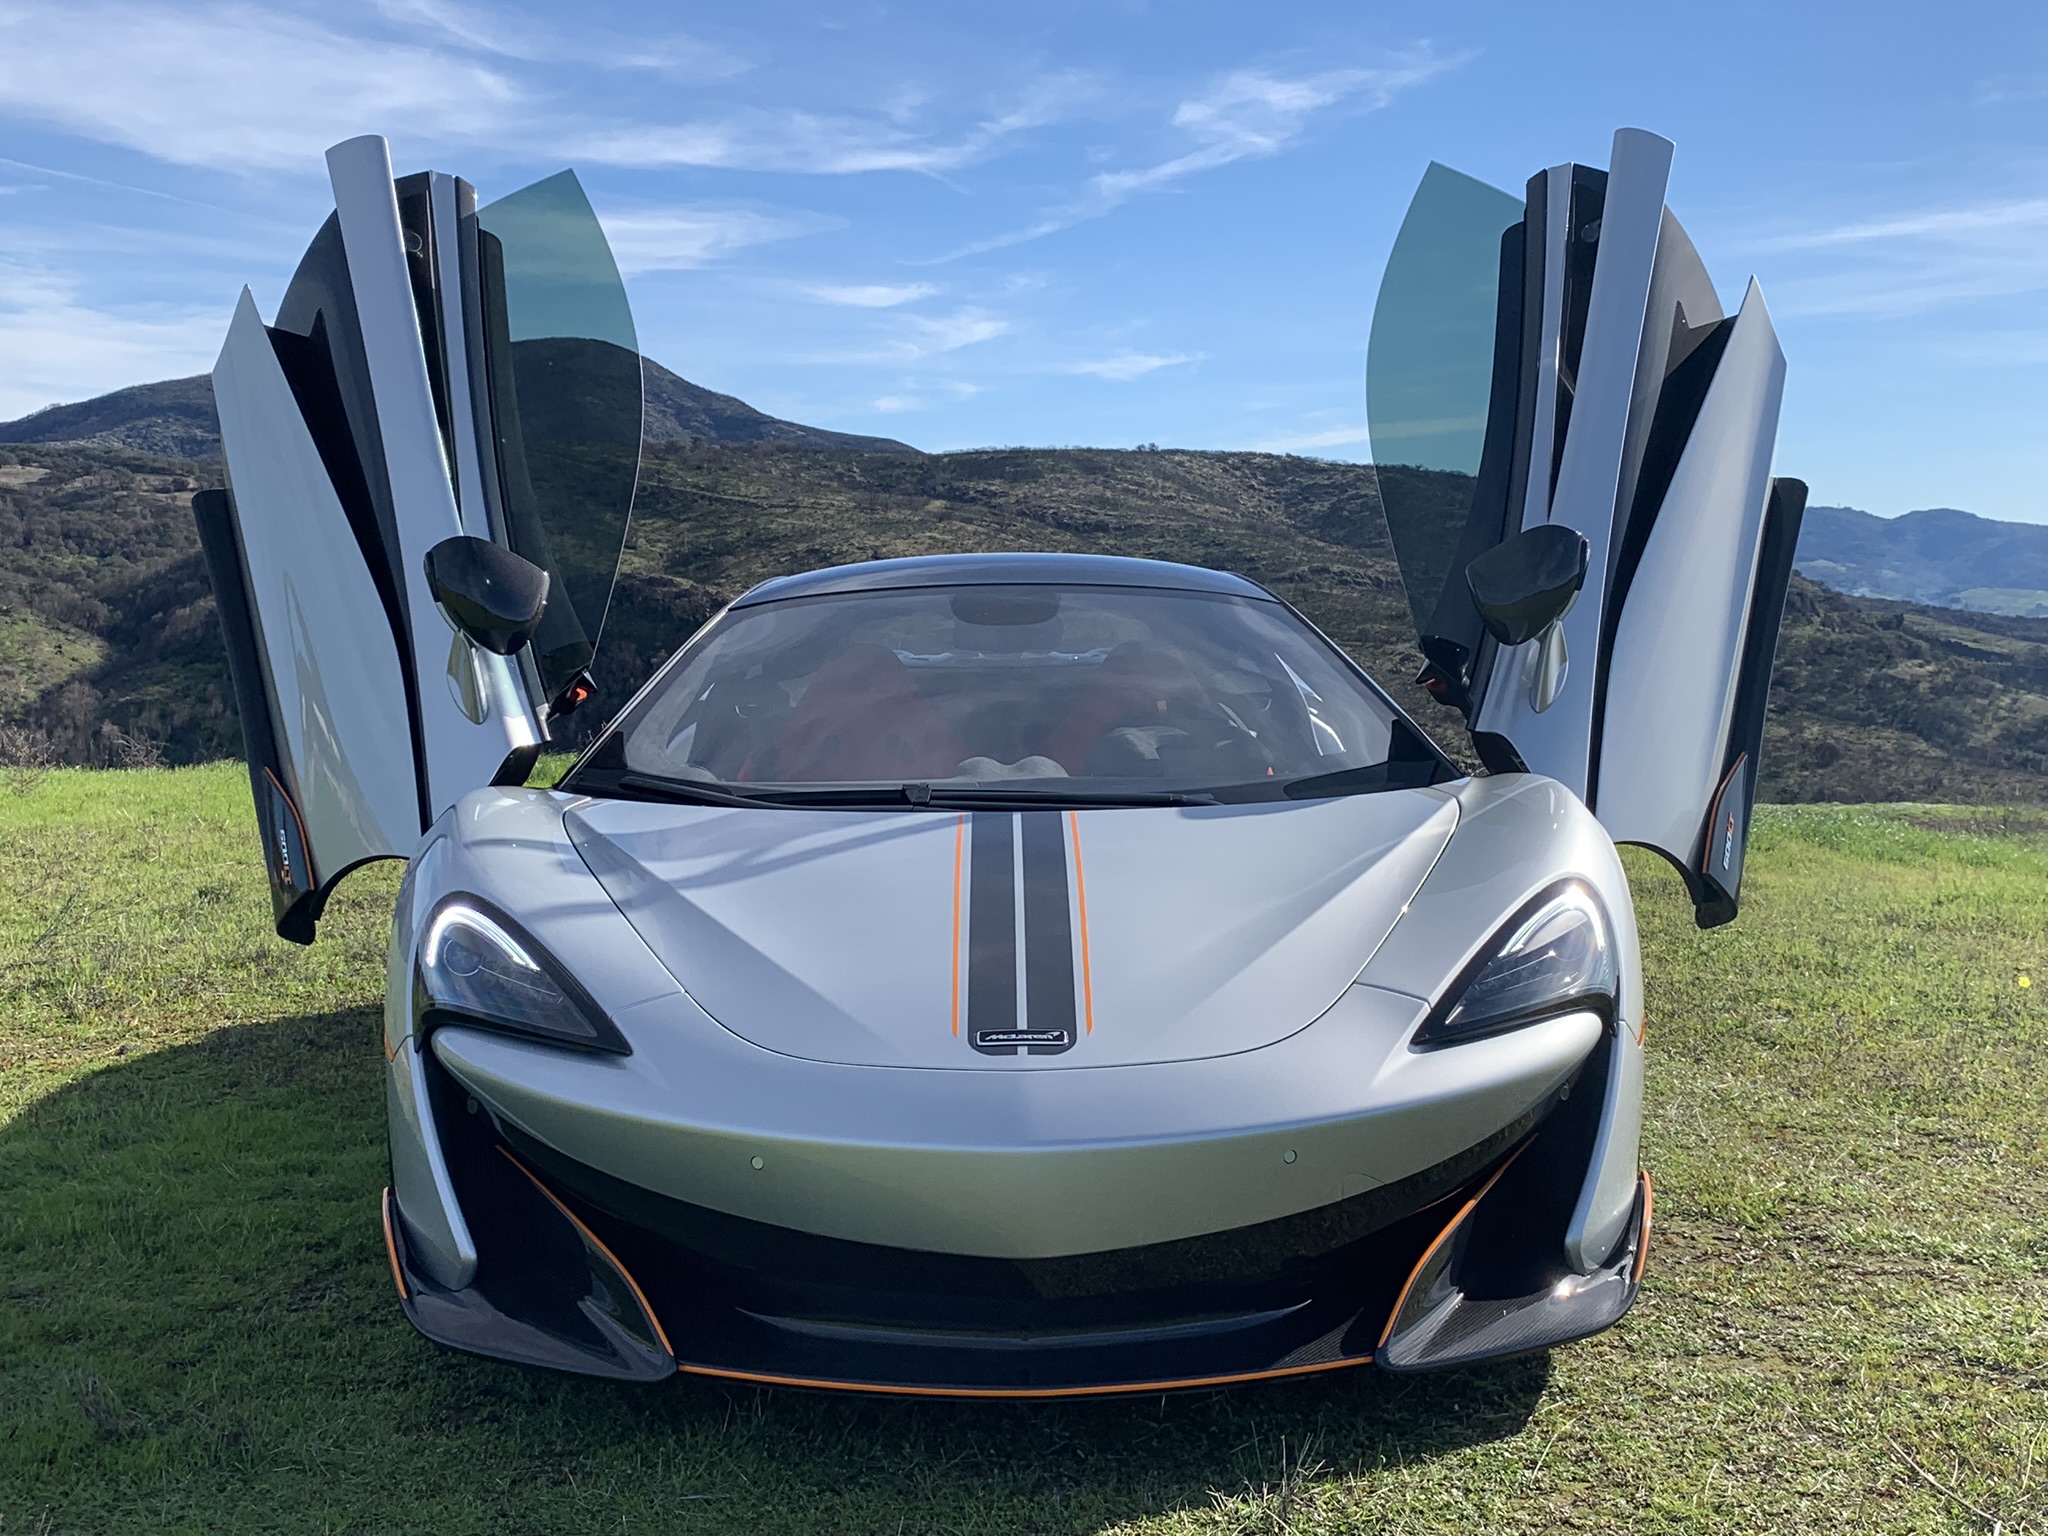
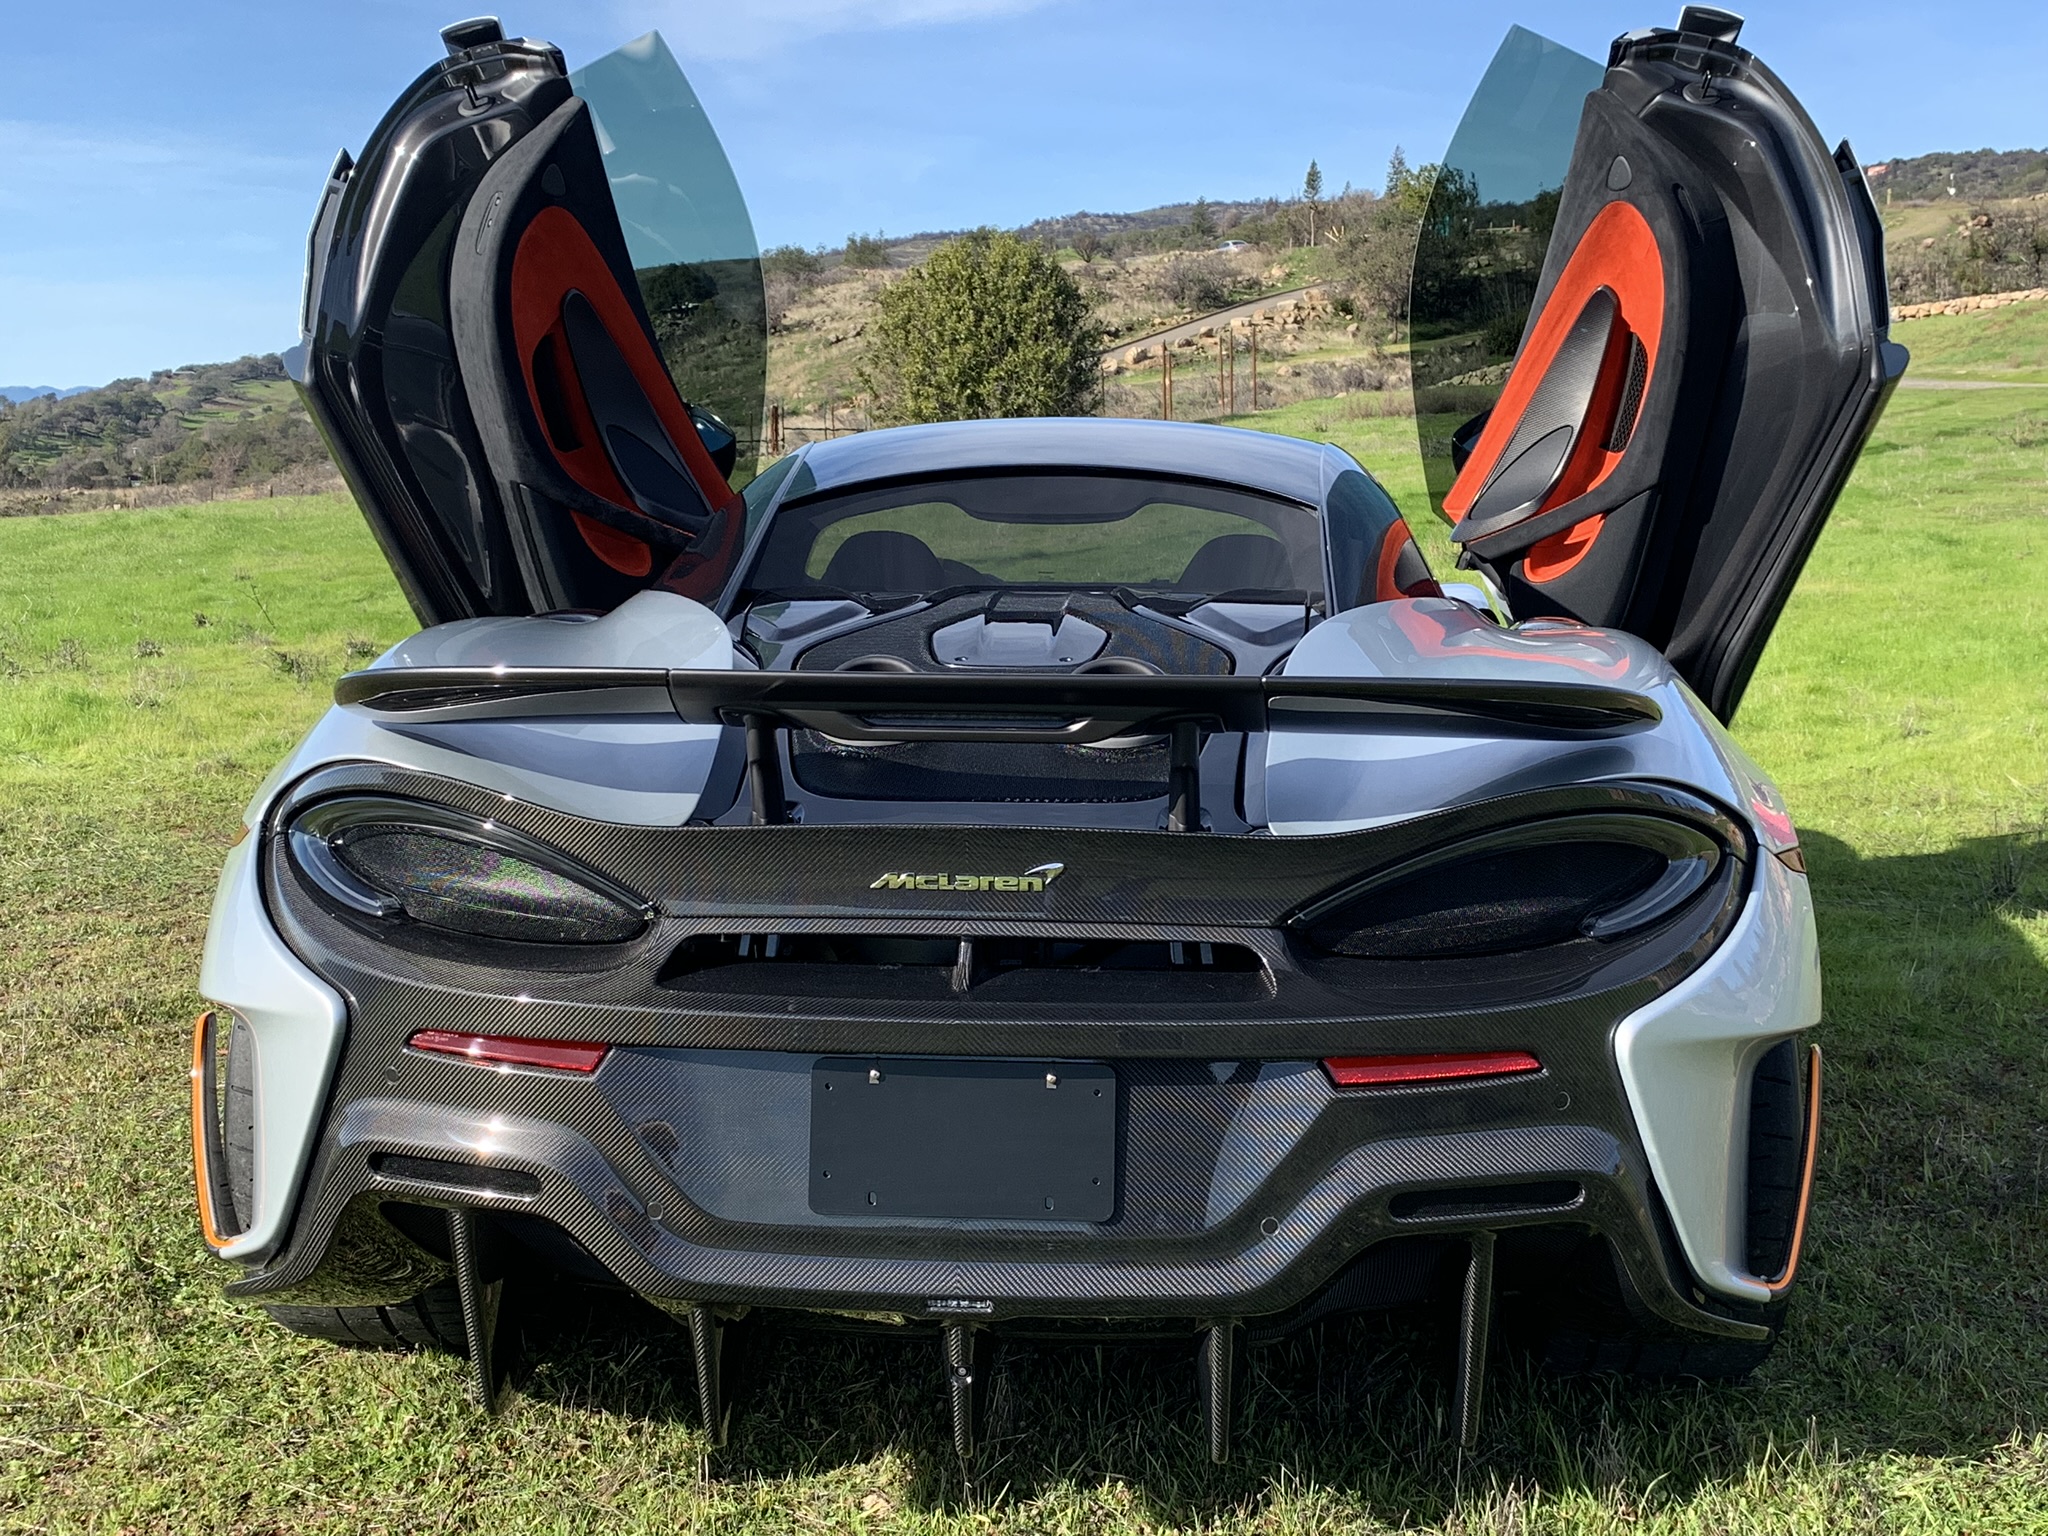
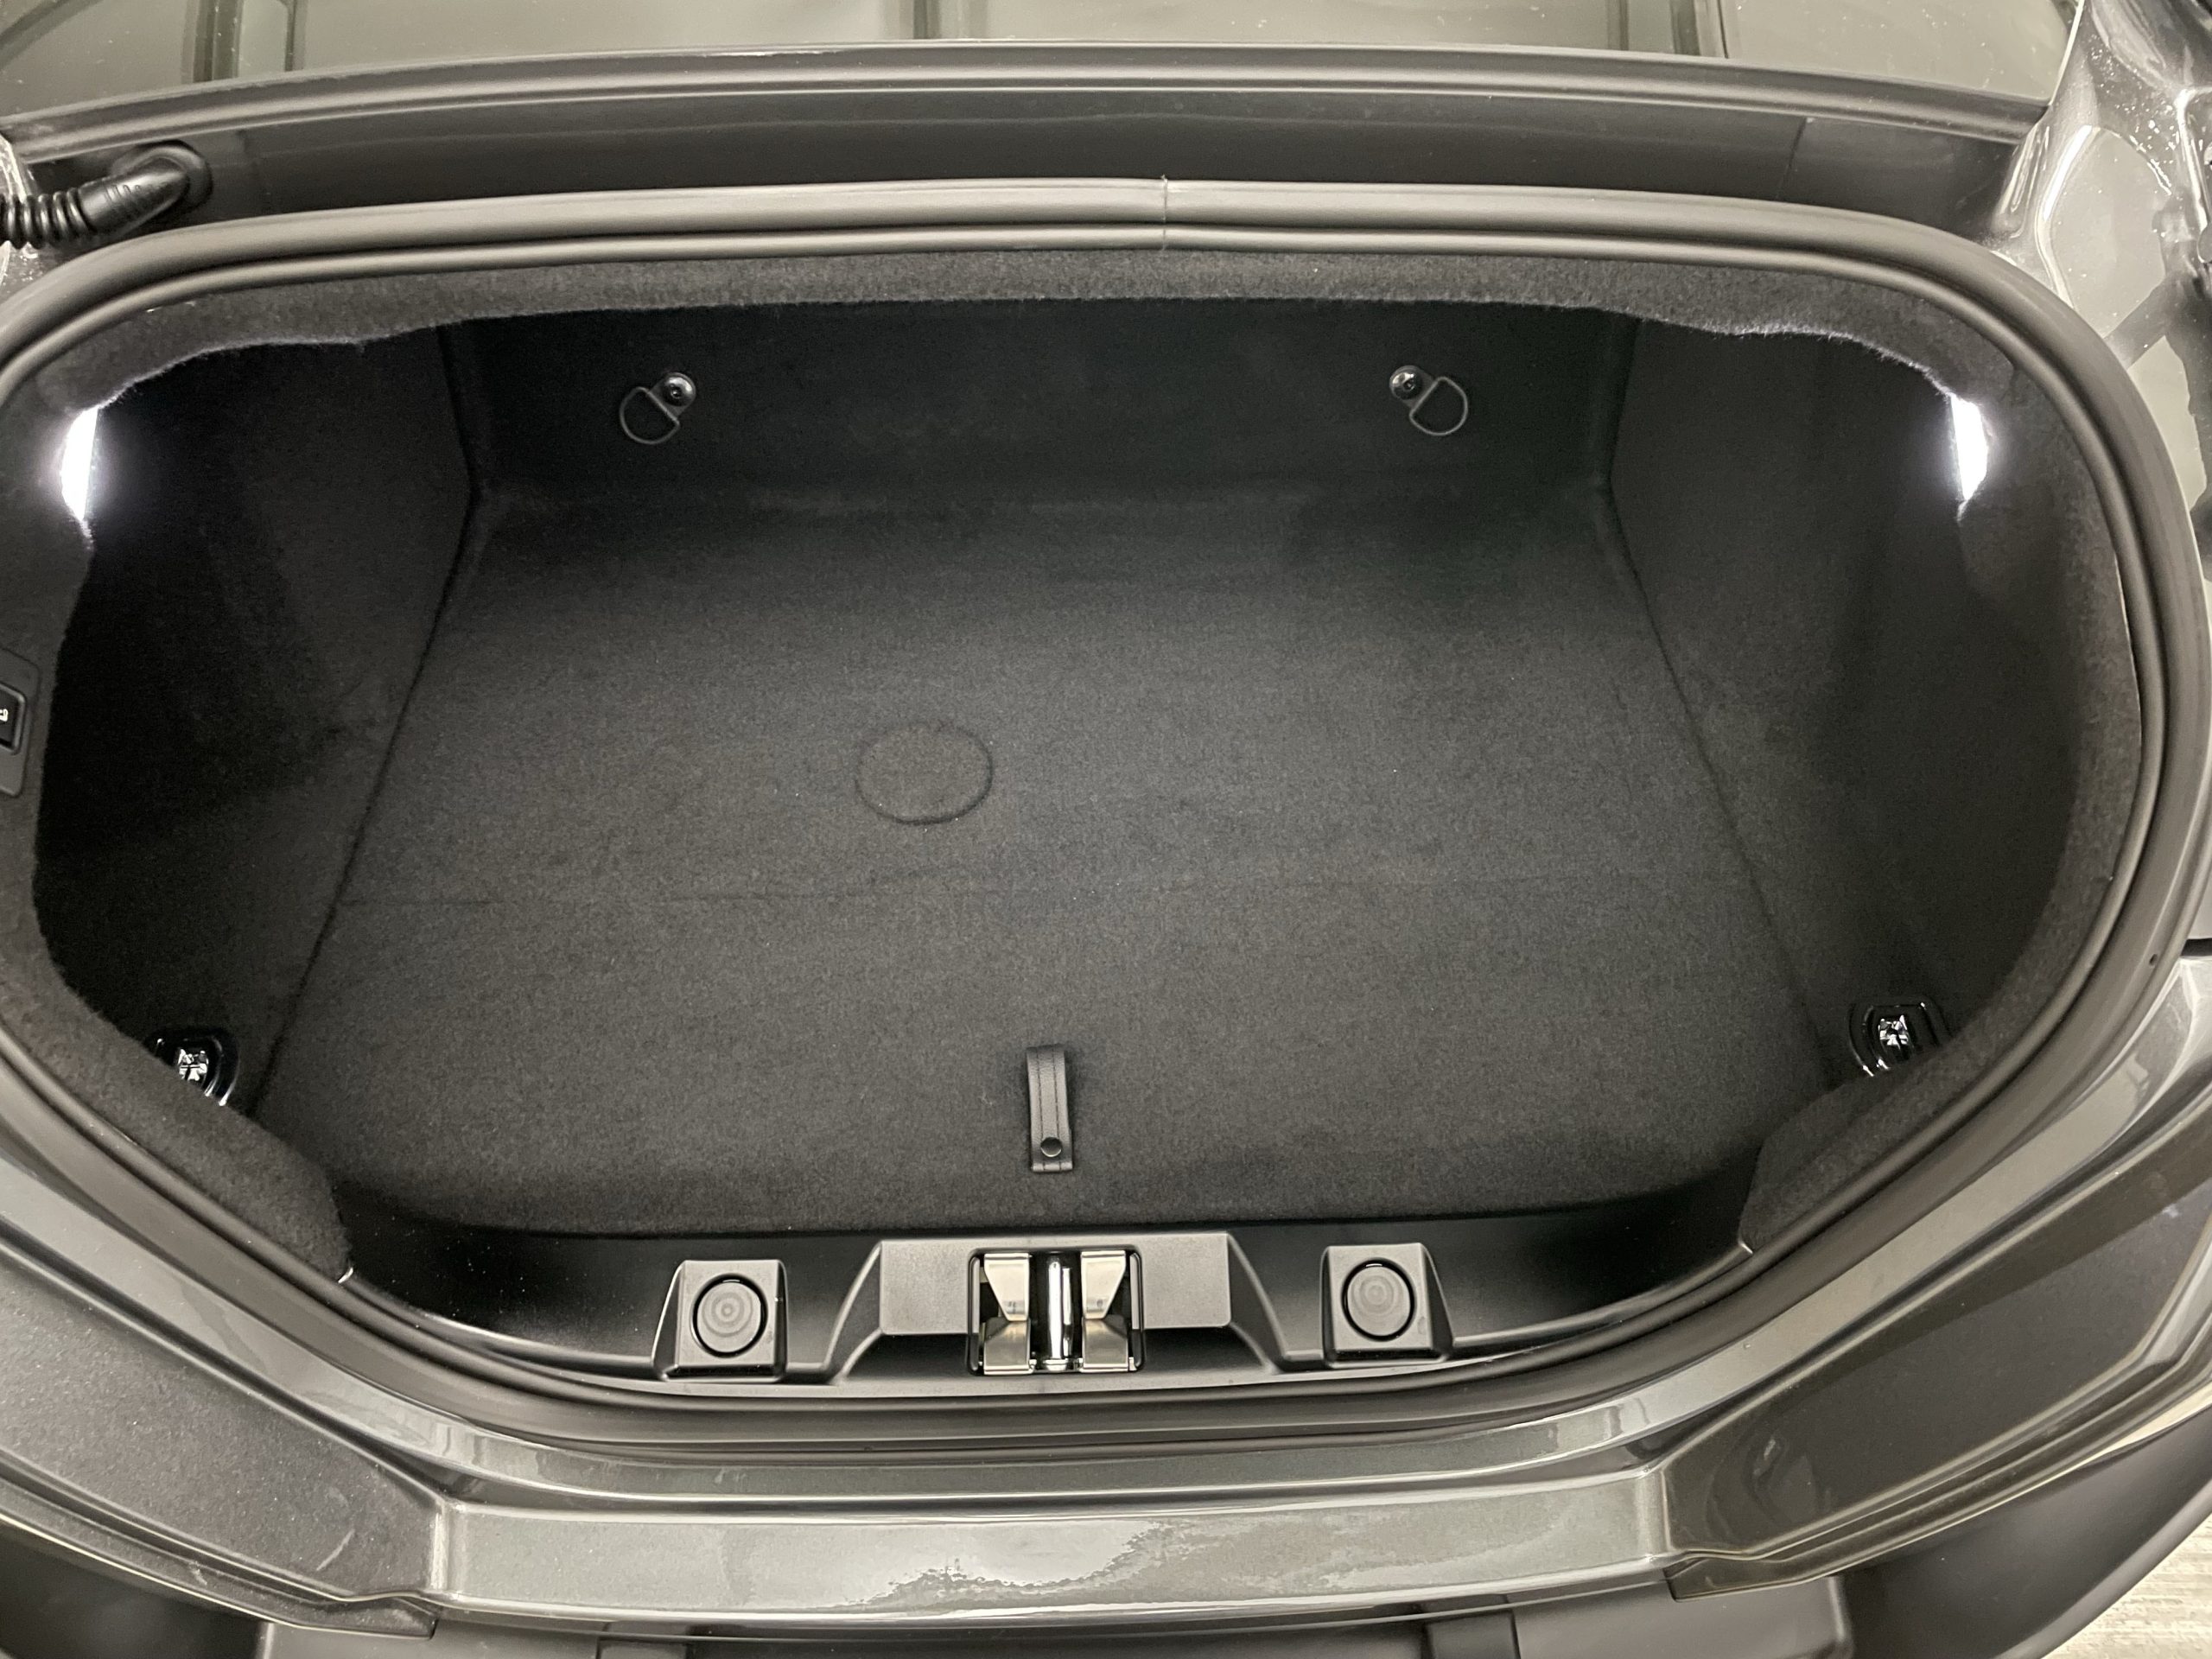
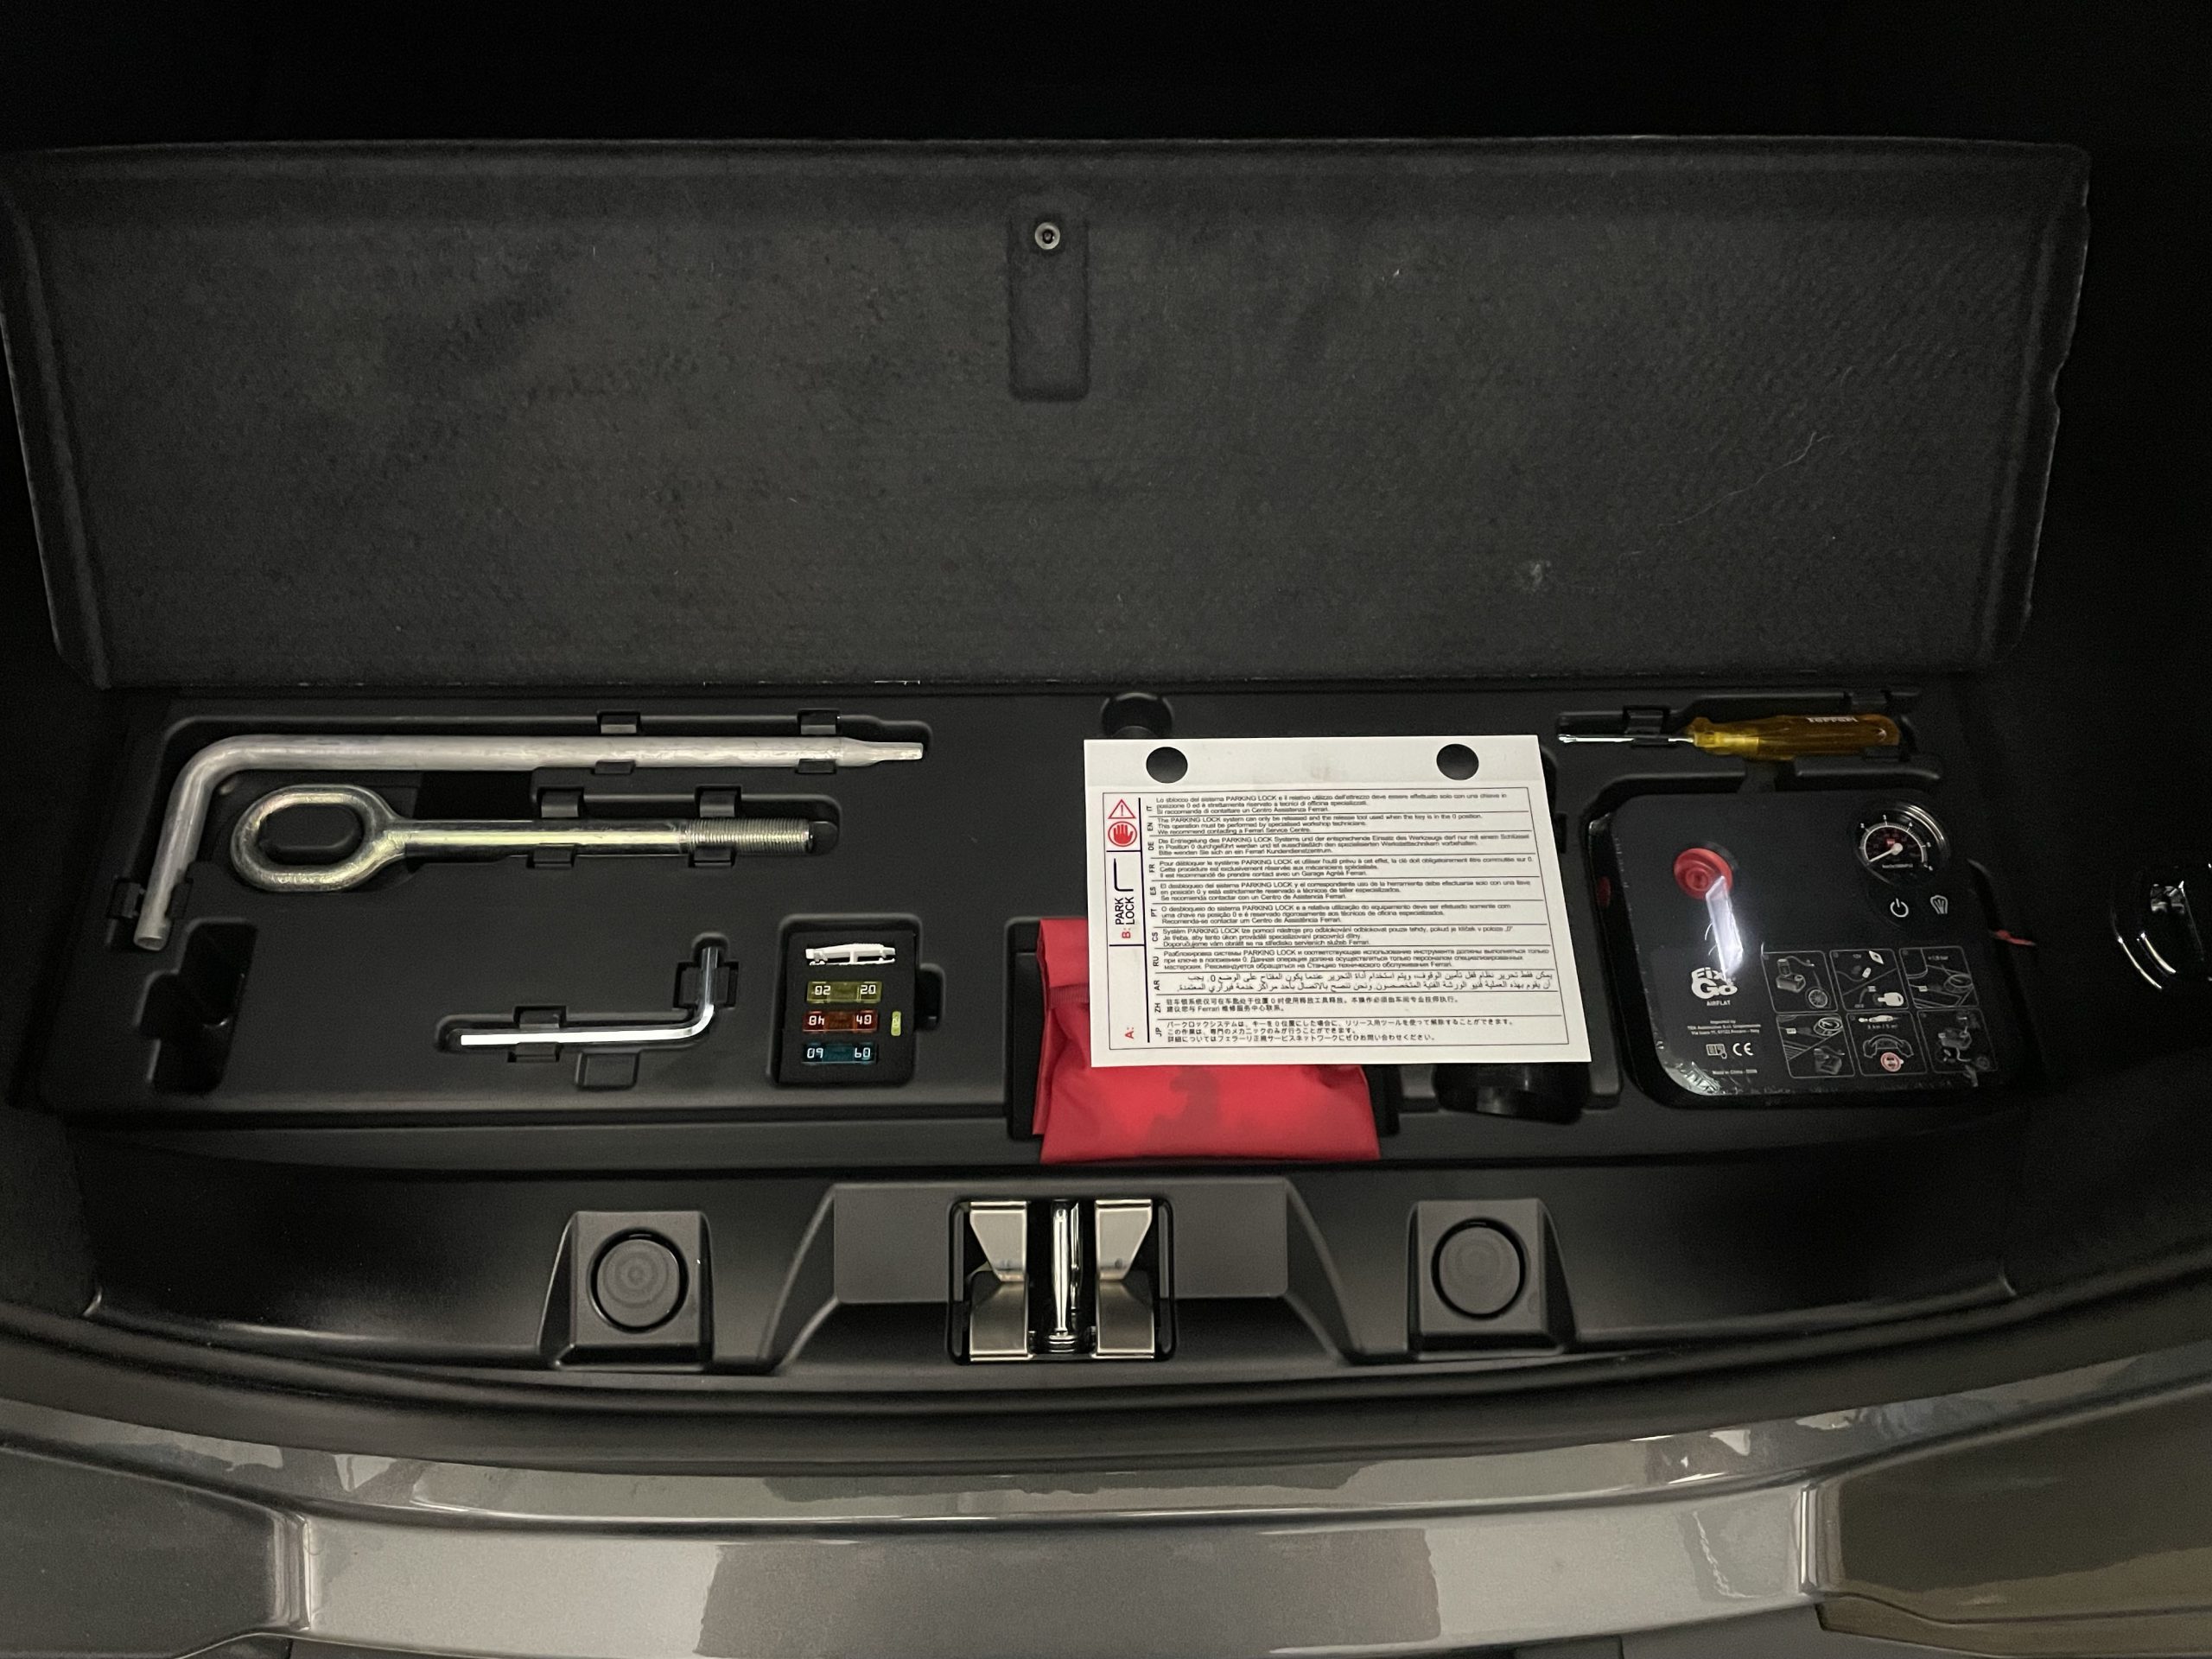
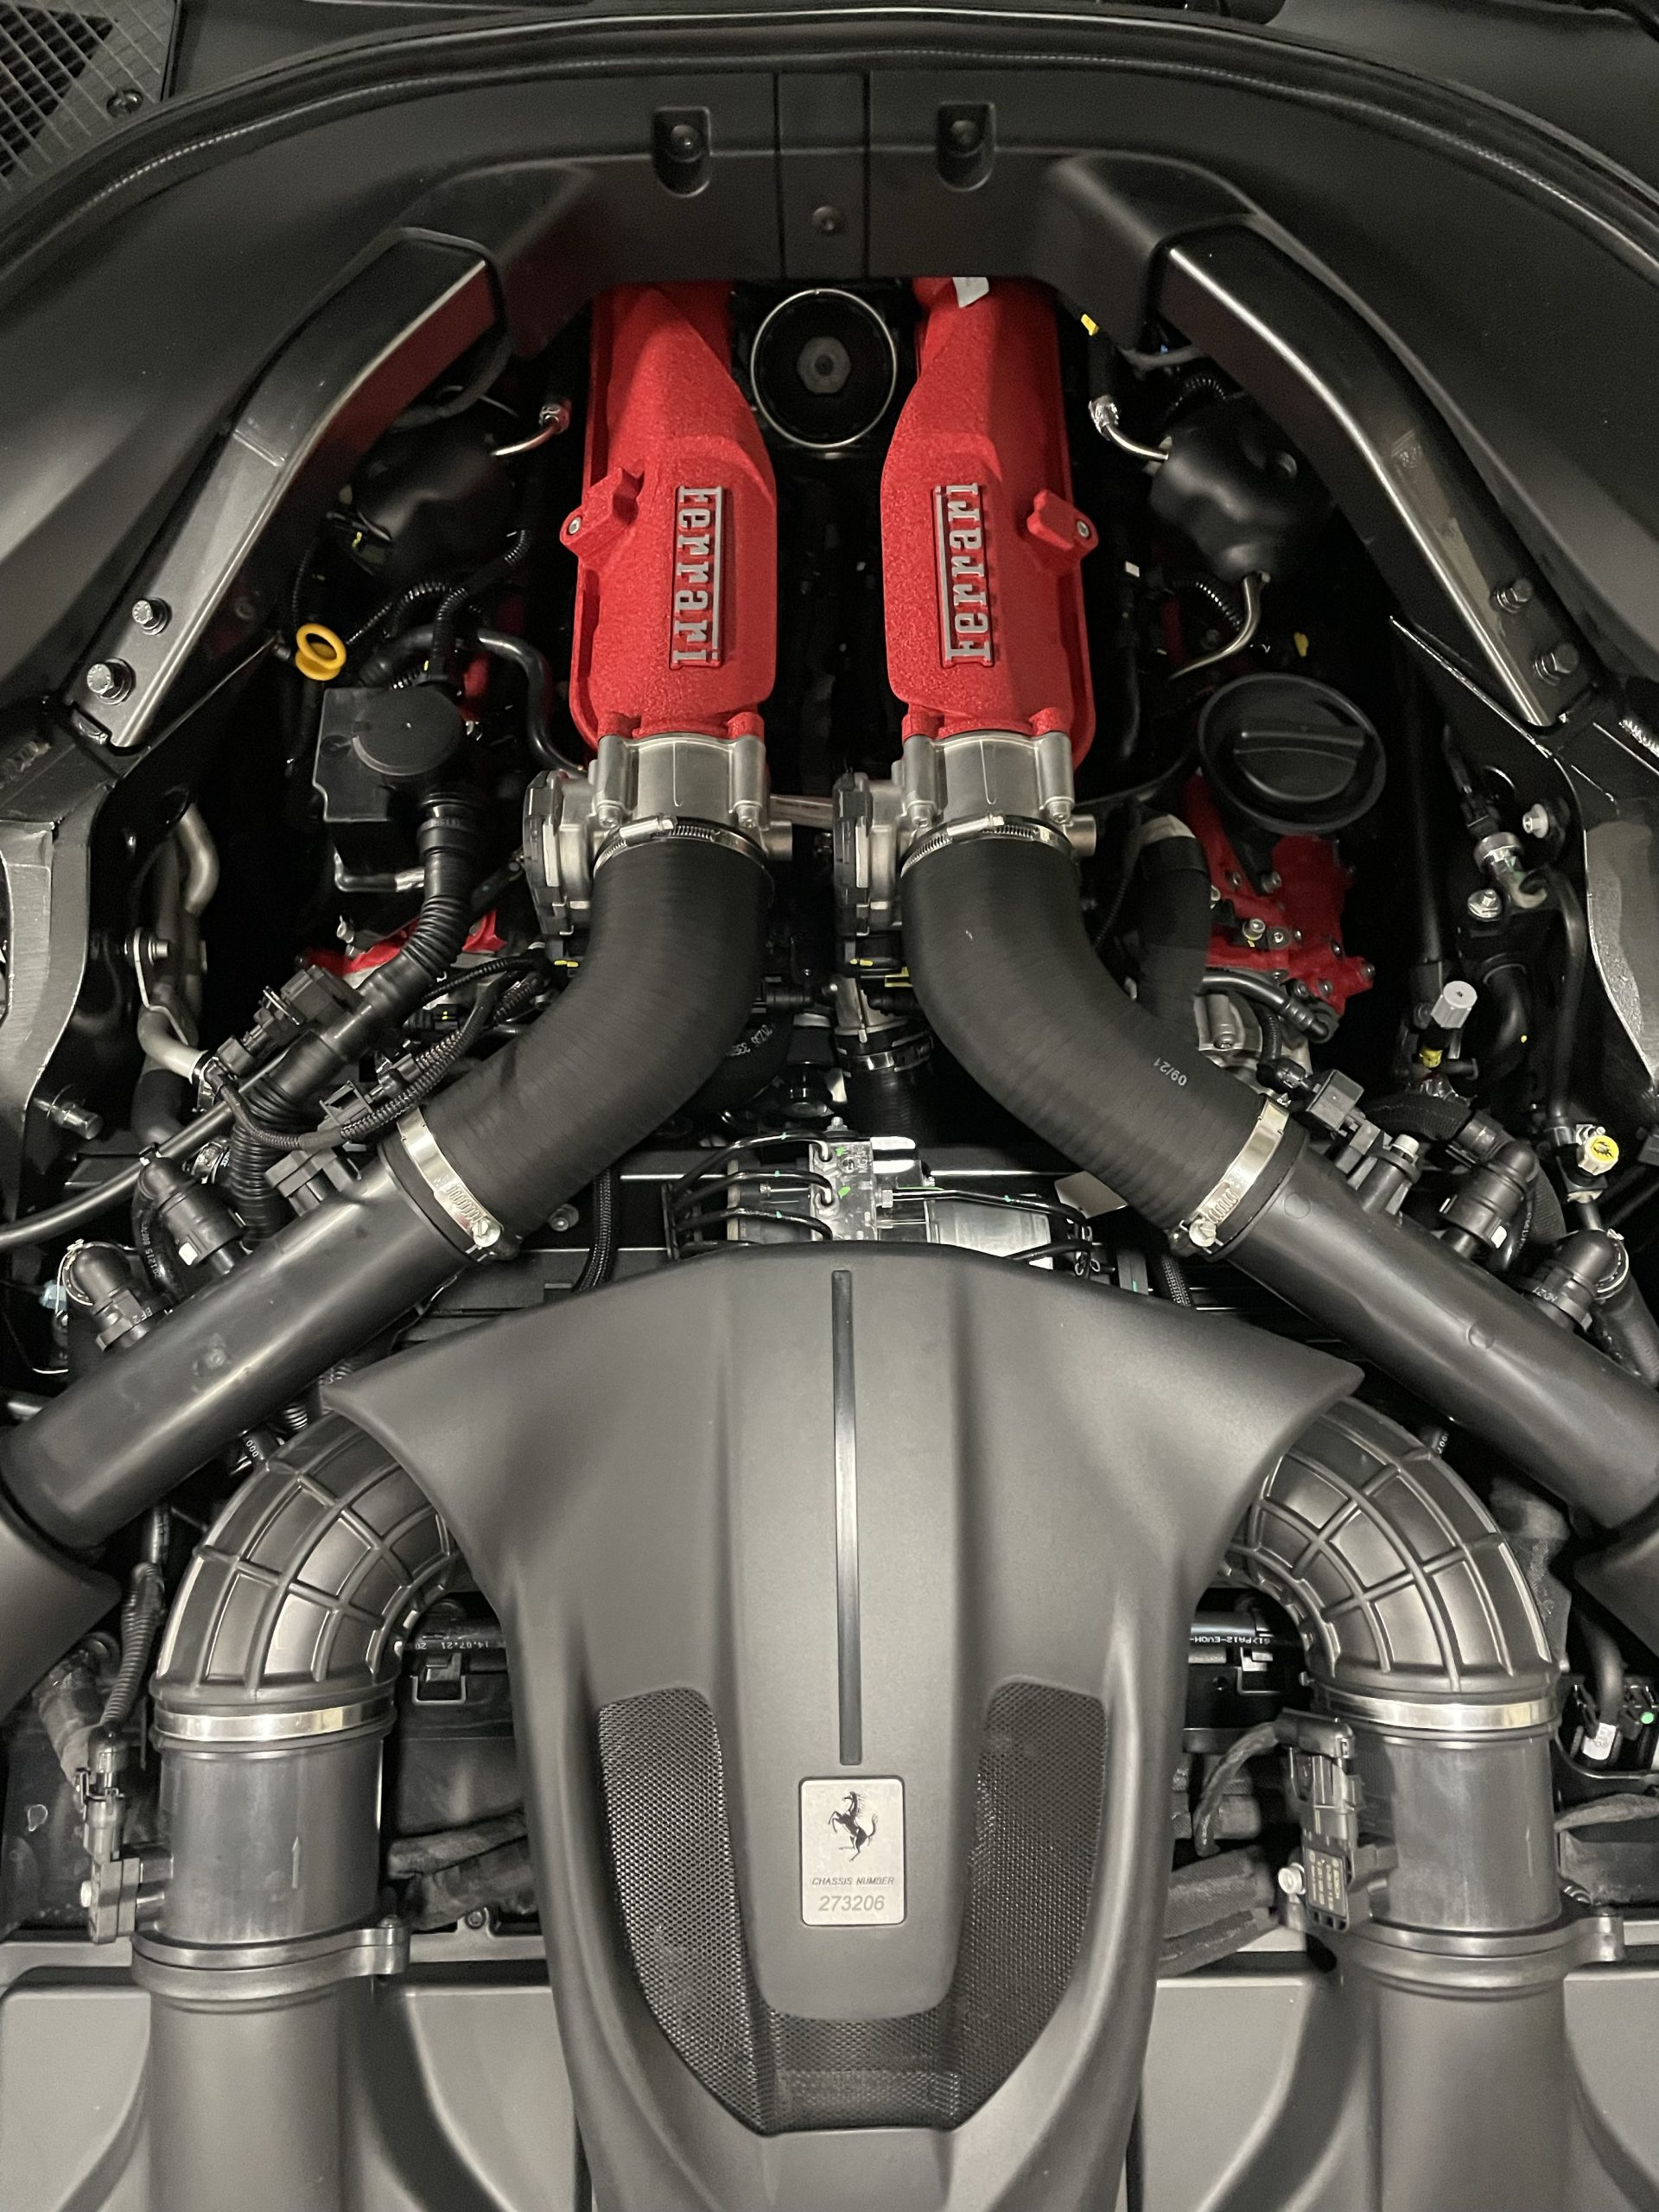
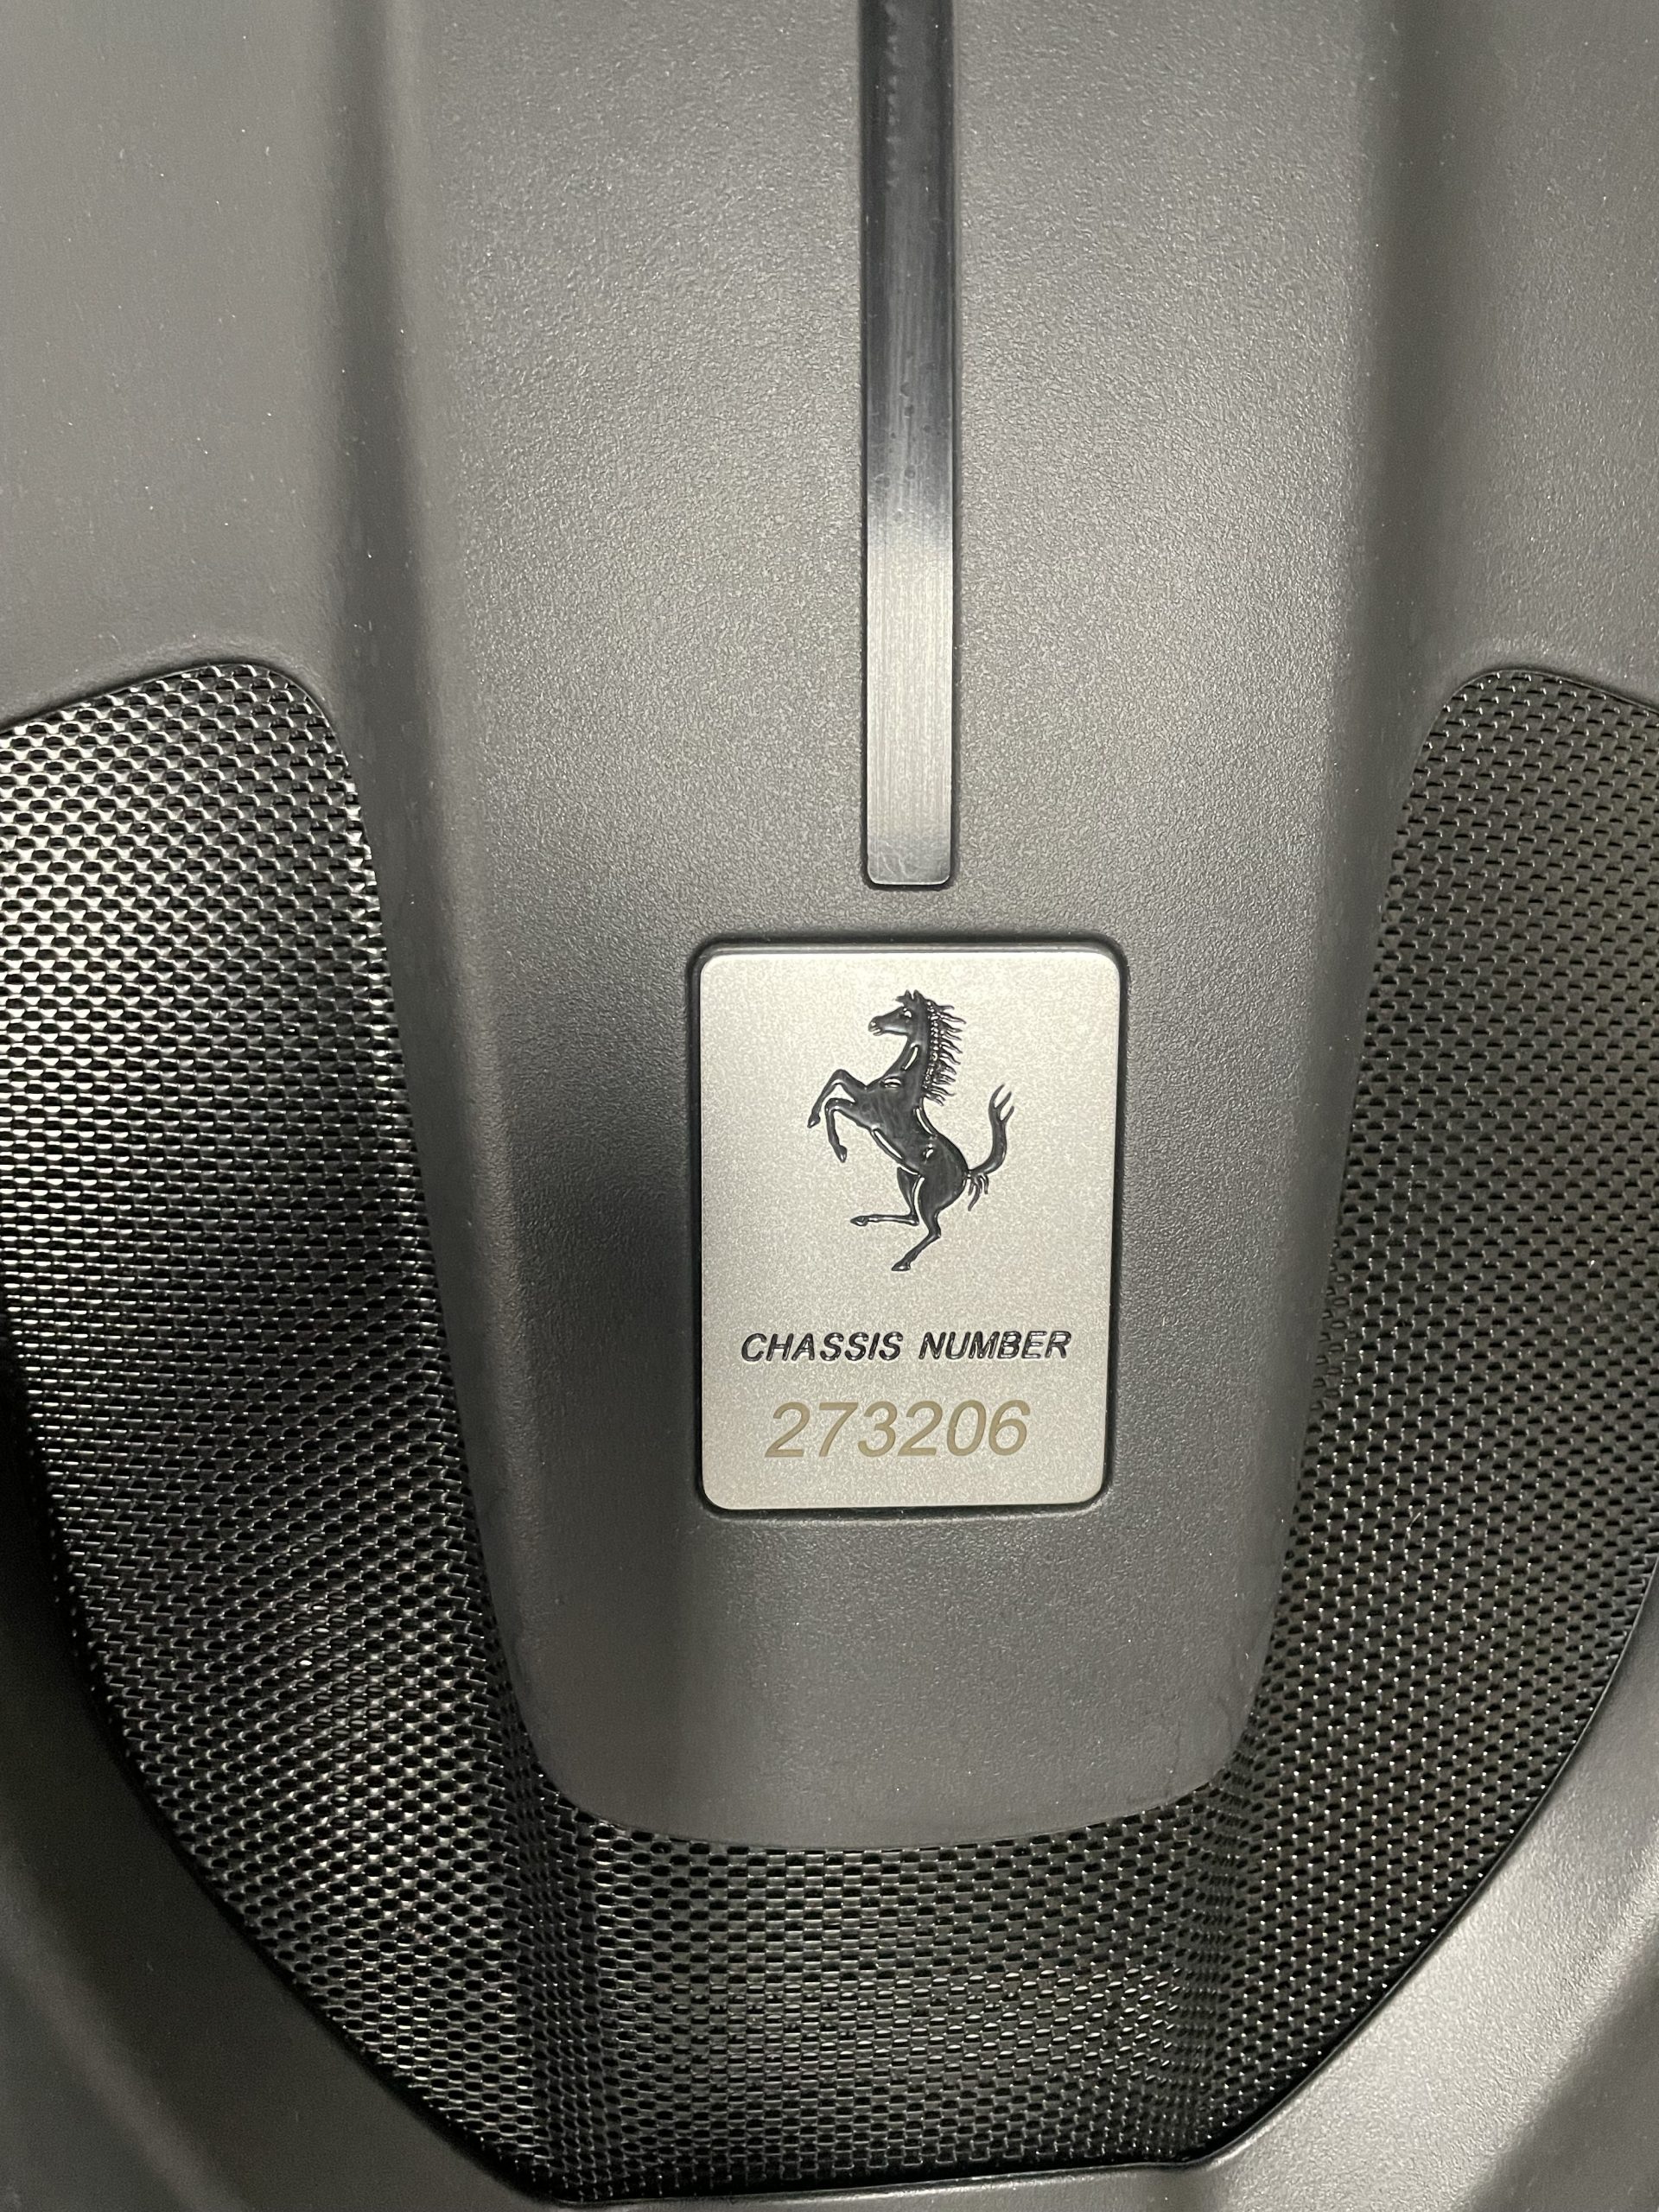
The numbers don’t lie — 75% of online buyers rely on photos to make purchasing decisions while 90% say that photos play an important role in their buyer’s journey. Whether you are selling a race car, an exotic or something in between, these statistics make photography vital to the sale of your Listing. These photography tips will help you create a photo gallery and walk-around to generate interest and bids for your Listing. The EXR Platform allows up to 15 MB size per photo.
Photo Format
The best photo format for online vehicle marketplace listings
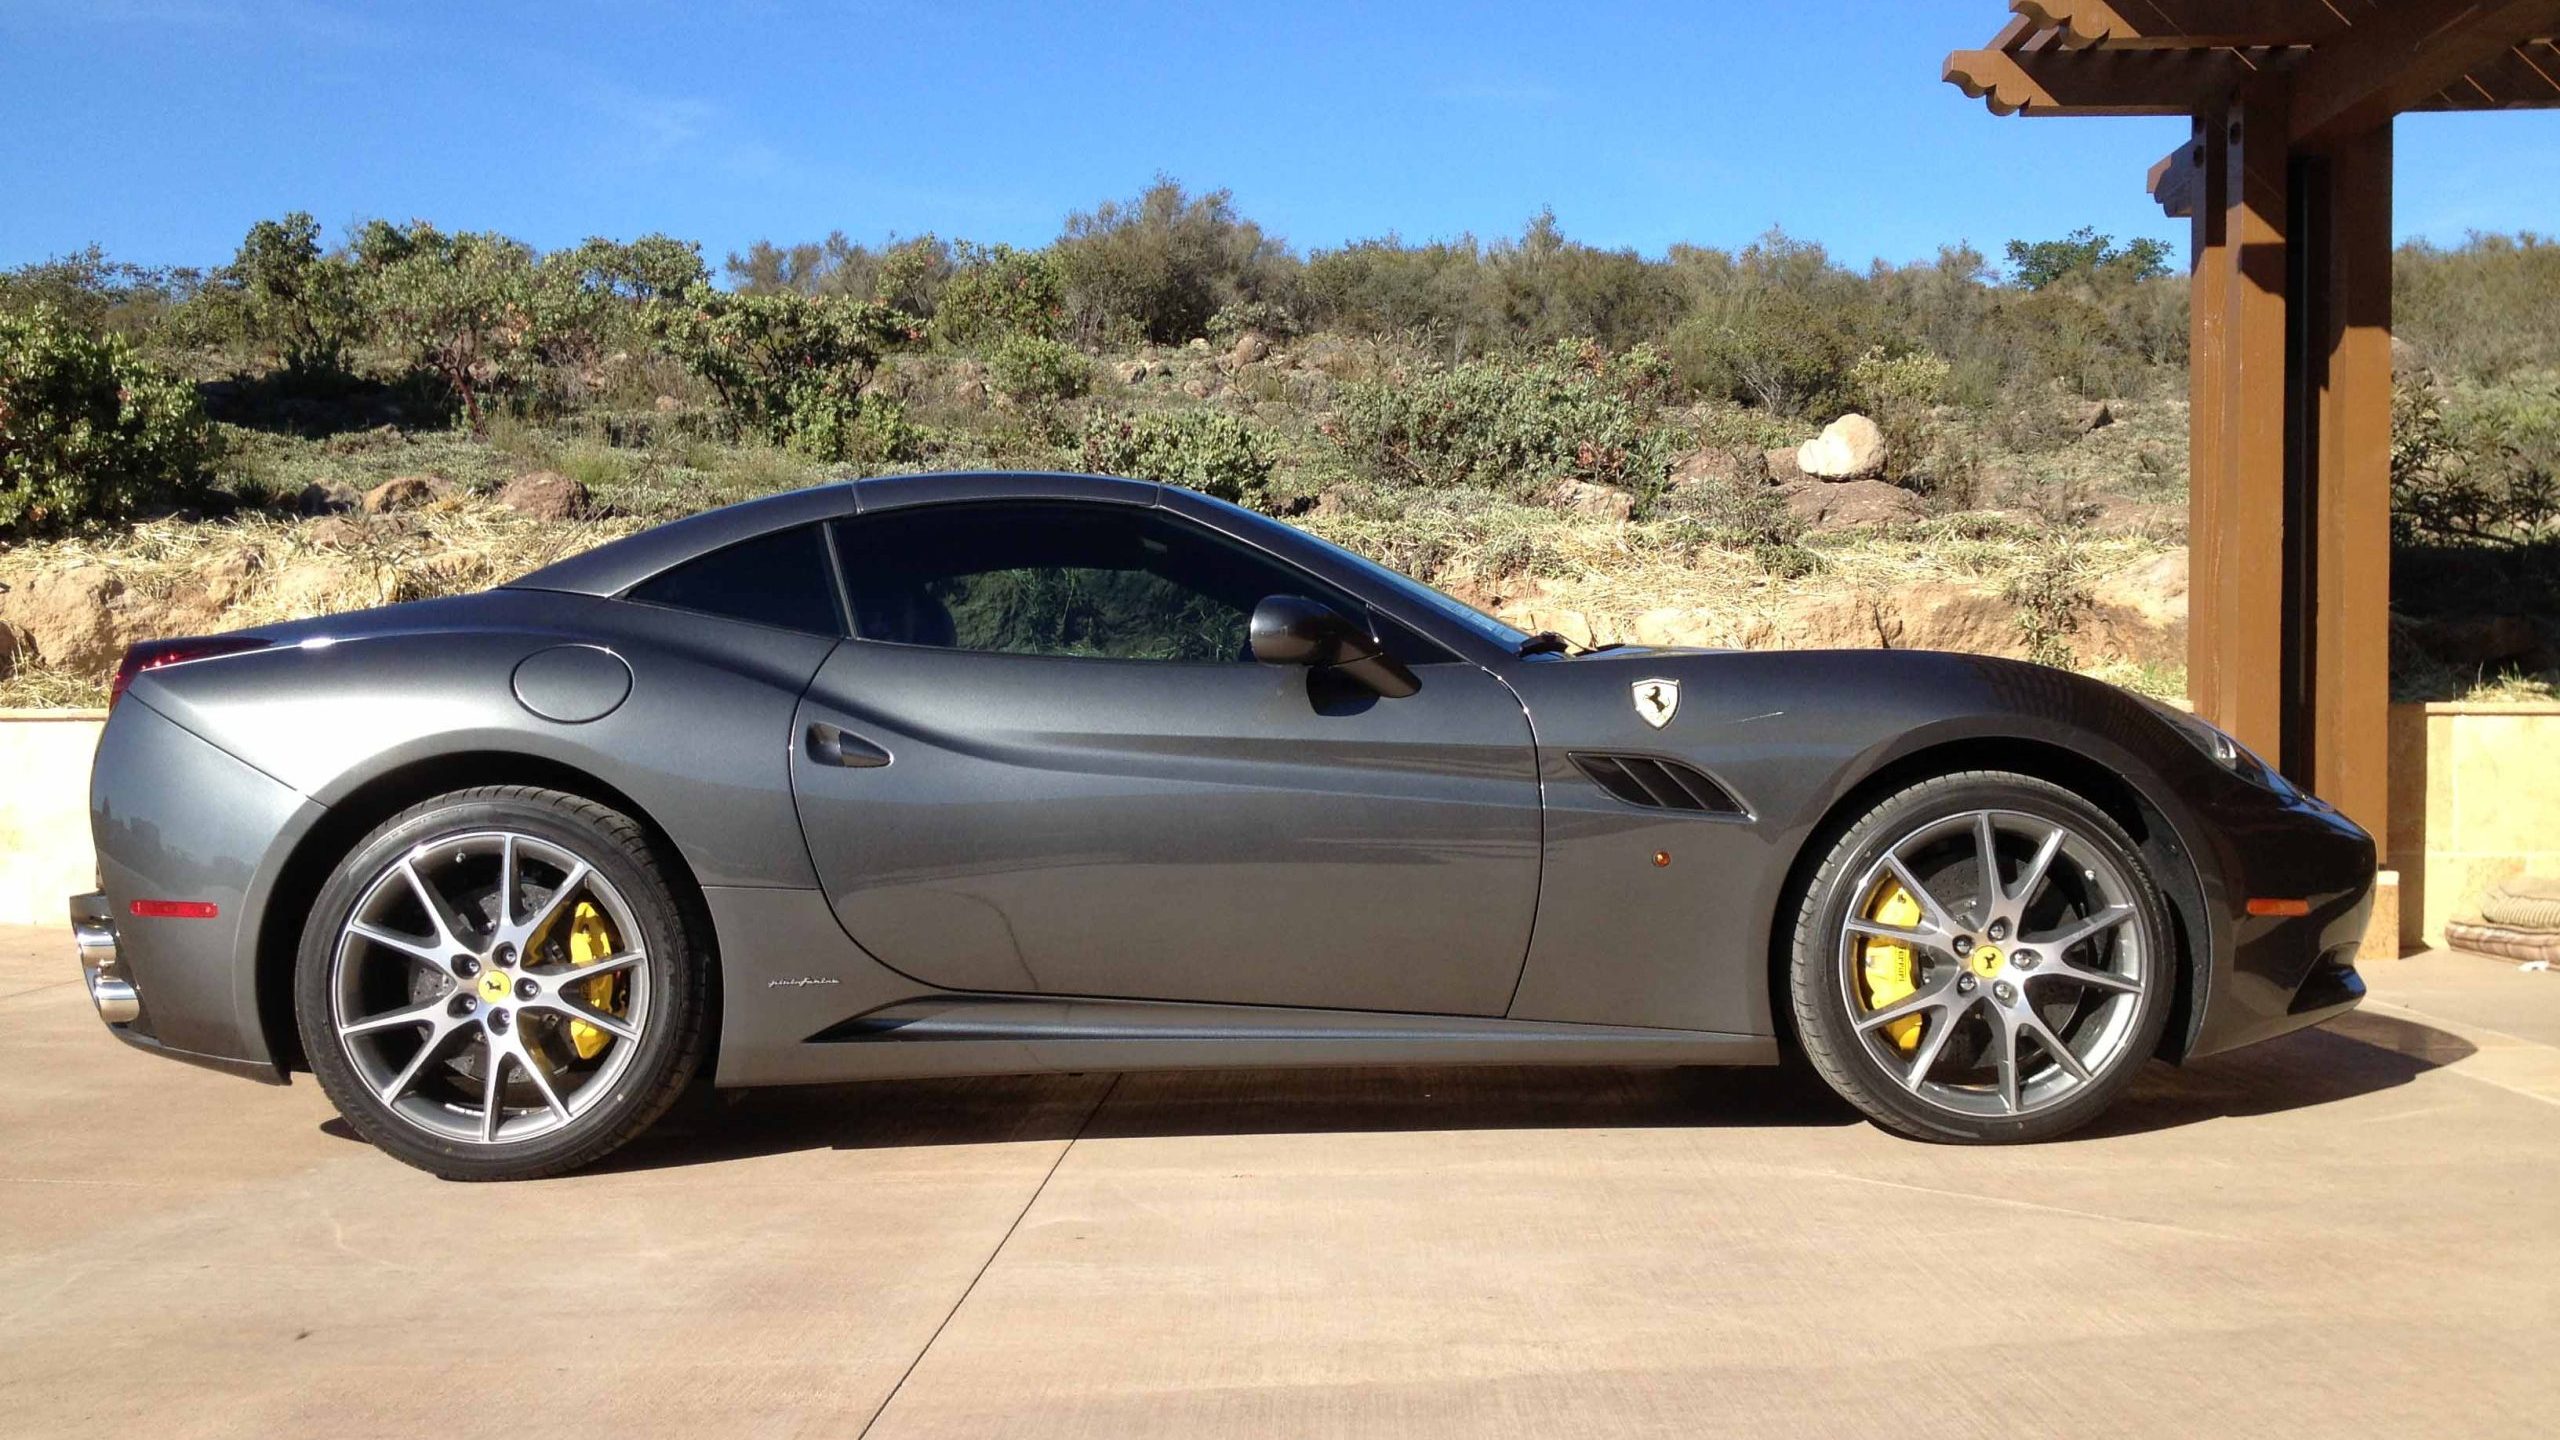
When taking photos for your Listing, it’s best to use landscape orientation with a 3:2 aspect ratio. This orientation best captures the vehicle in its entirety, giving online bidders a good idea of its size, features, and overall design. In photography, the landscape orientation is a horizontal orientation as opposed to vertical for portrait.
One of the main advantages of landscape over portrait orientation is that it gives the viewer a sense of scale and the feeling of more space. It is also more flattering for horizontal subjects like cars.
Using portrait orientation, on the other hand, will either cut off certain parts of the vehicle or compress it into a smaller image in which the finer details of the design may not be as evident. The portrait orientation is better for mobile sites and social platforms where buyers browse vertically on their phones.
Tools & Setup
The right tools and set-up for vehicle photos
While it’s possible to use a phone camera to take photos of your vehicle, it’s advisable to use a DSLR camera and a tripod. Generally speaking, DSLR cameras produce photos with greater resolutions compared to phone cameras. This is because DSLR cameras have bigger lenses and more sensors than the average smartphone camera along with more megapixels and larger sensors that let in more light and produce better quality images.
A DSLR camera also gives you more control over exposure, shutter speed, and aperture.
This allows for more creativity when taking photos of your vehicle. Using a tripod with your DSLR camera can also help you avoid taking blurry photos as a result of shaky hand movements.
There are other factors affecting the quality of your photos, namely lighting and location. Although DSLR cameras can perform well in low-light settings, it is advisable to take photos of your vehicle in an outdoor setting with plenty of natural light. Make sure that there are no other vehicles or other distracting details like graffiti in the background. Make sure that there are no puddles or stains on the ground around your vehicle.
Exterior
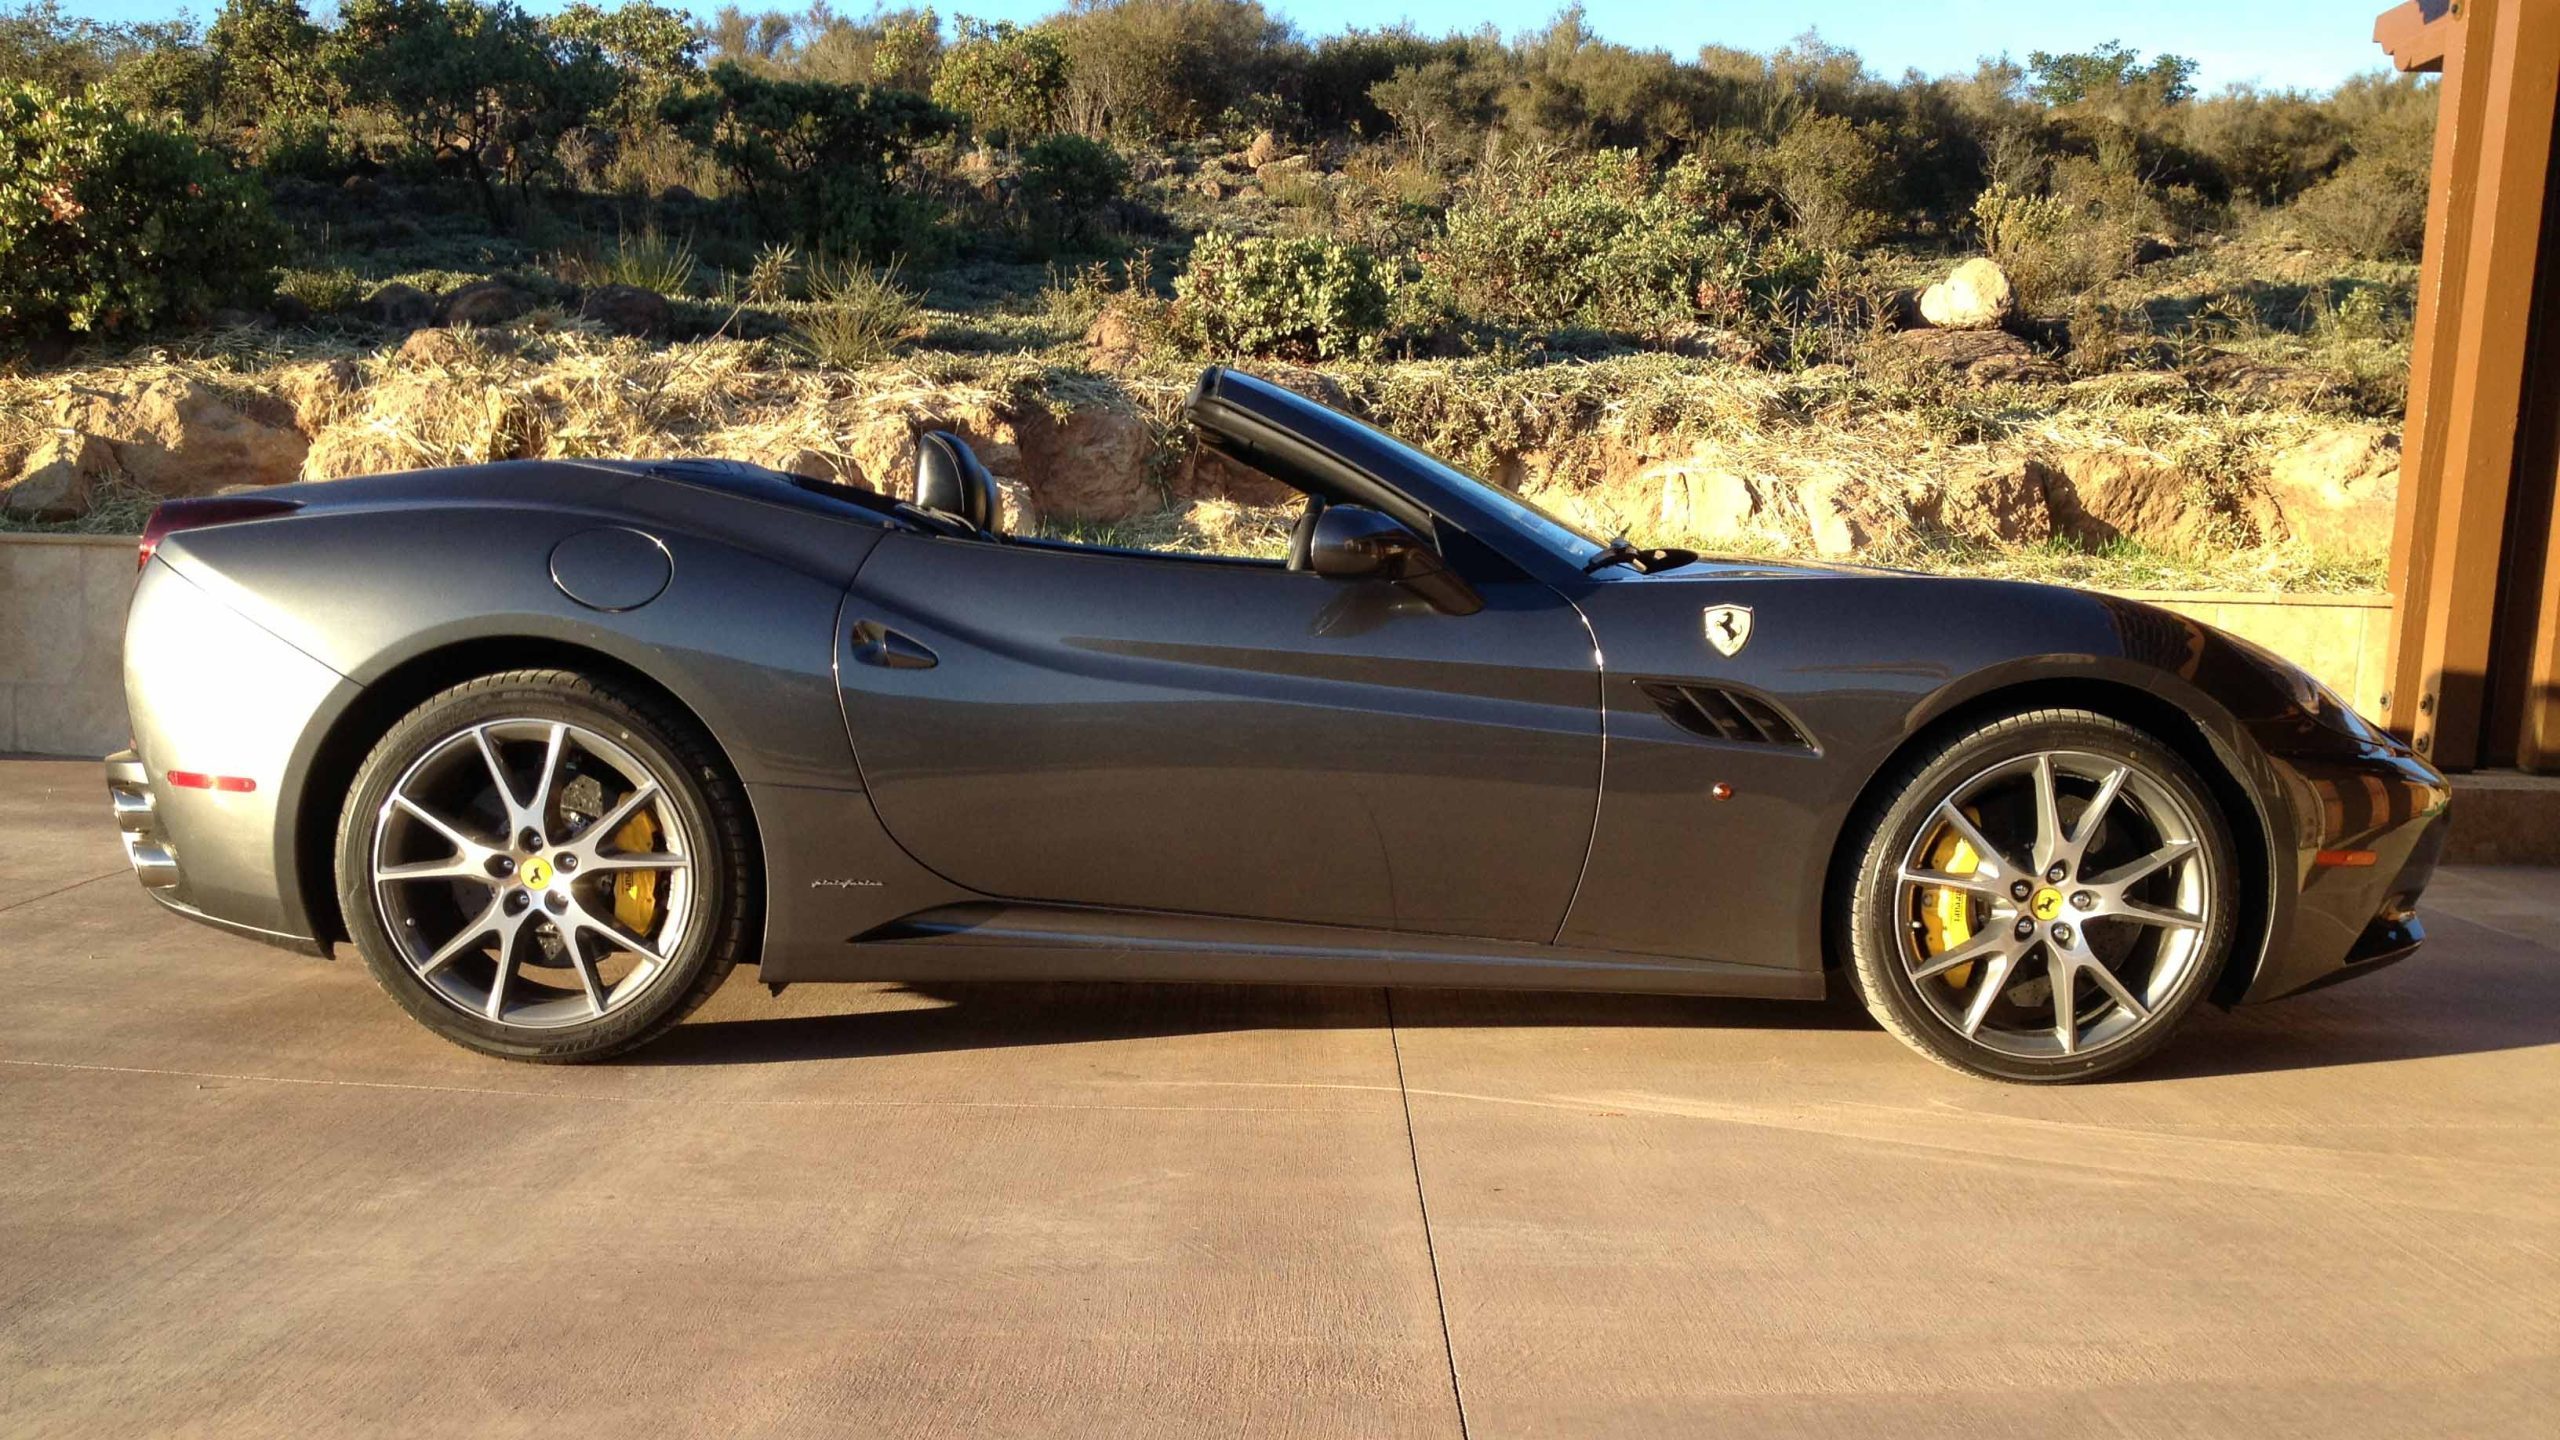
Exterior Body: Walk around your vehicle and take numerous photos of the car from every angle. This recreates the experience of looking at a car on a rotating platform. Make sure that the entire body of the vehicle appears in the frame. As a general rule, your vehicle should take up about 75% of the frame with some empty space around the borders.
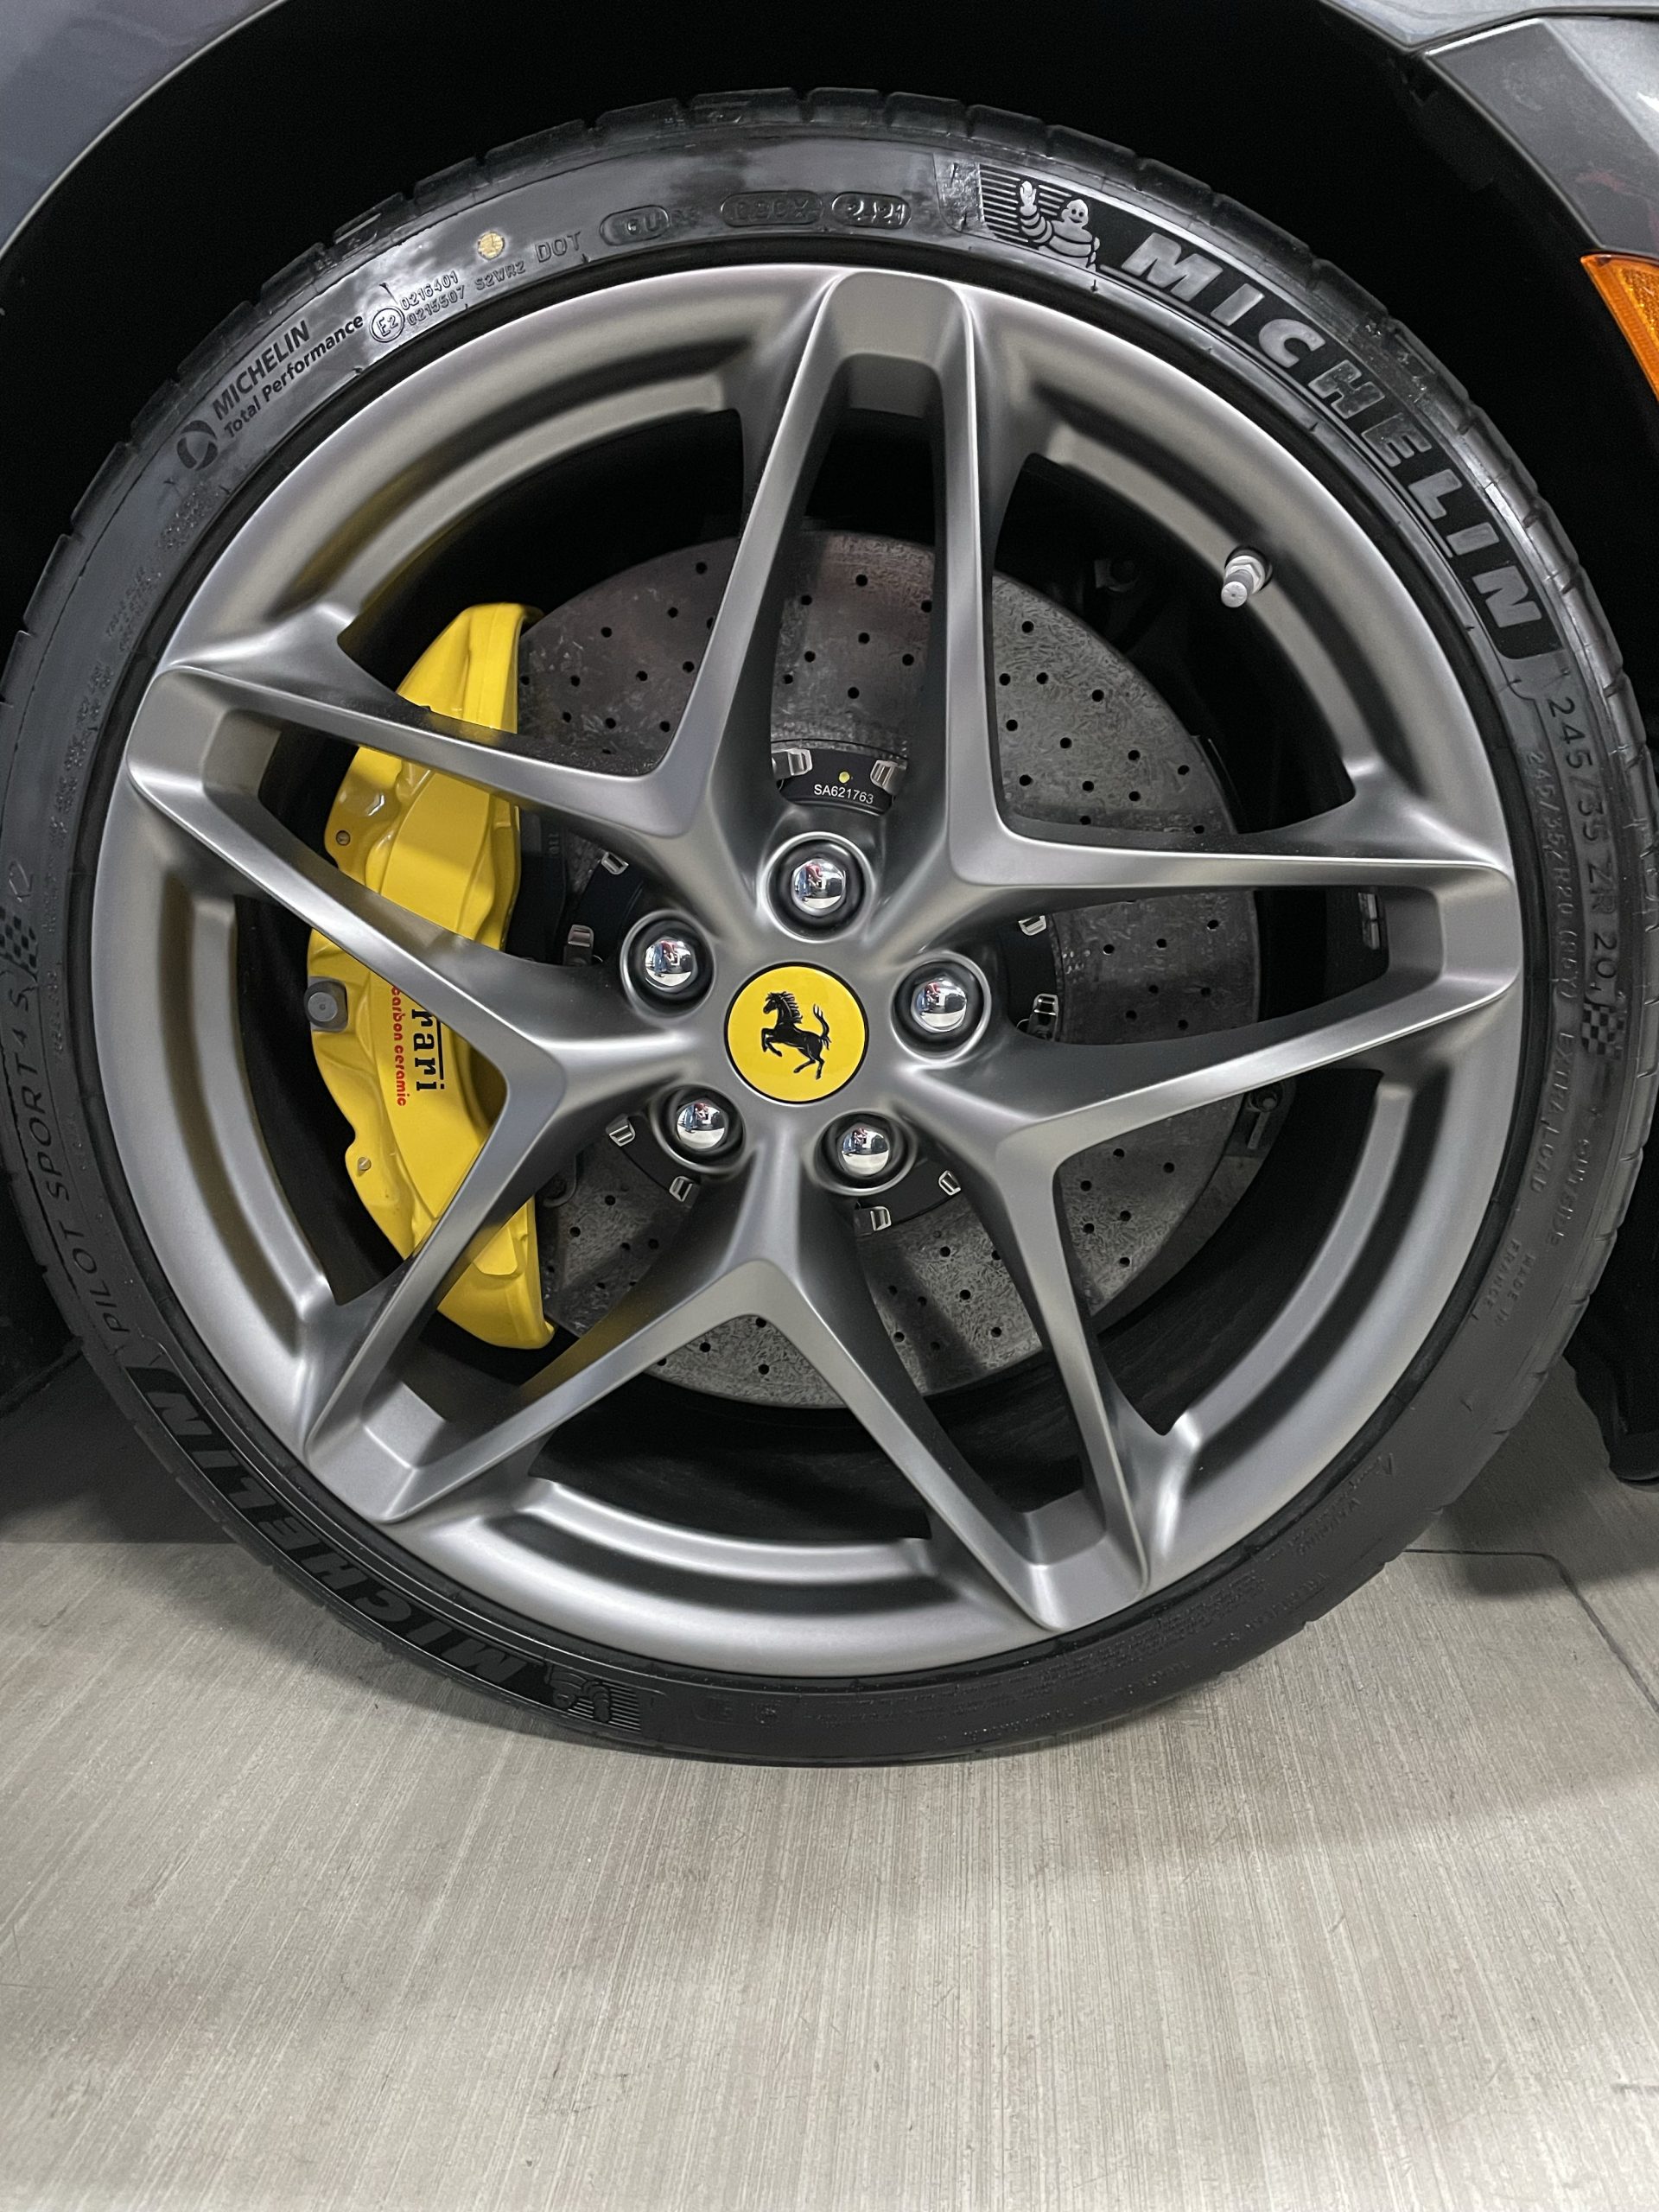
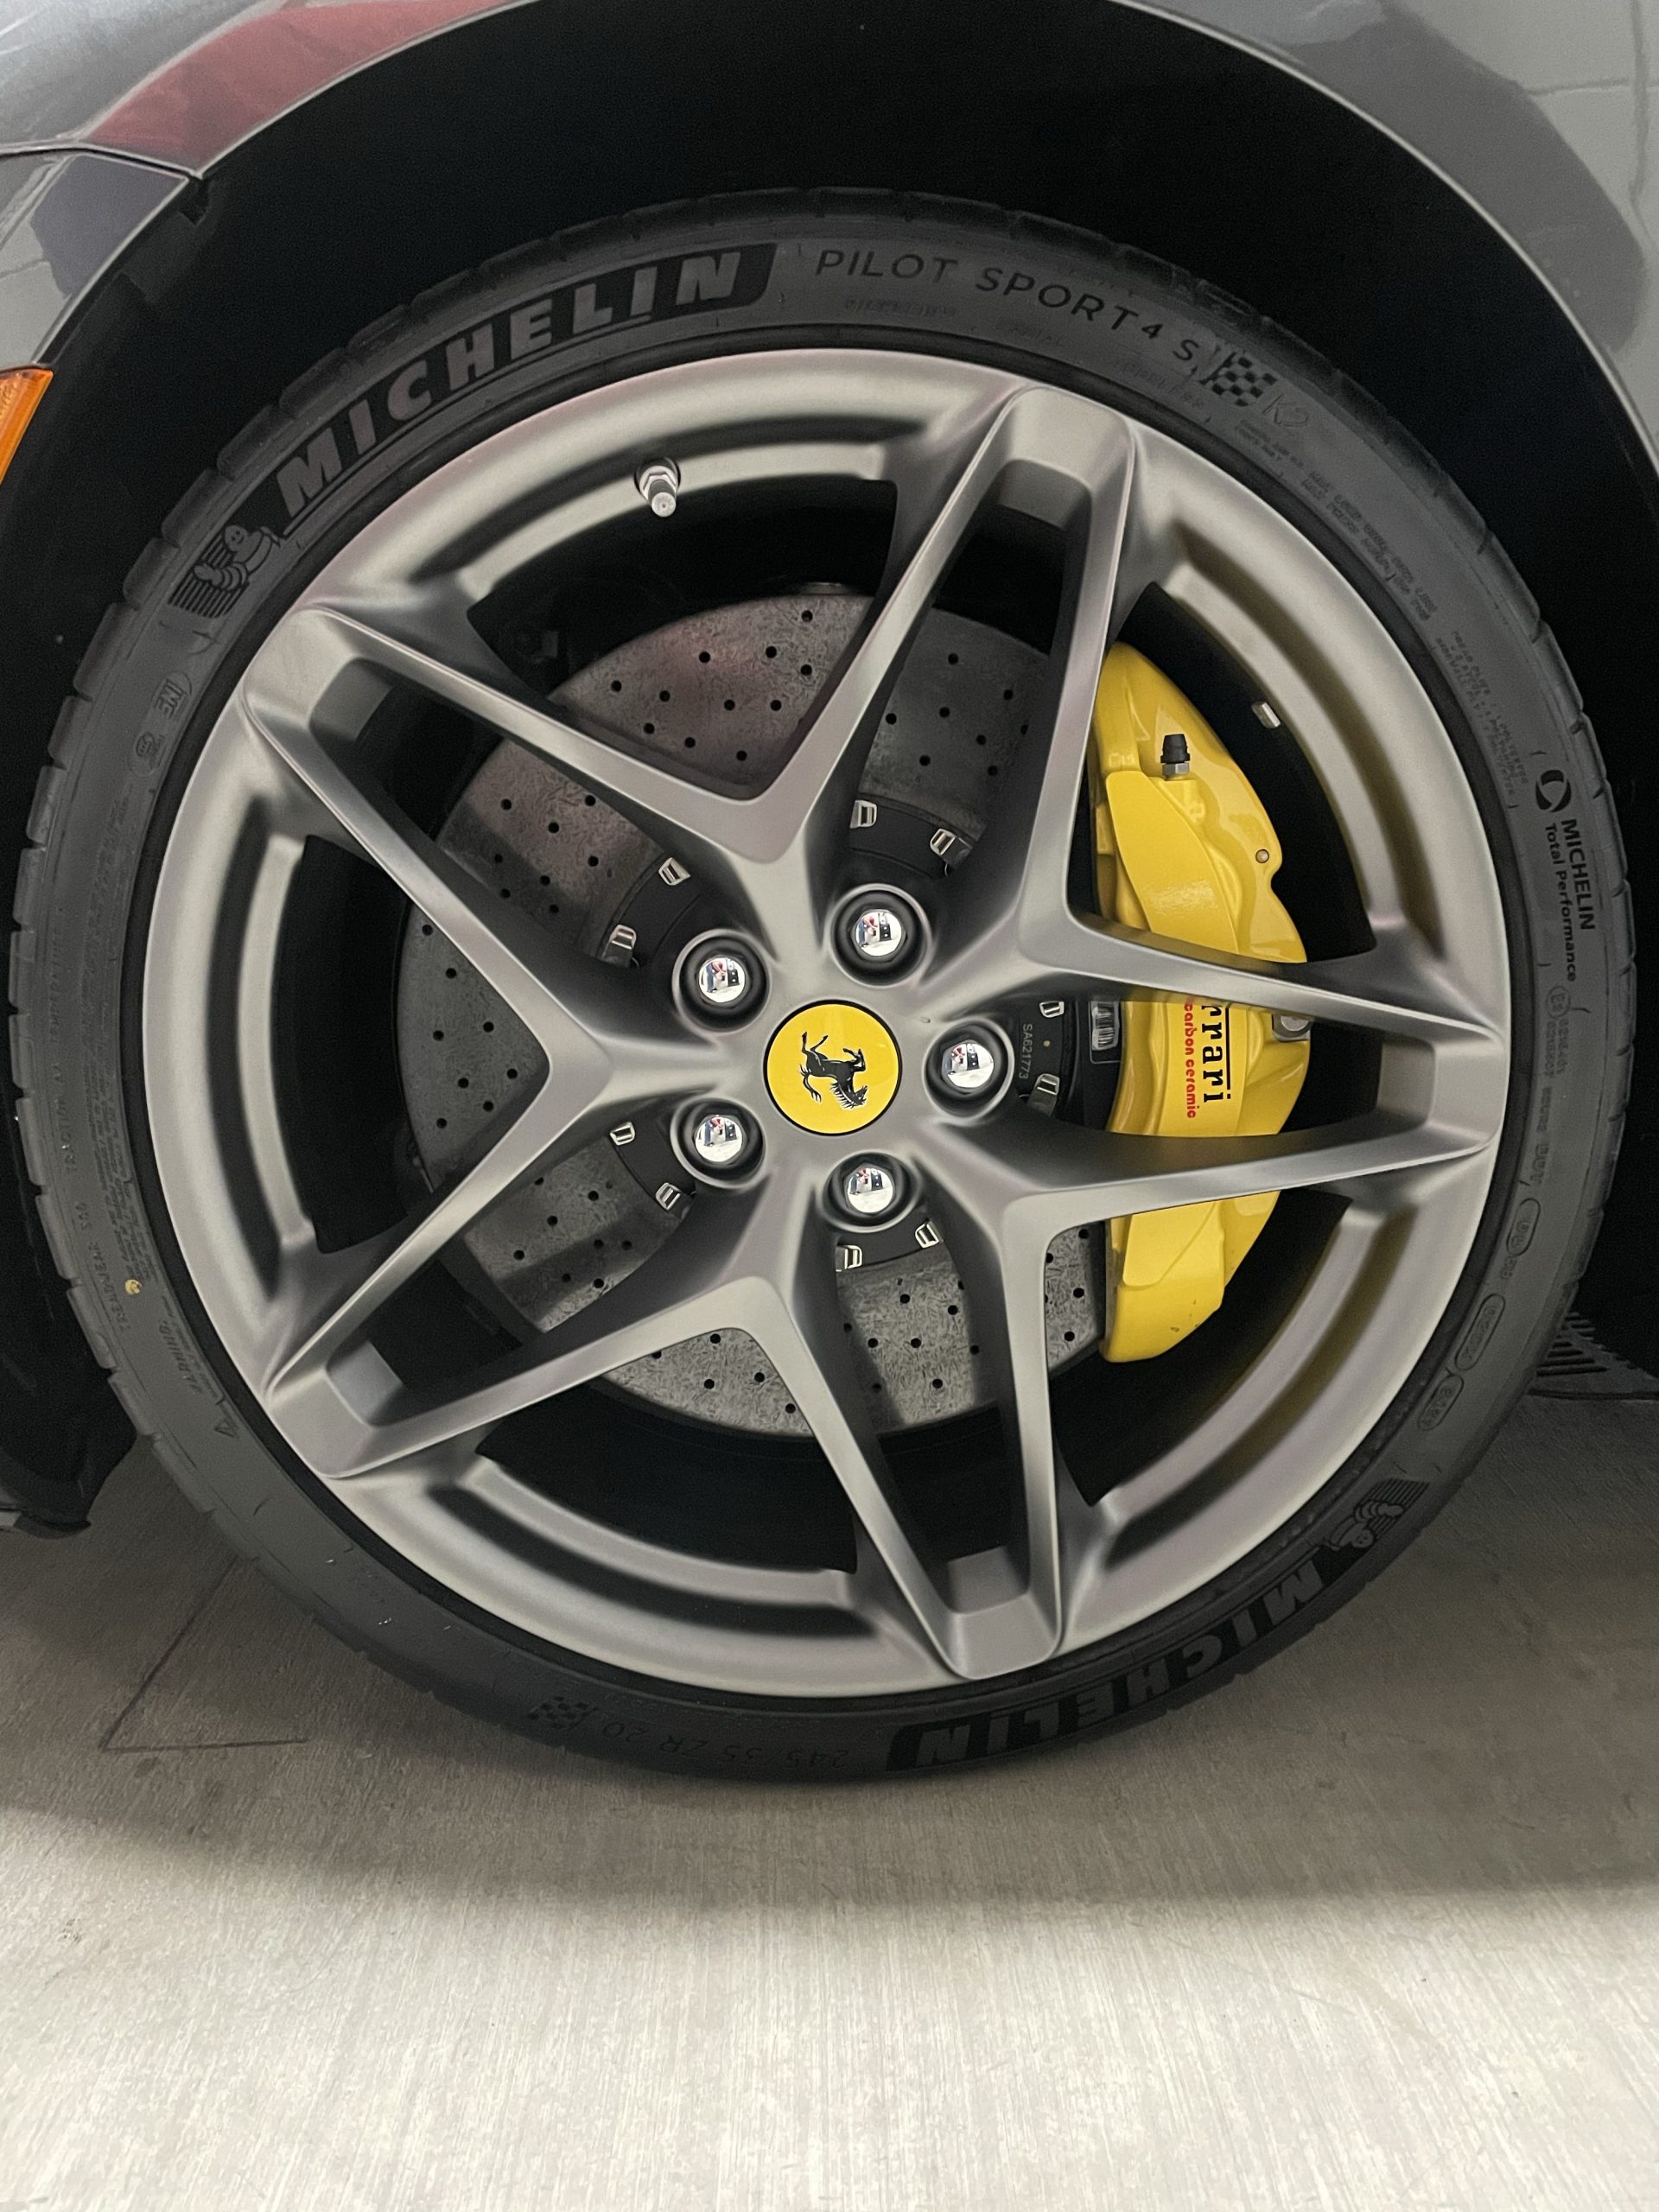
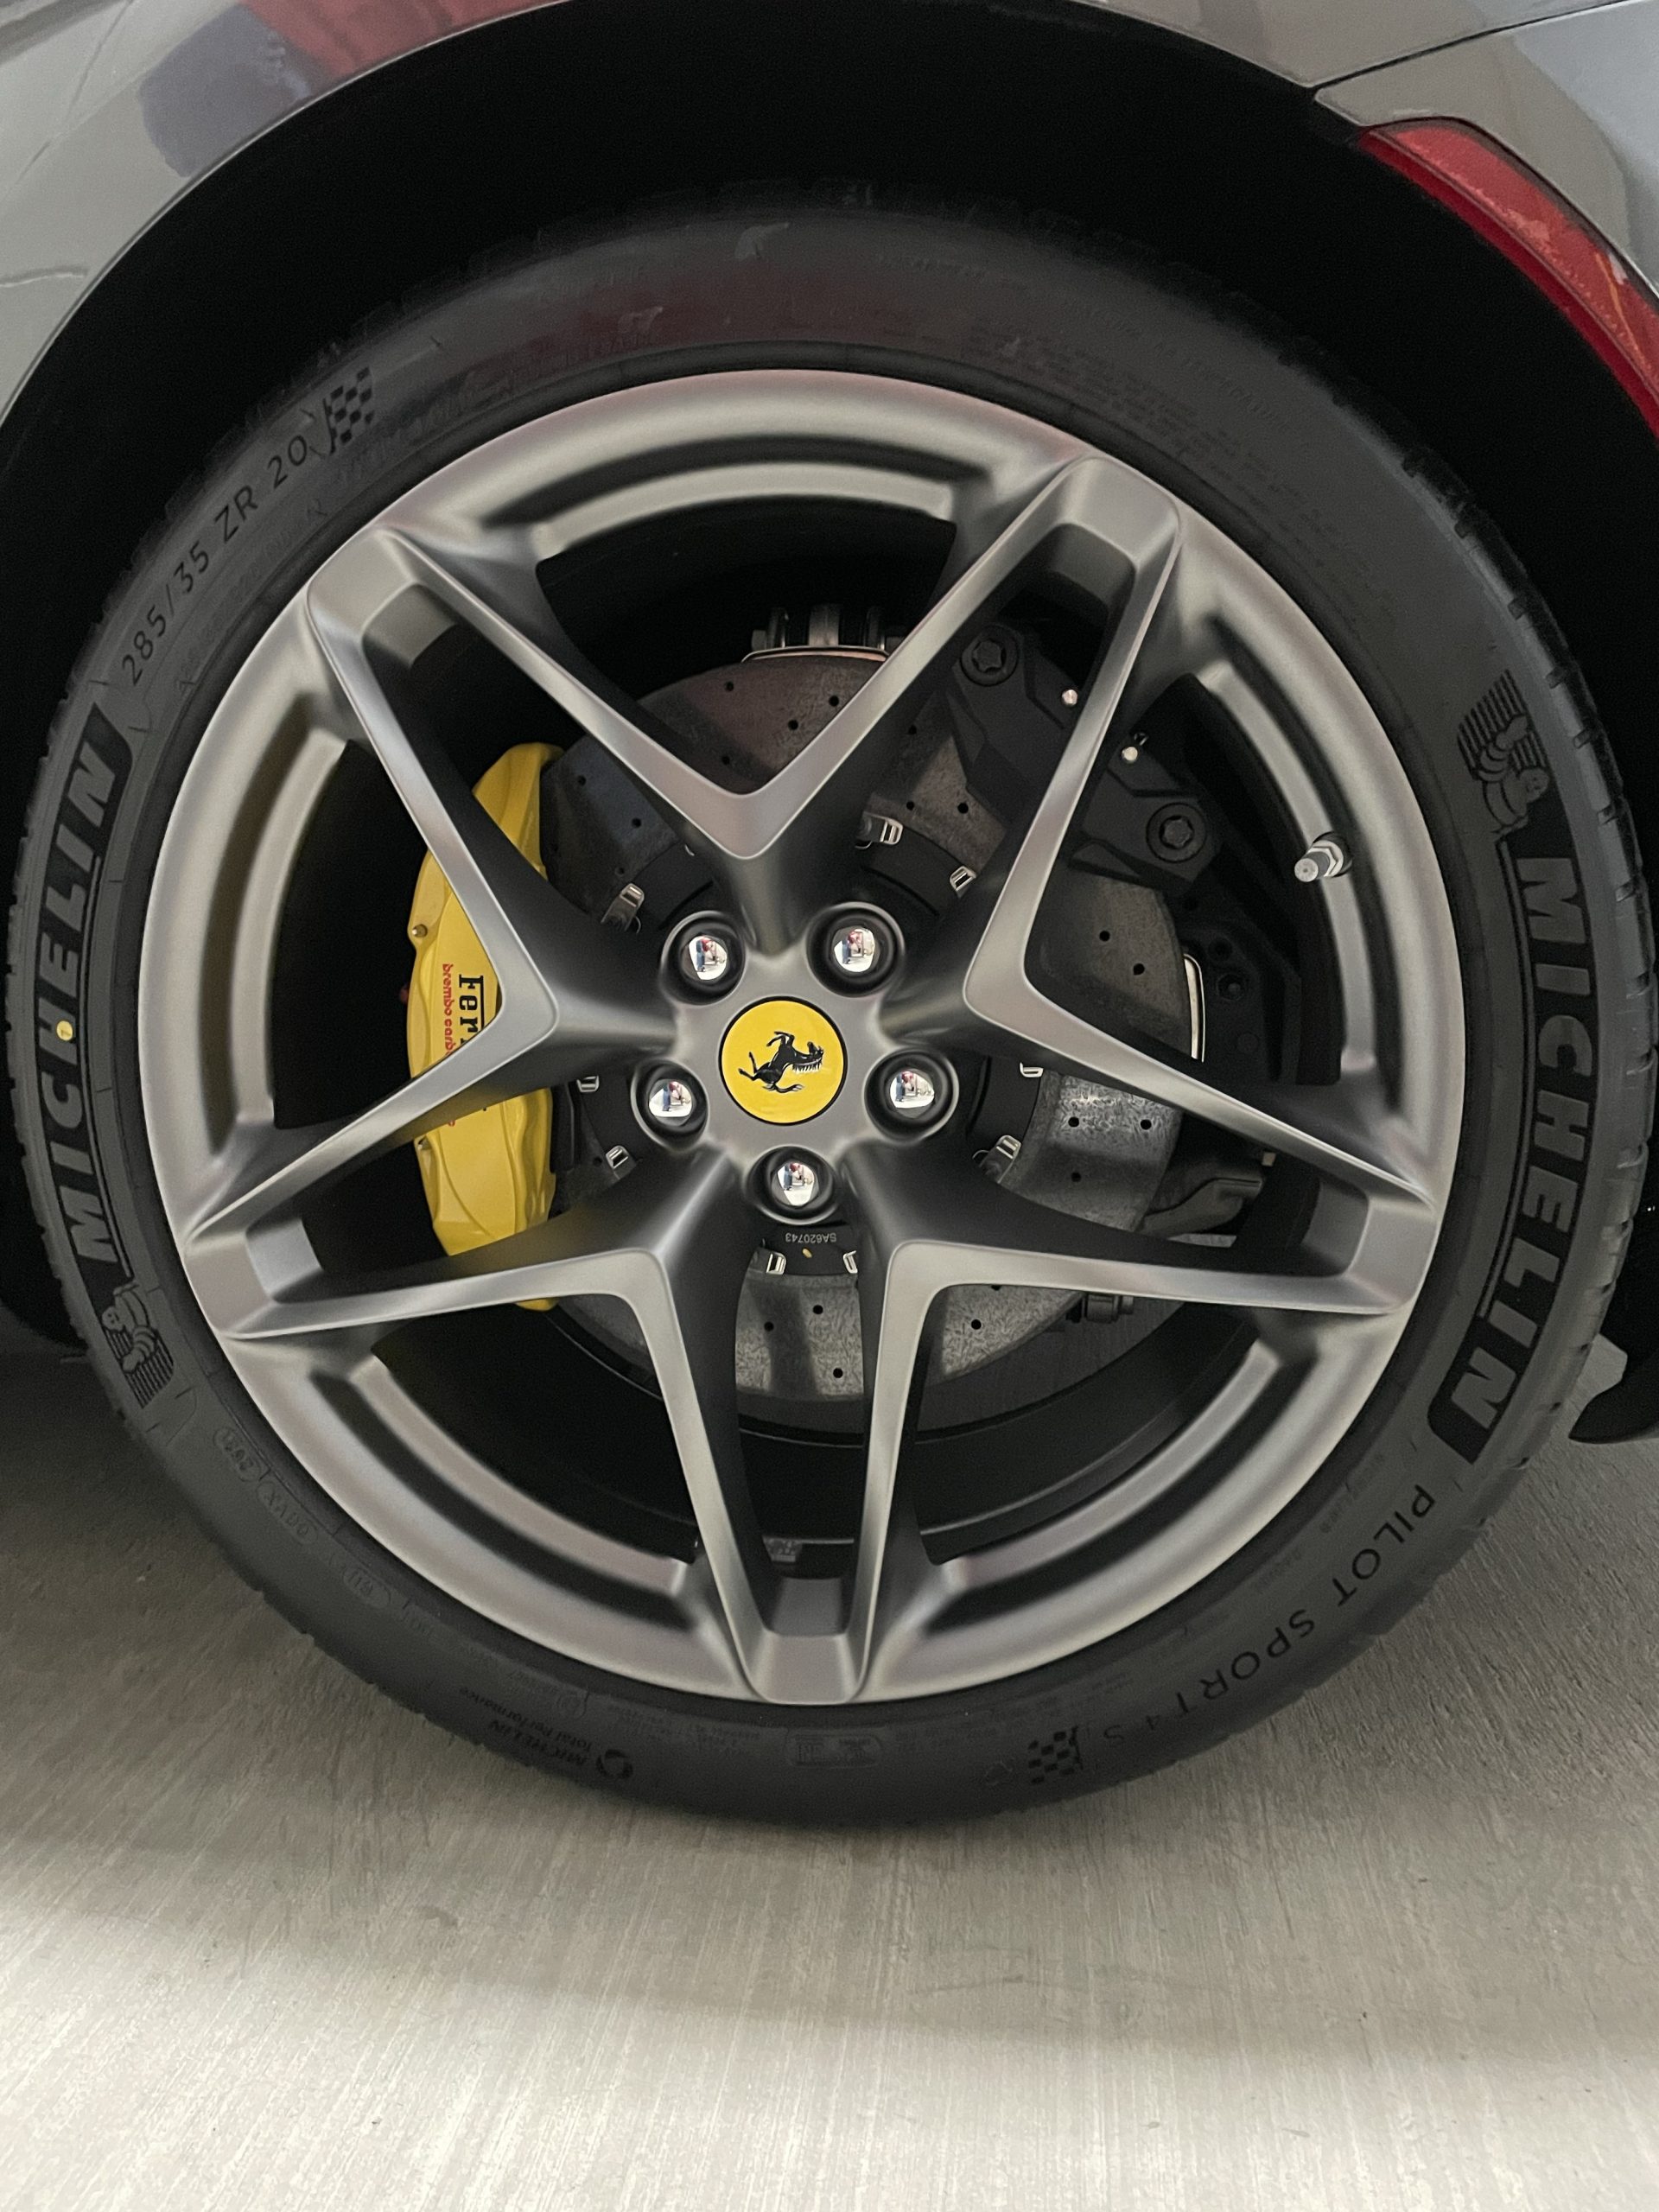
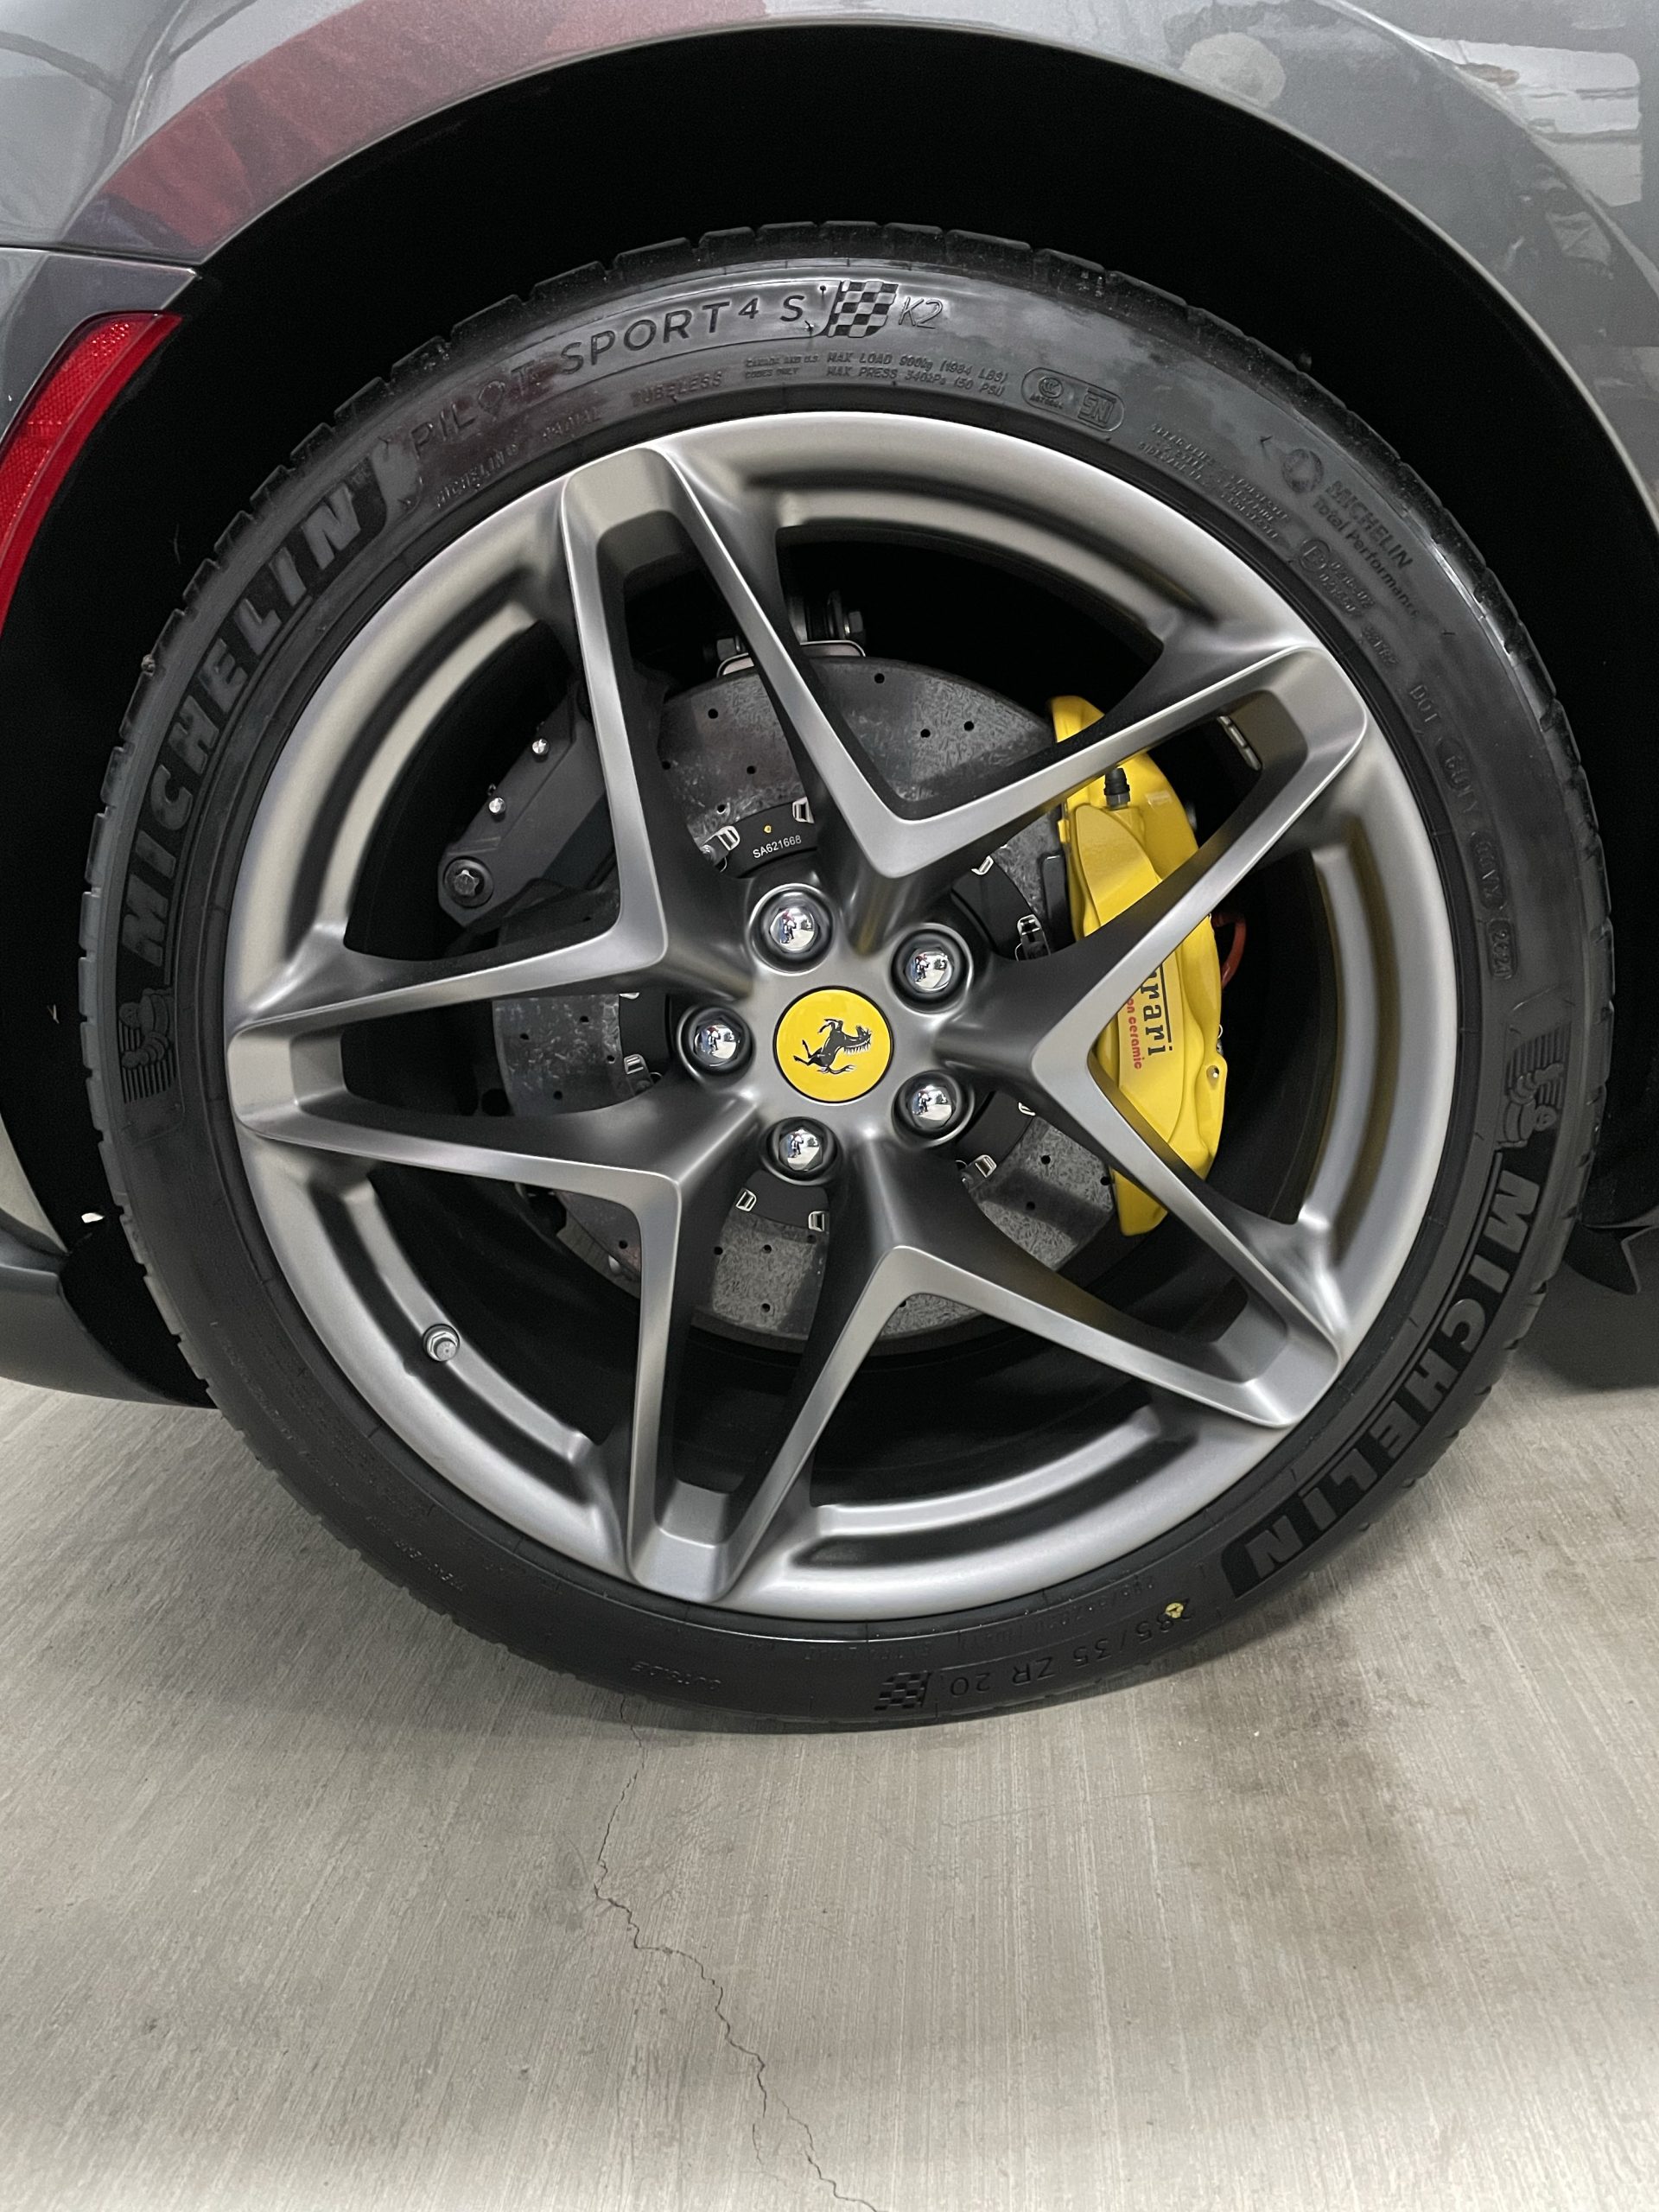
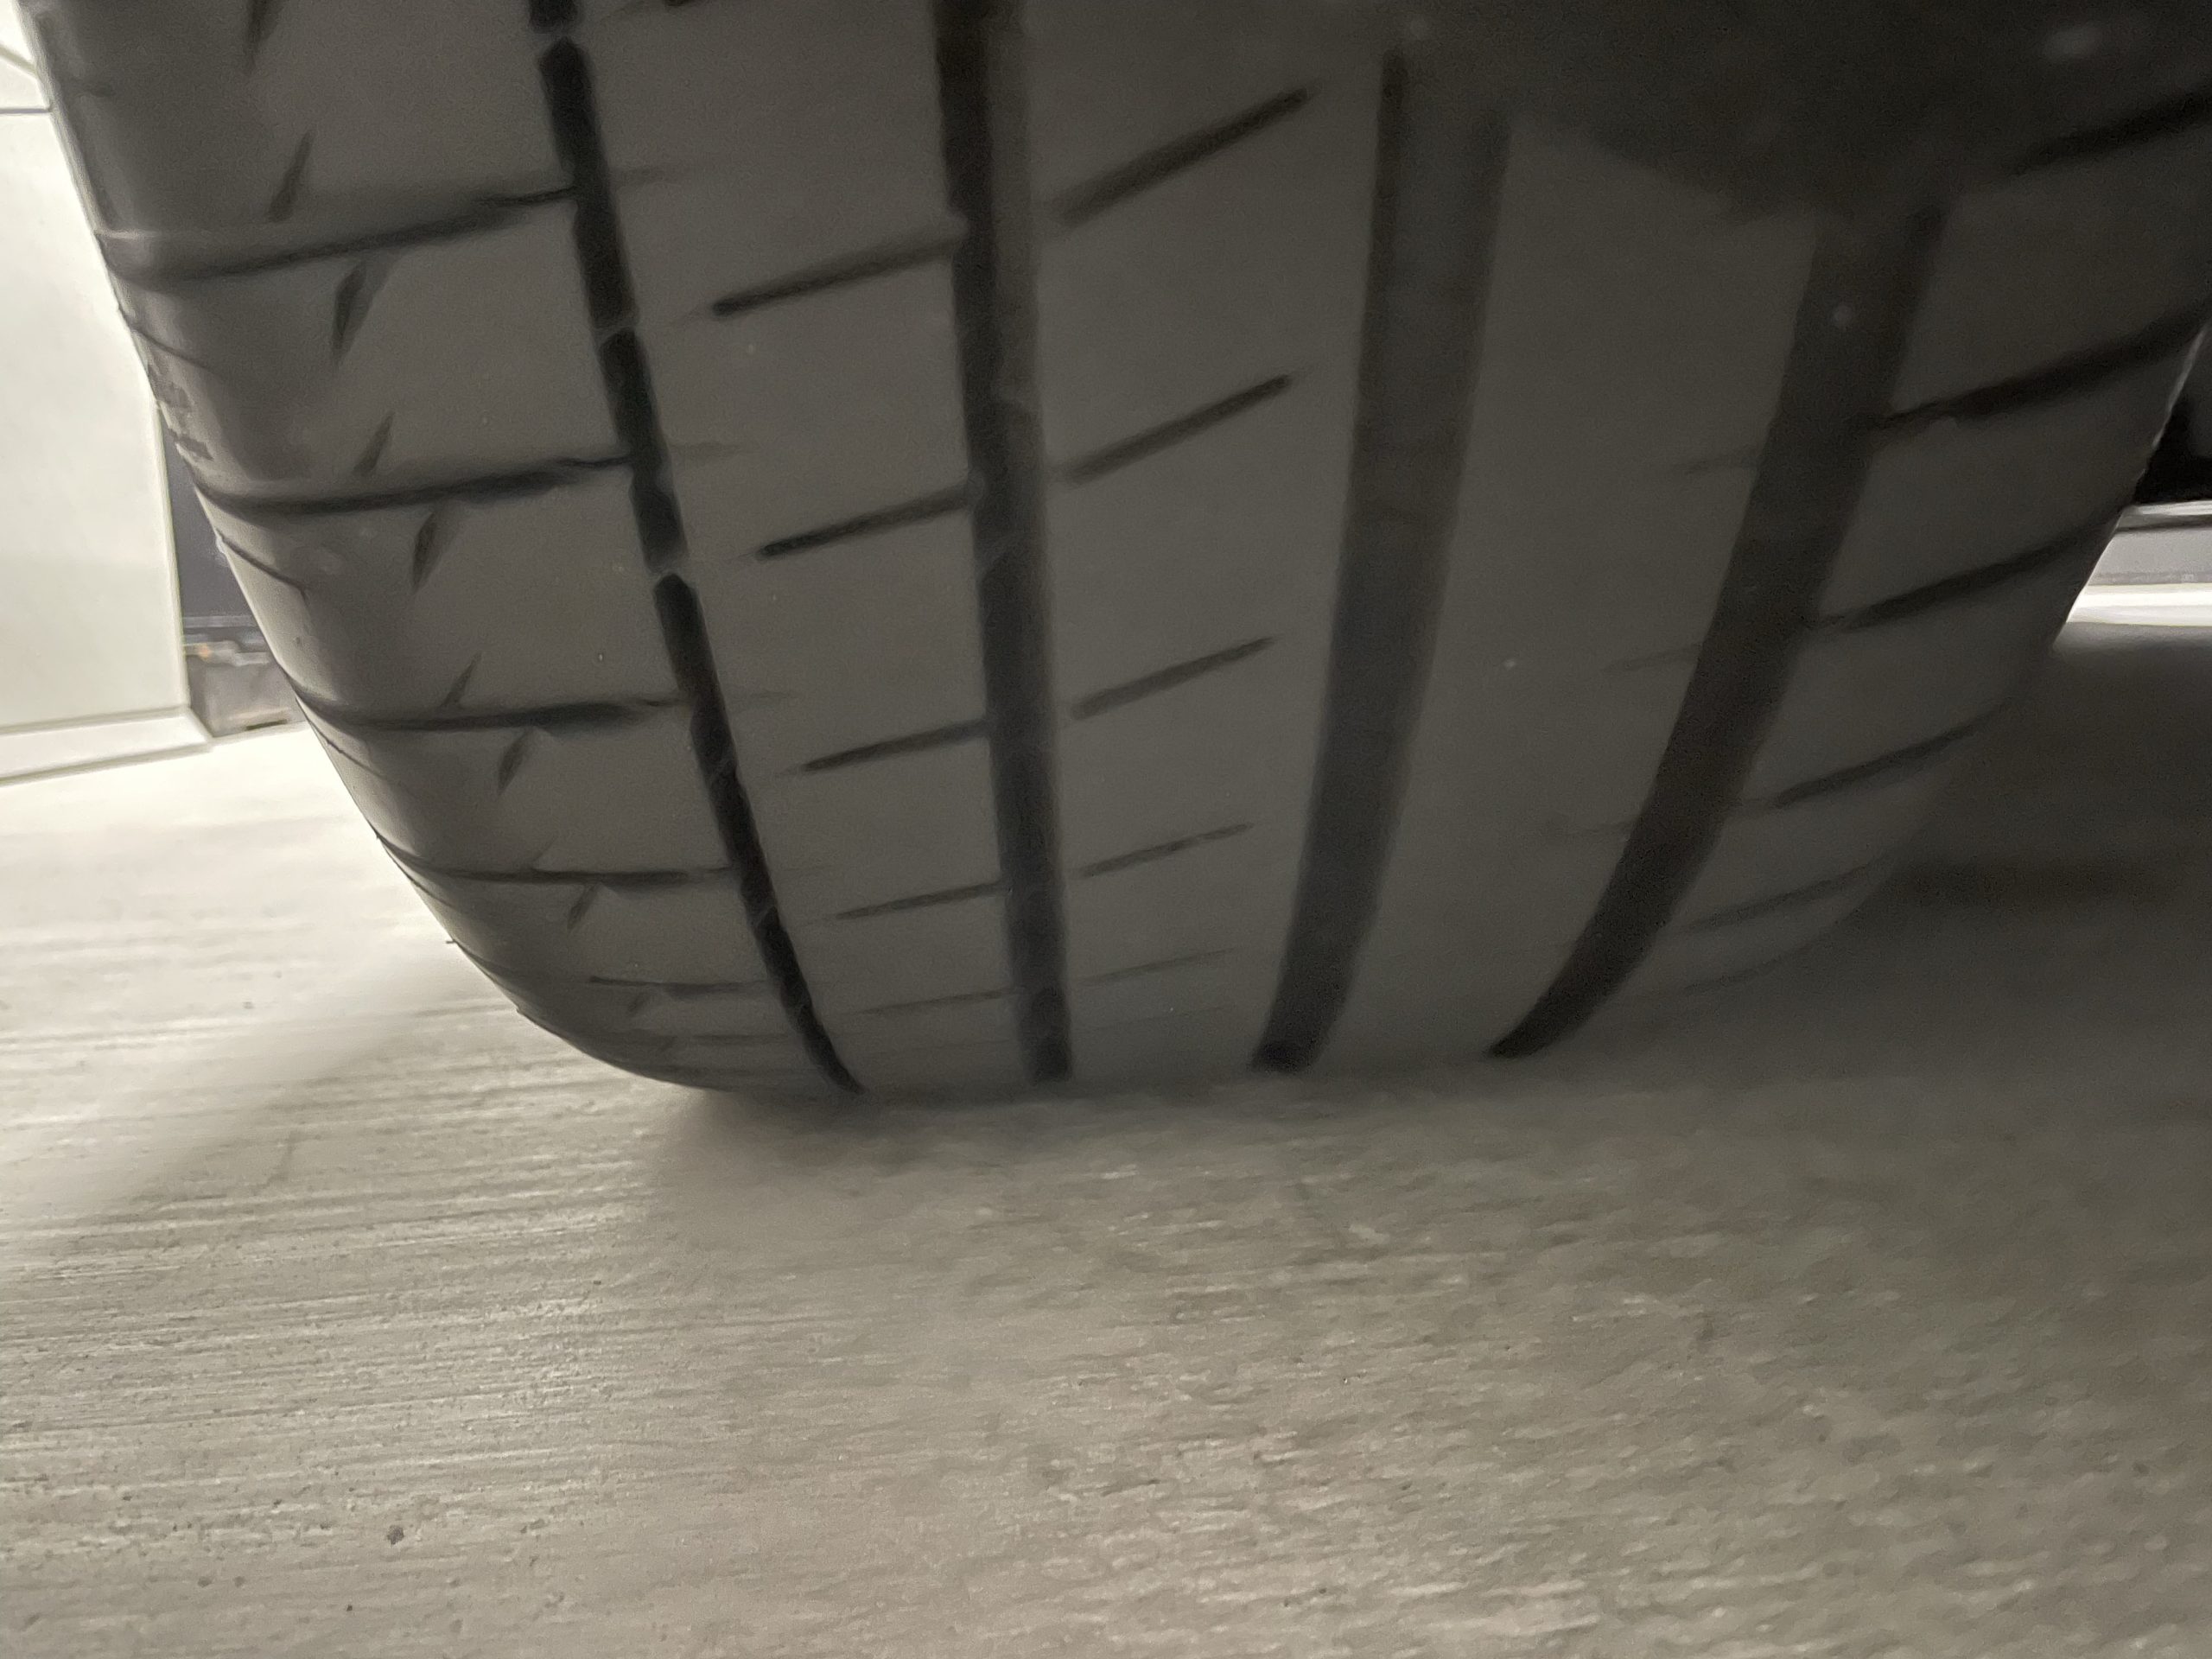
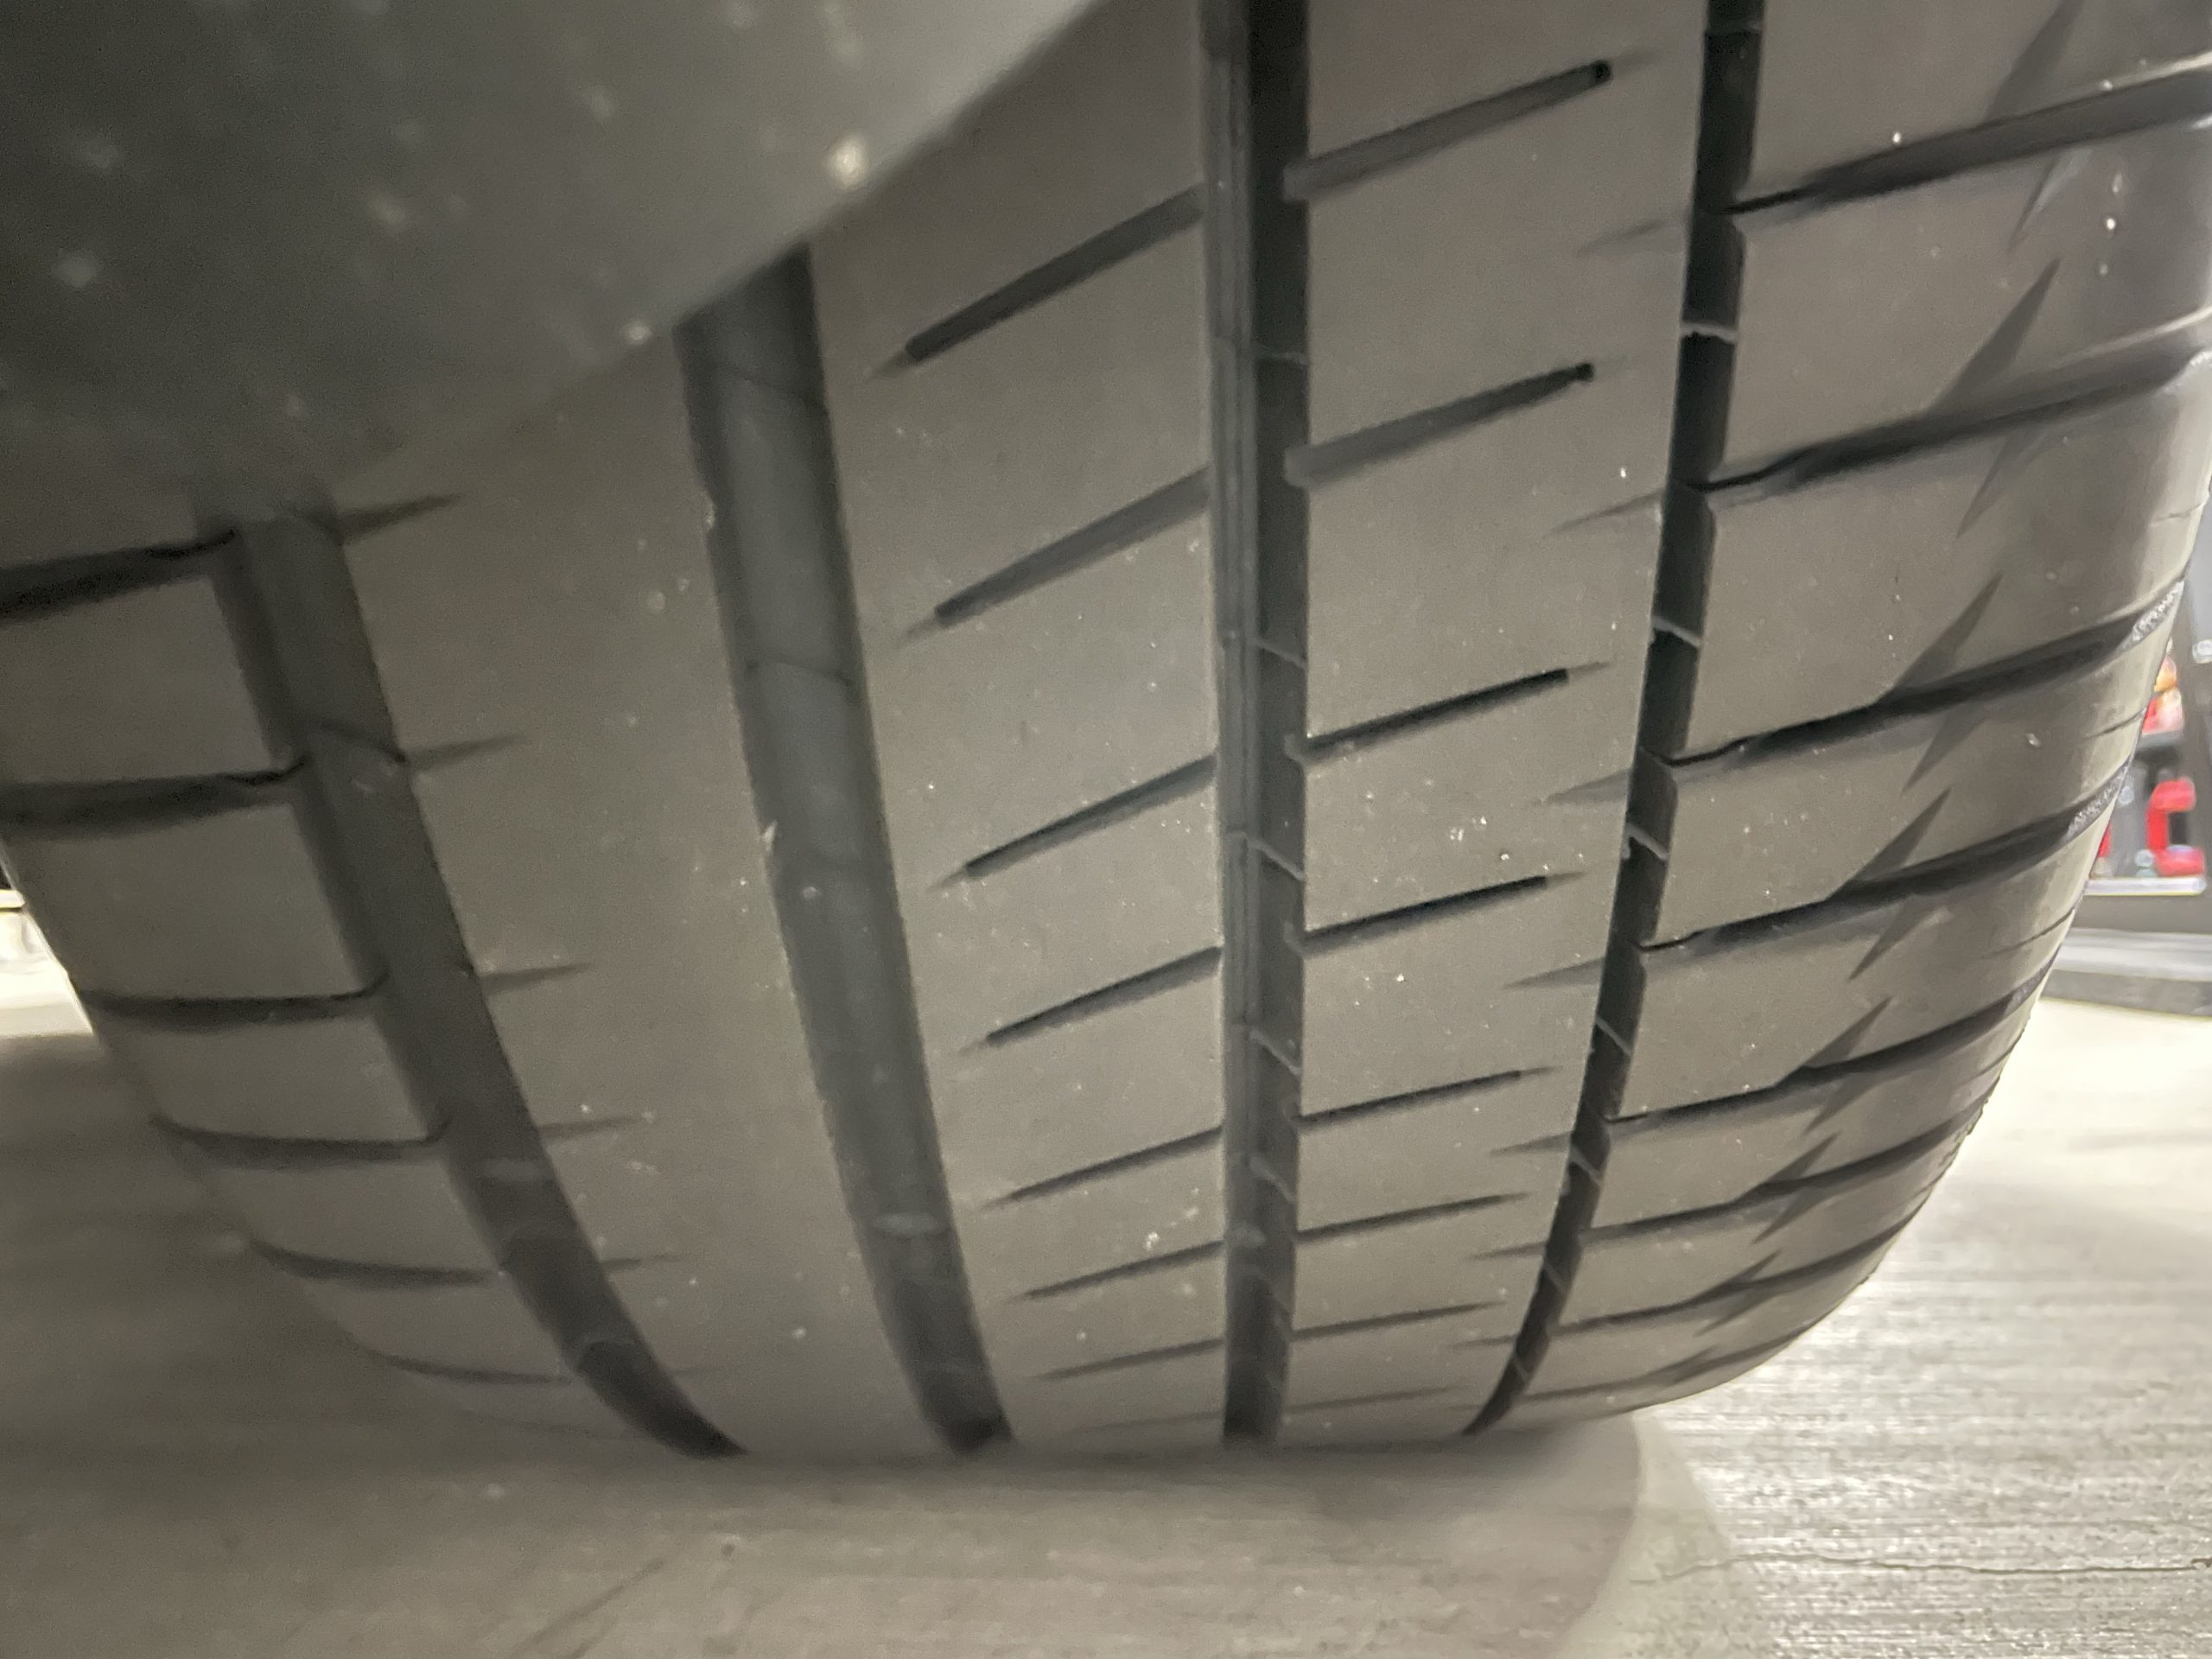
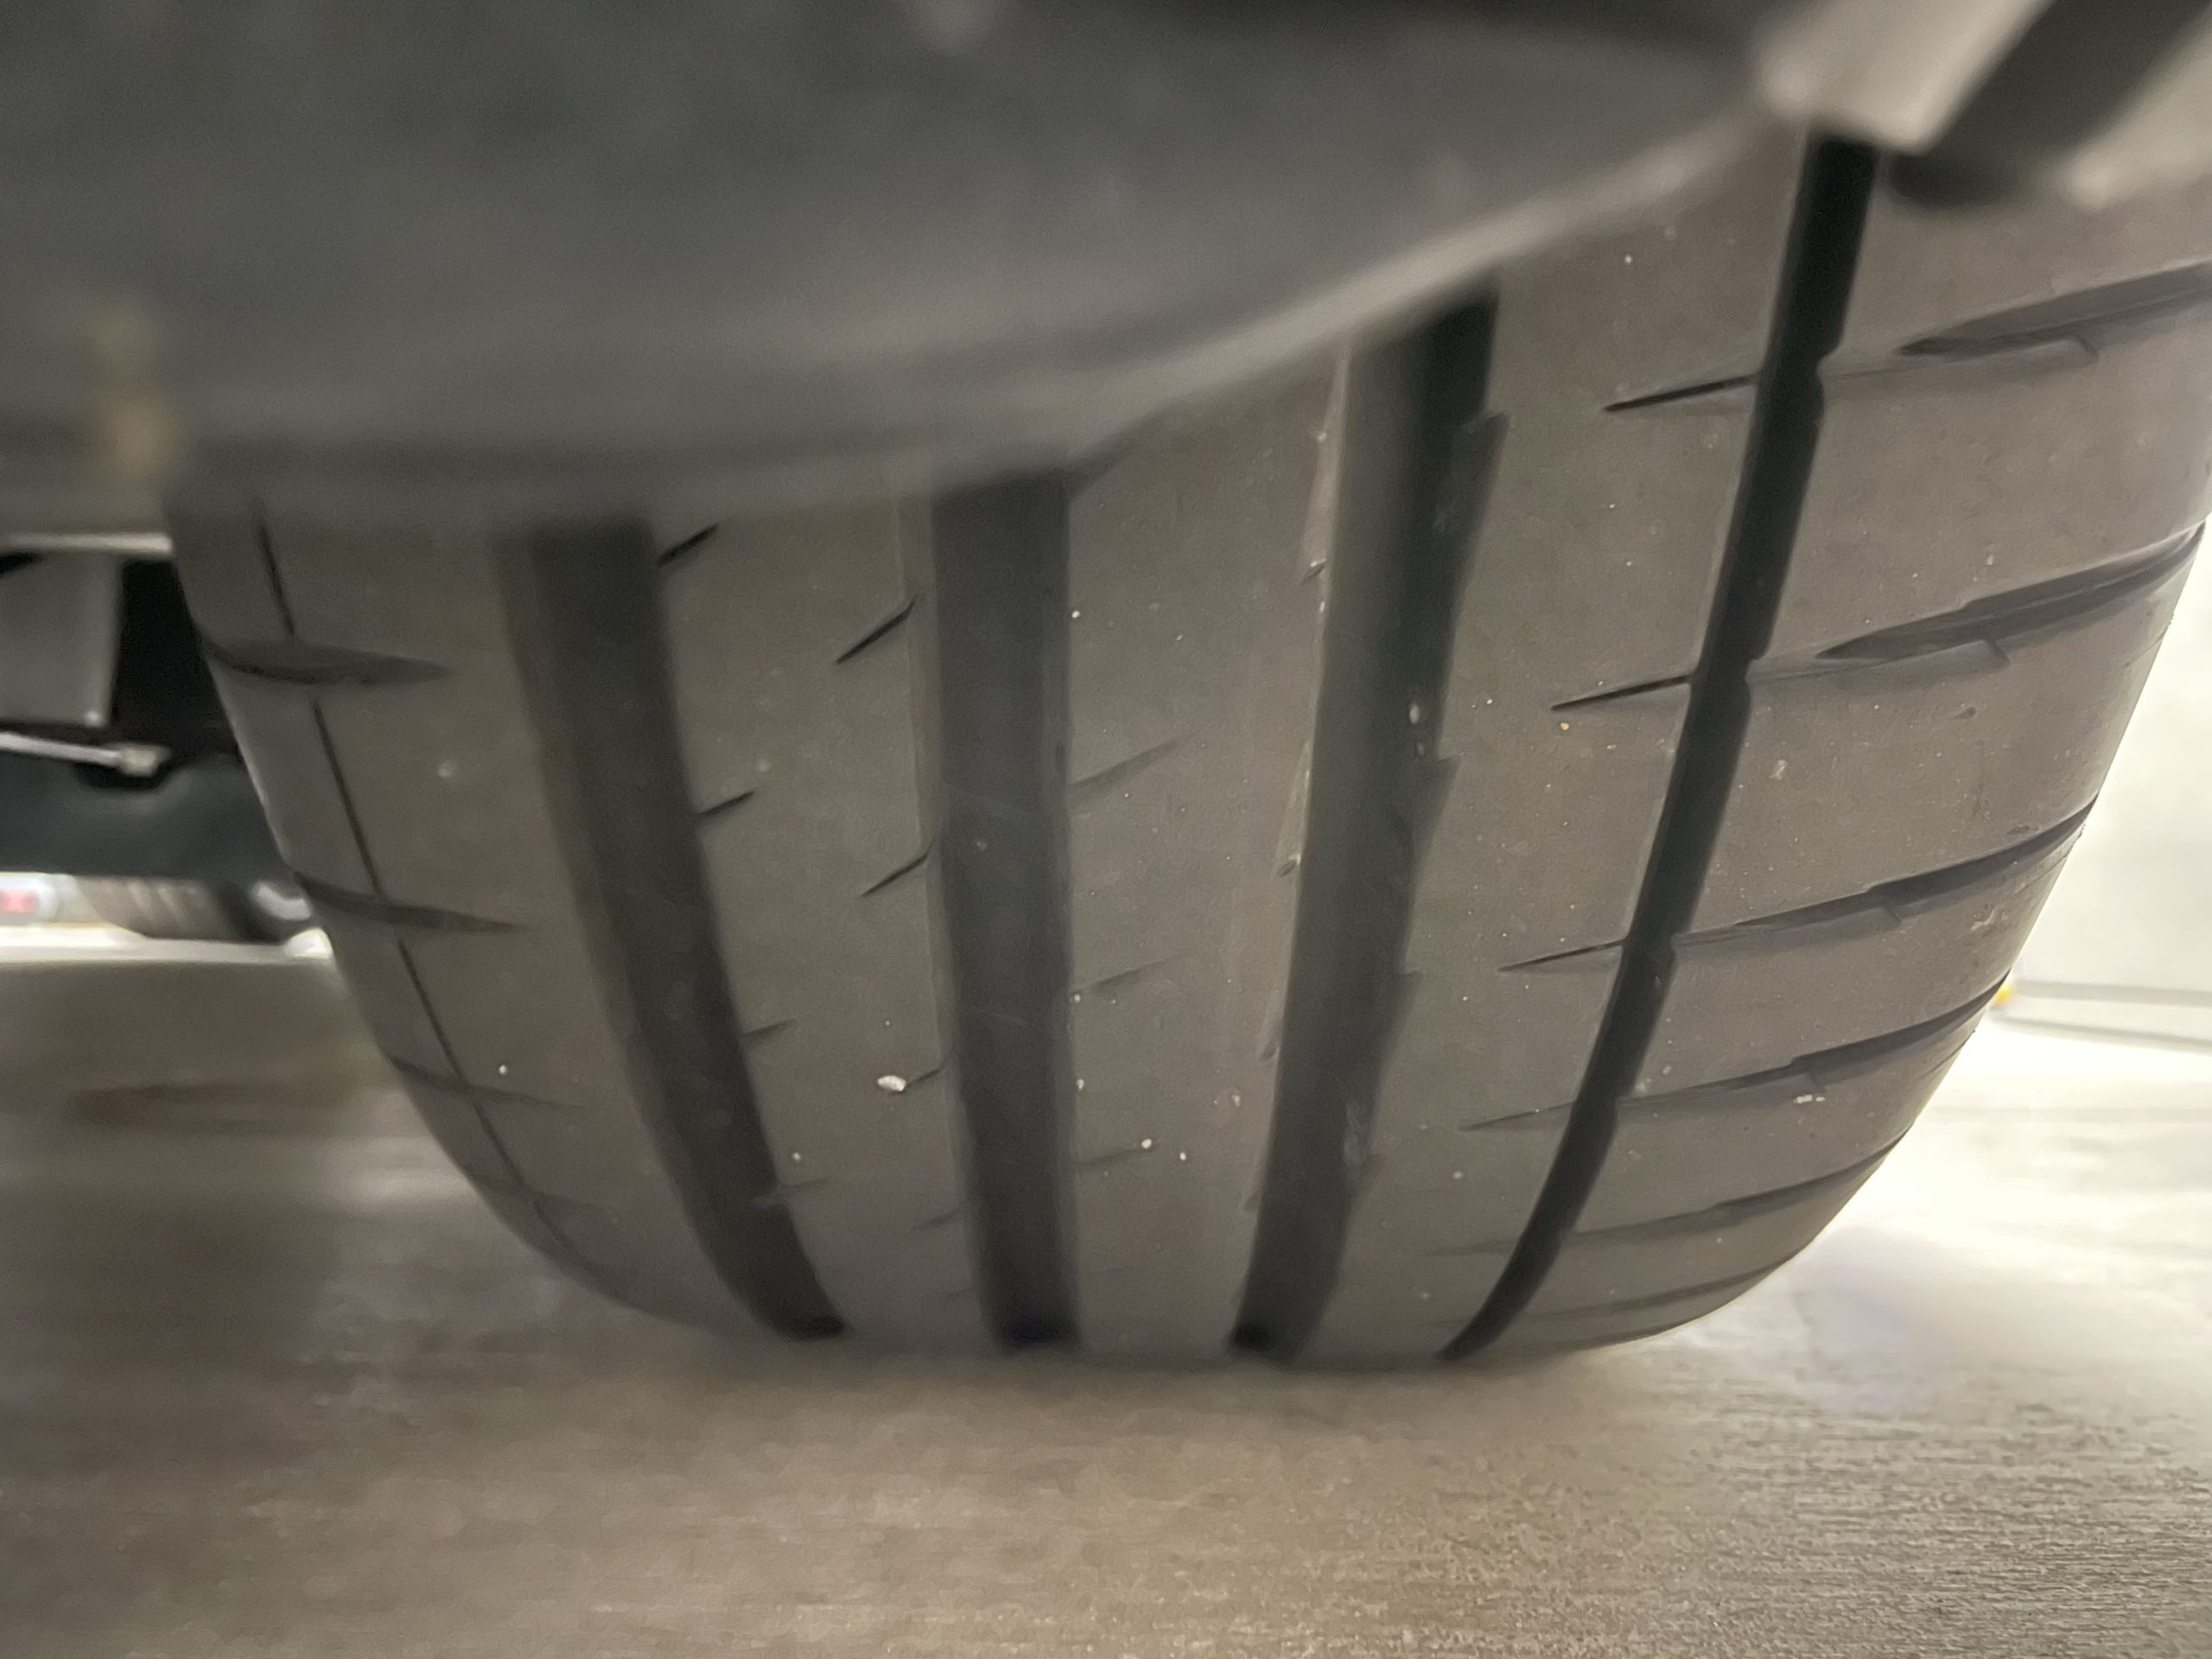
Tires and Wheels: Include photos of each tire and wheel in their entirety, again with some space near the borders. This will help online bidders assess the condition of the tires before making an offer.
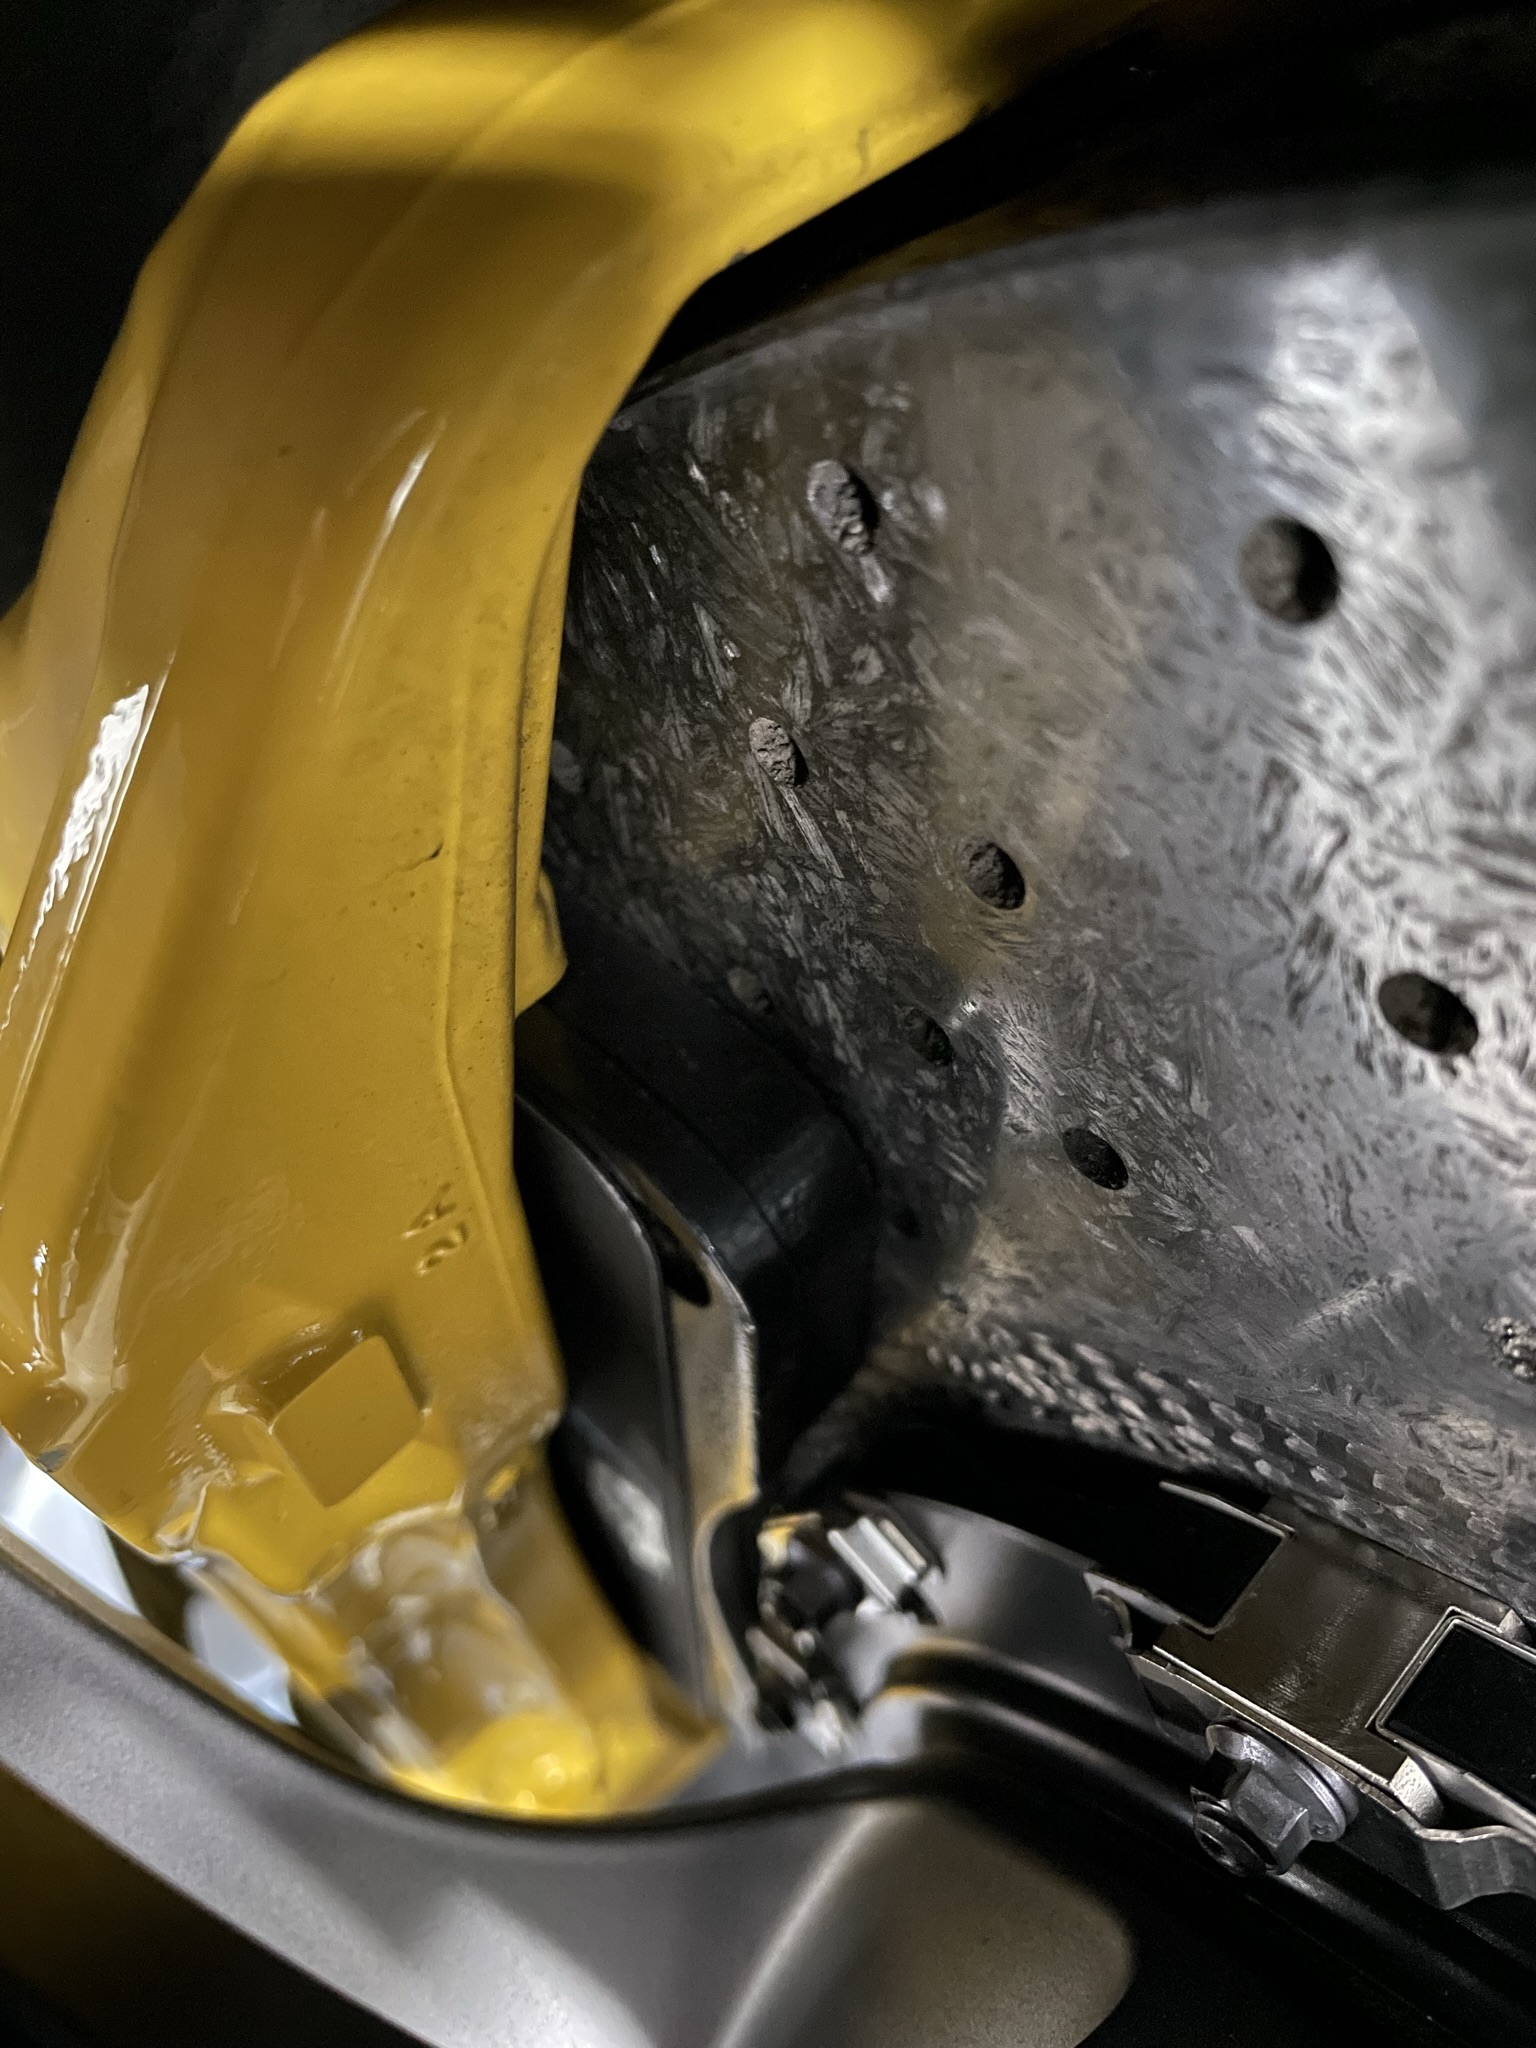
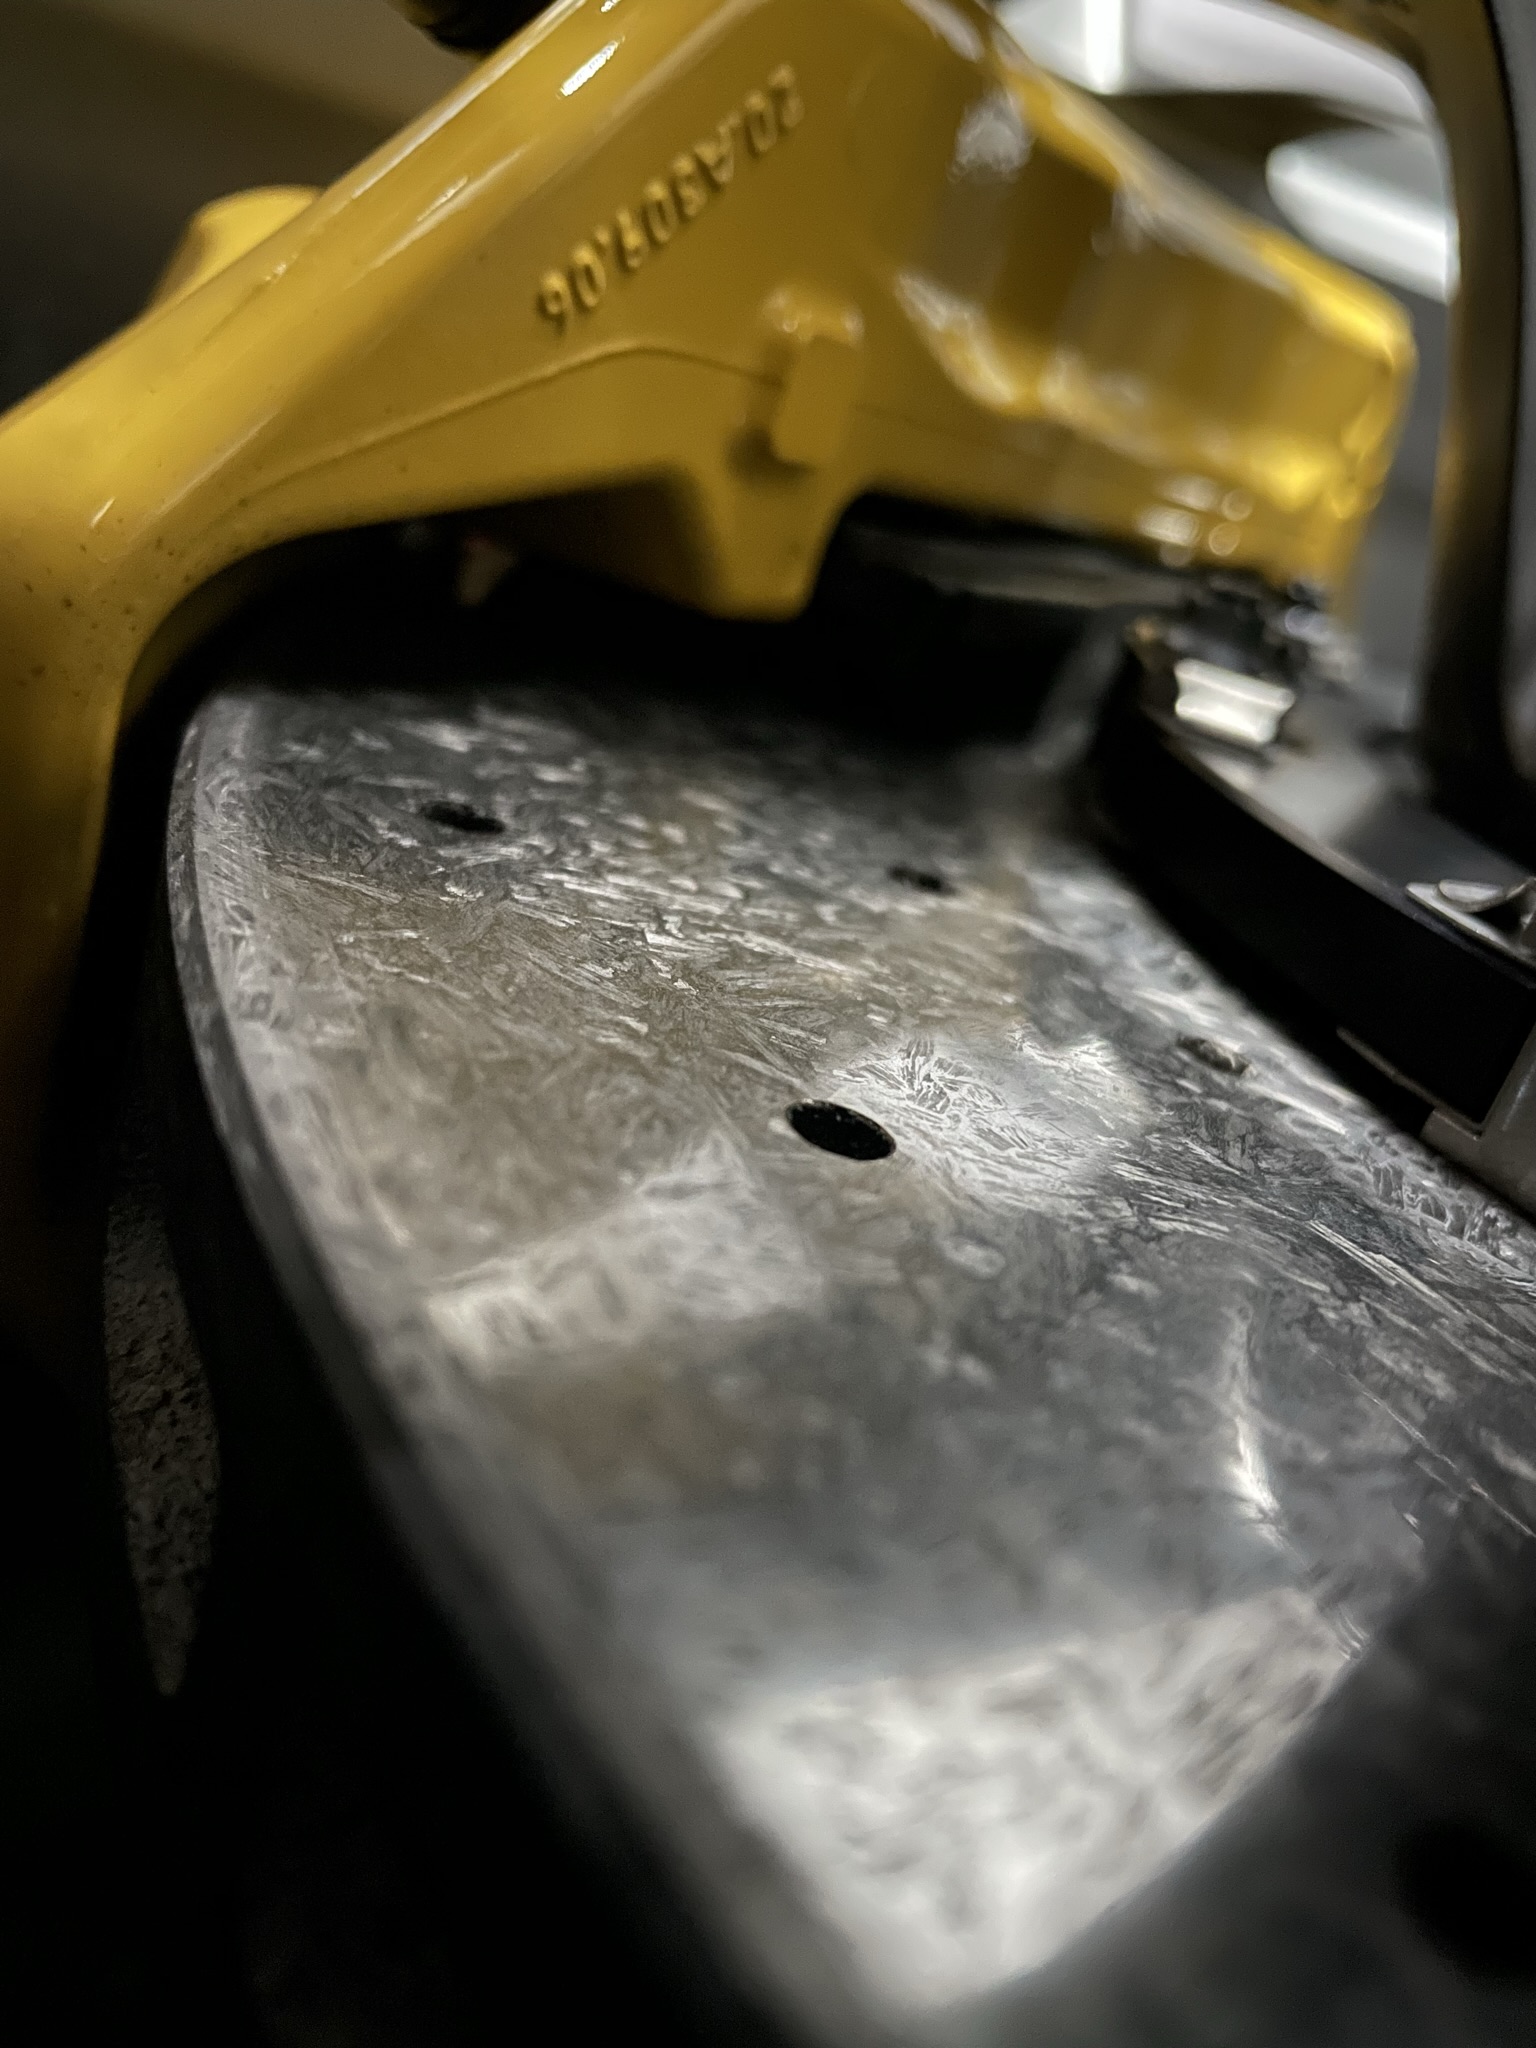
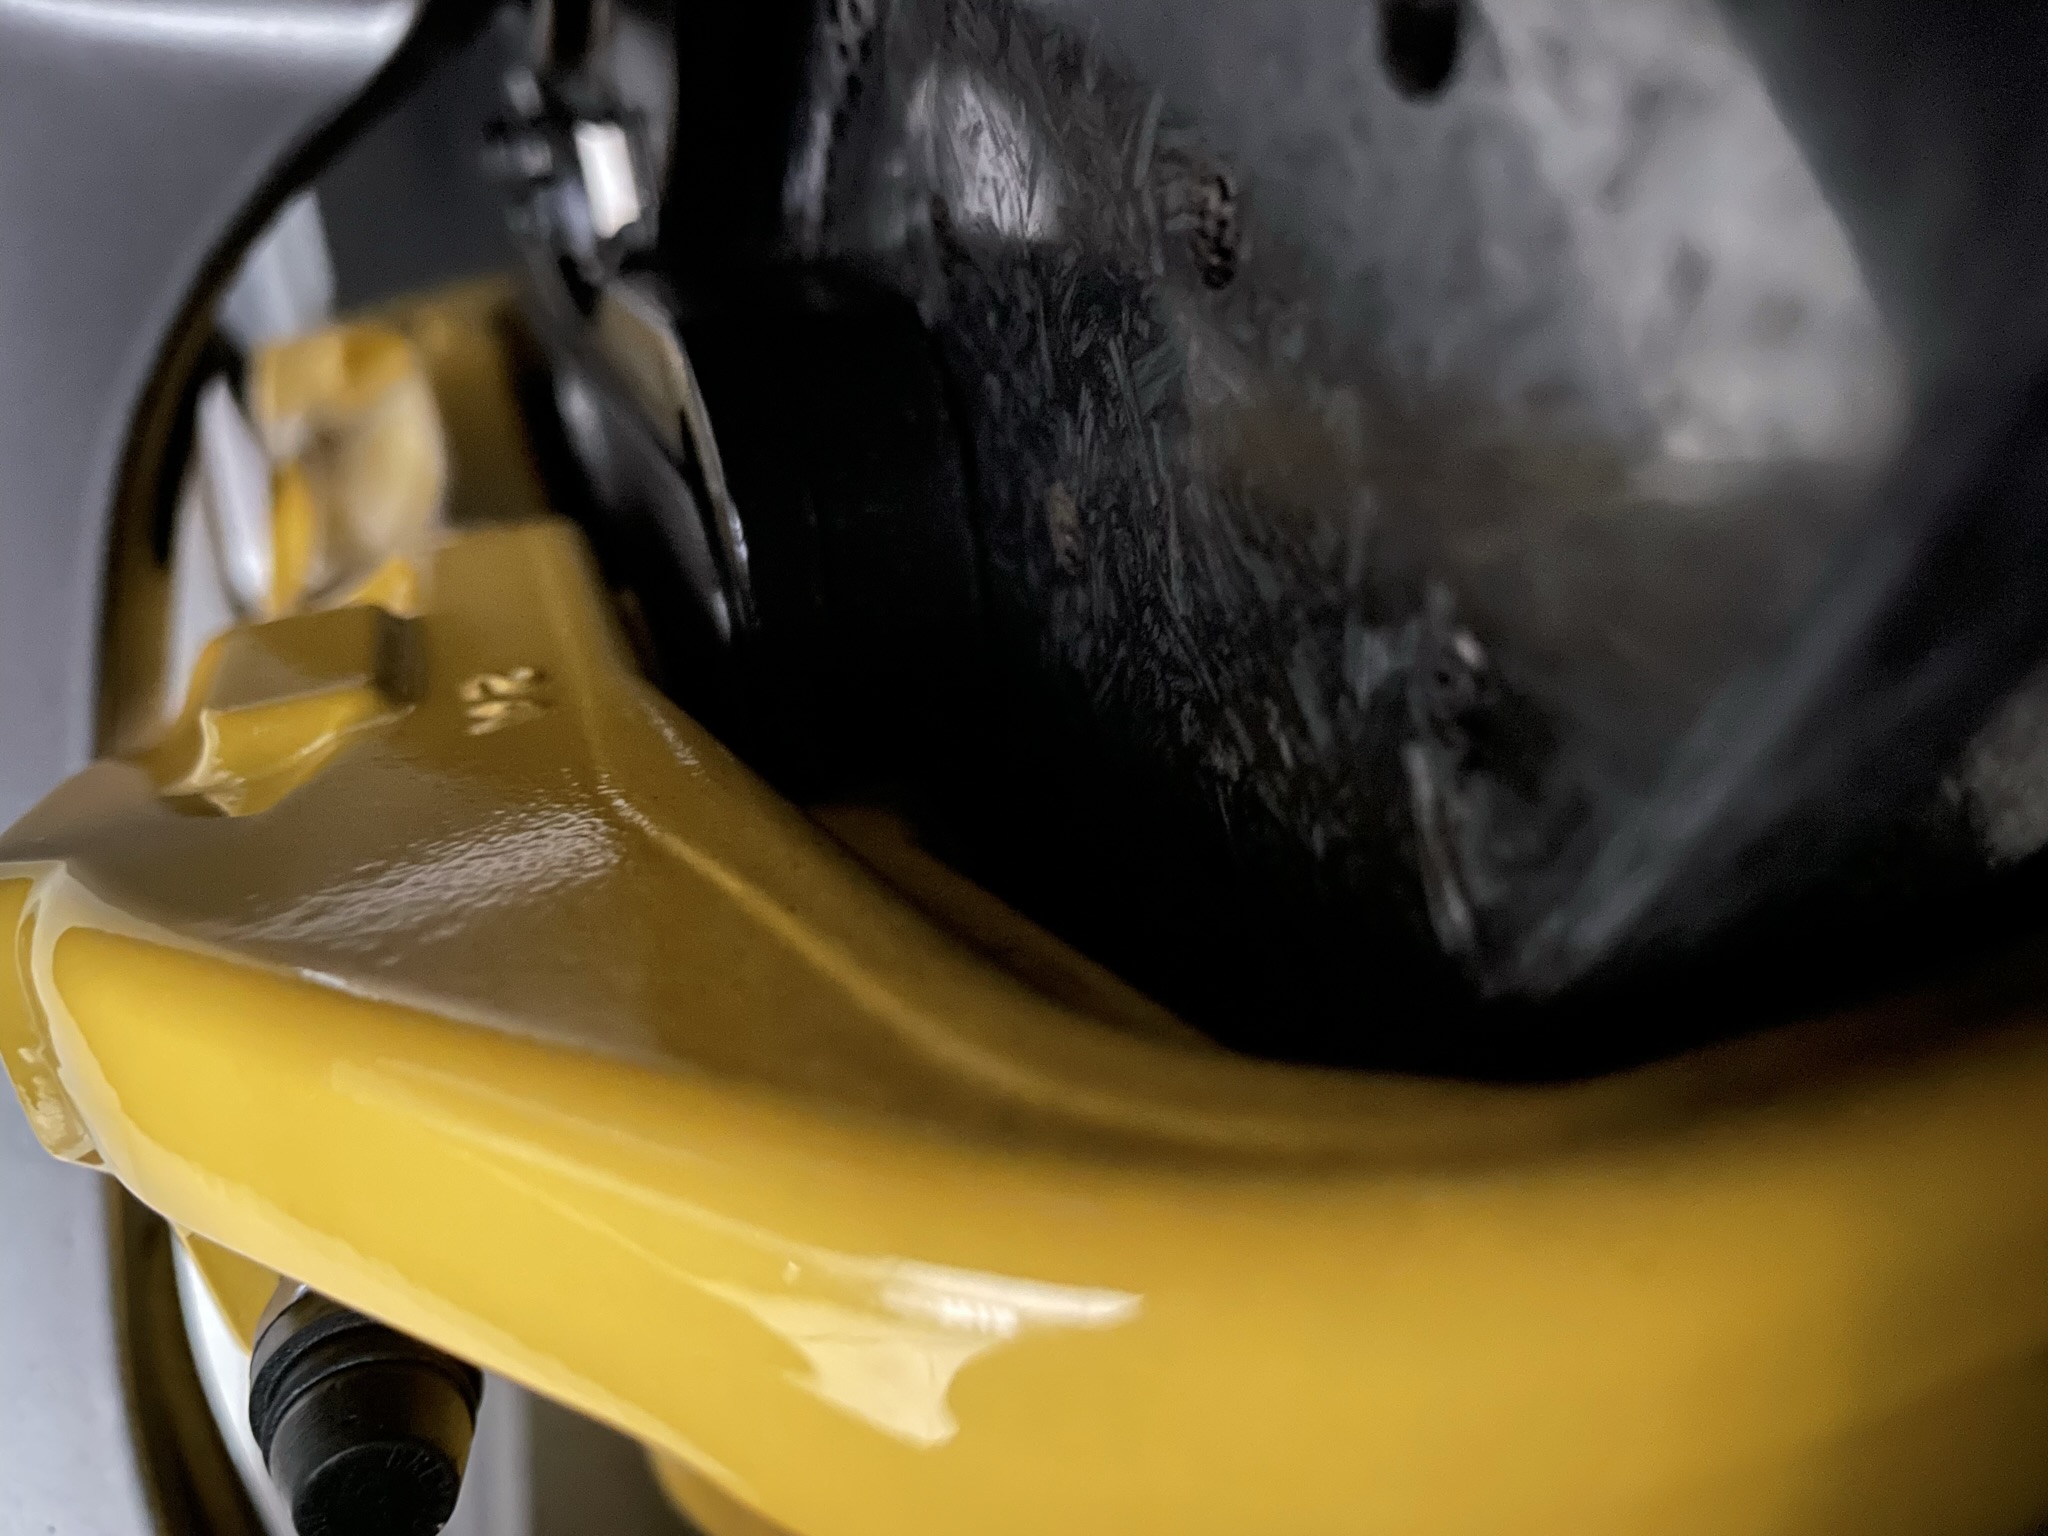
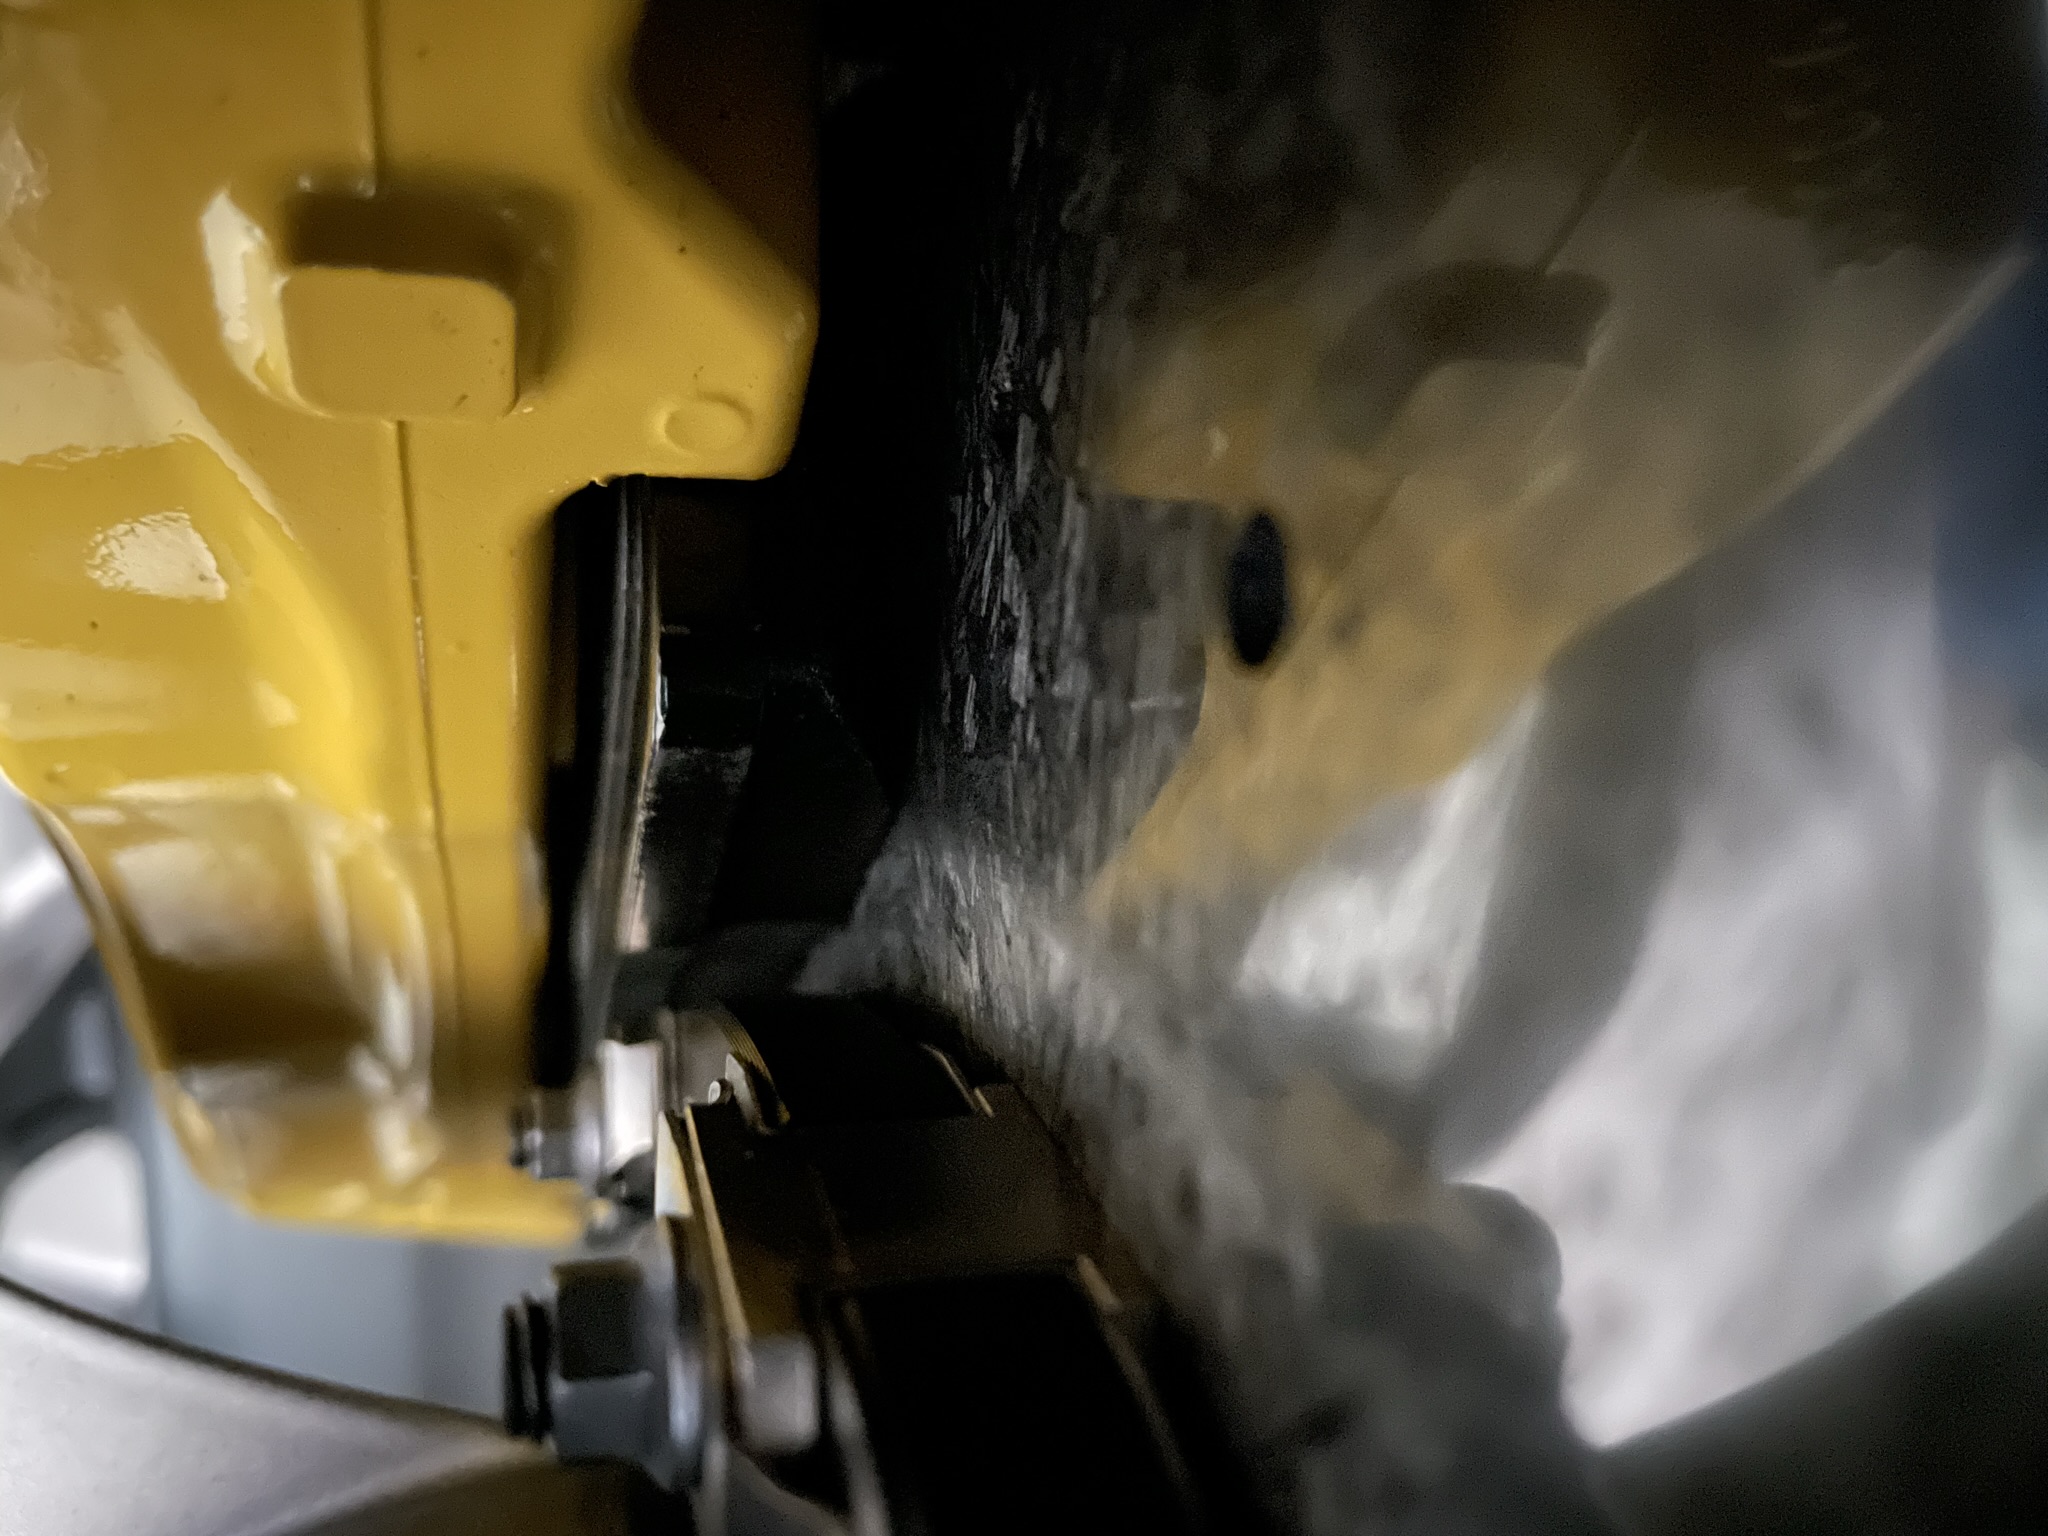
Brake System: Take close-up photos of the brake system with some space near the borders.
Vehicle Top: If your car is a convertible, take photos of the hard or soft top from both the exterior and interior.
Interior
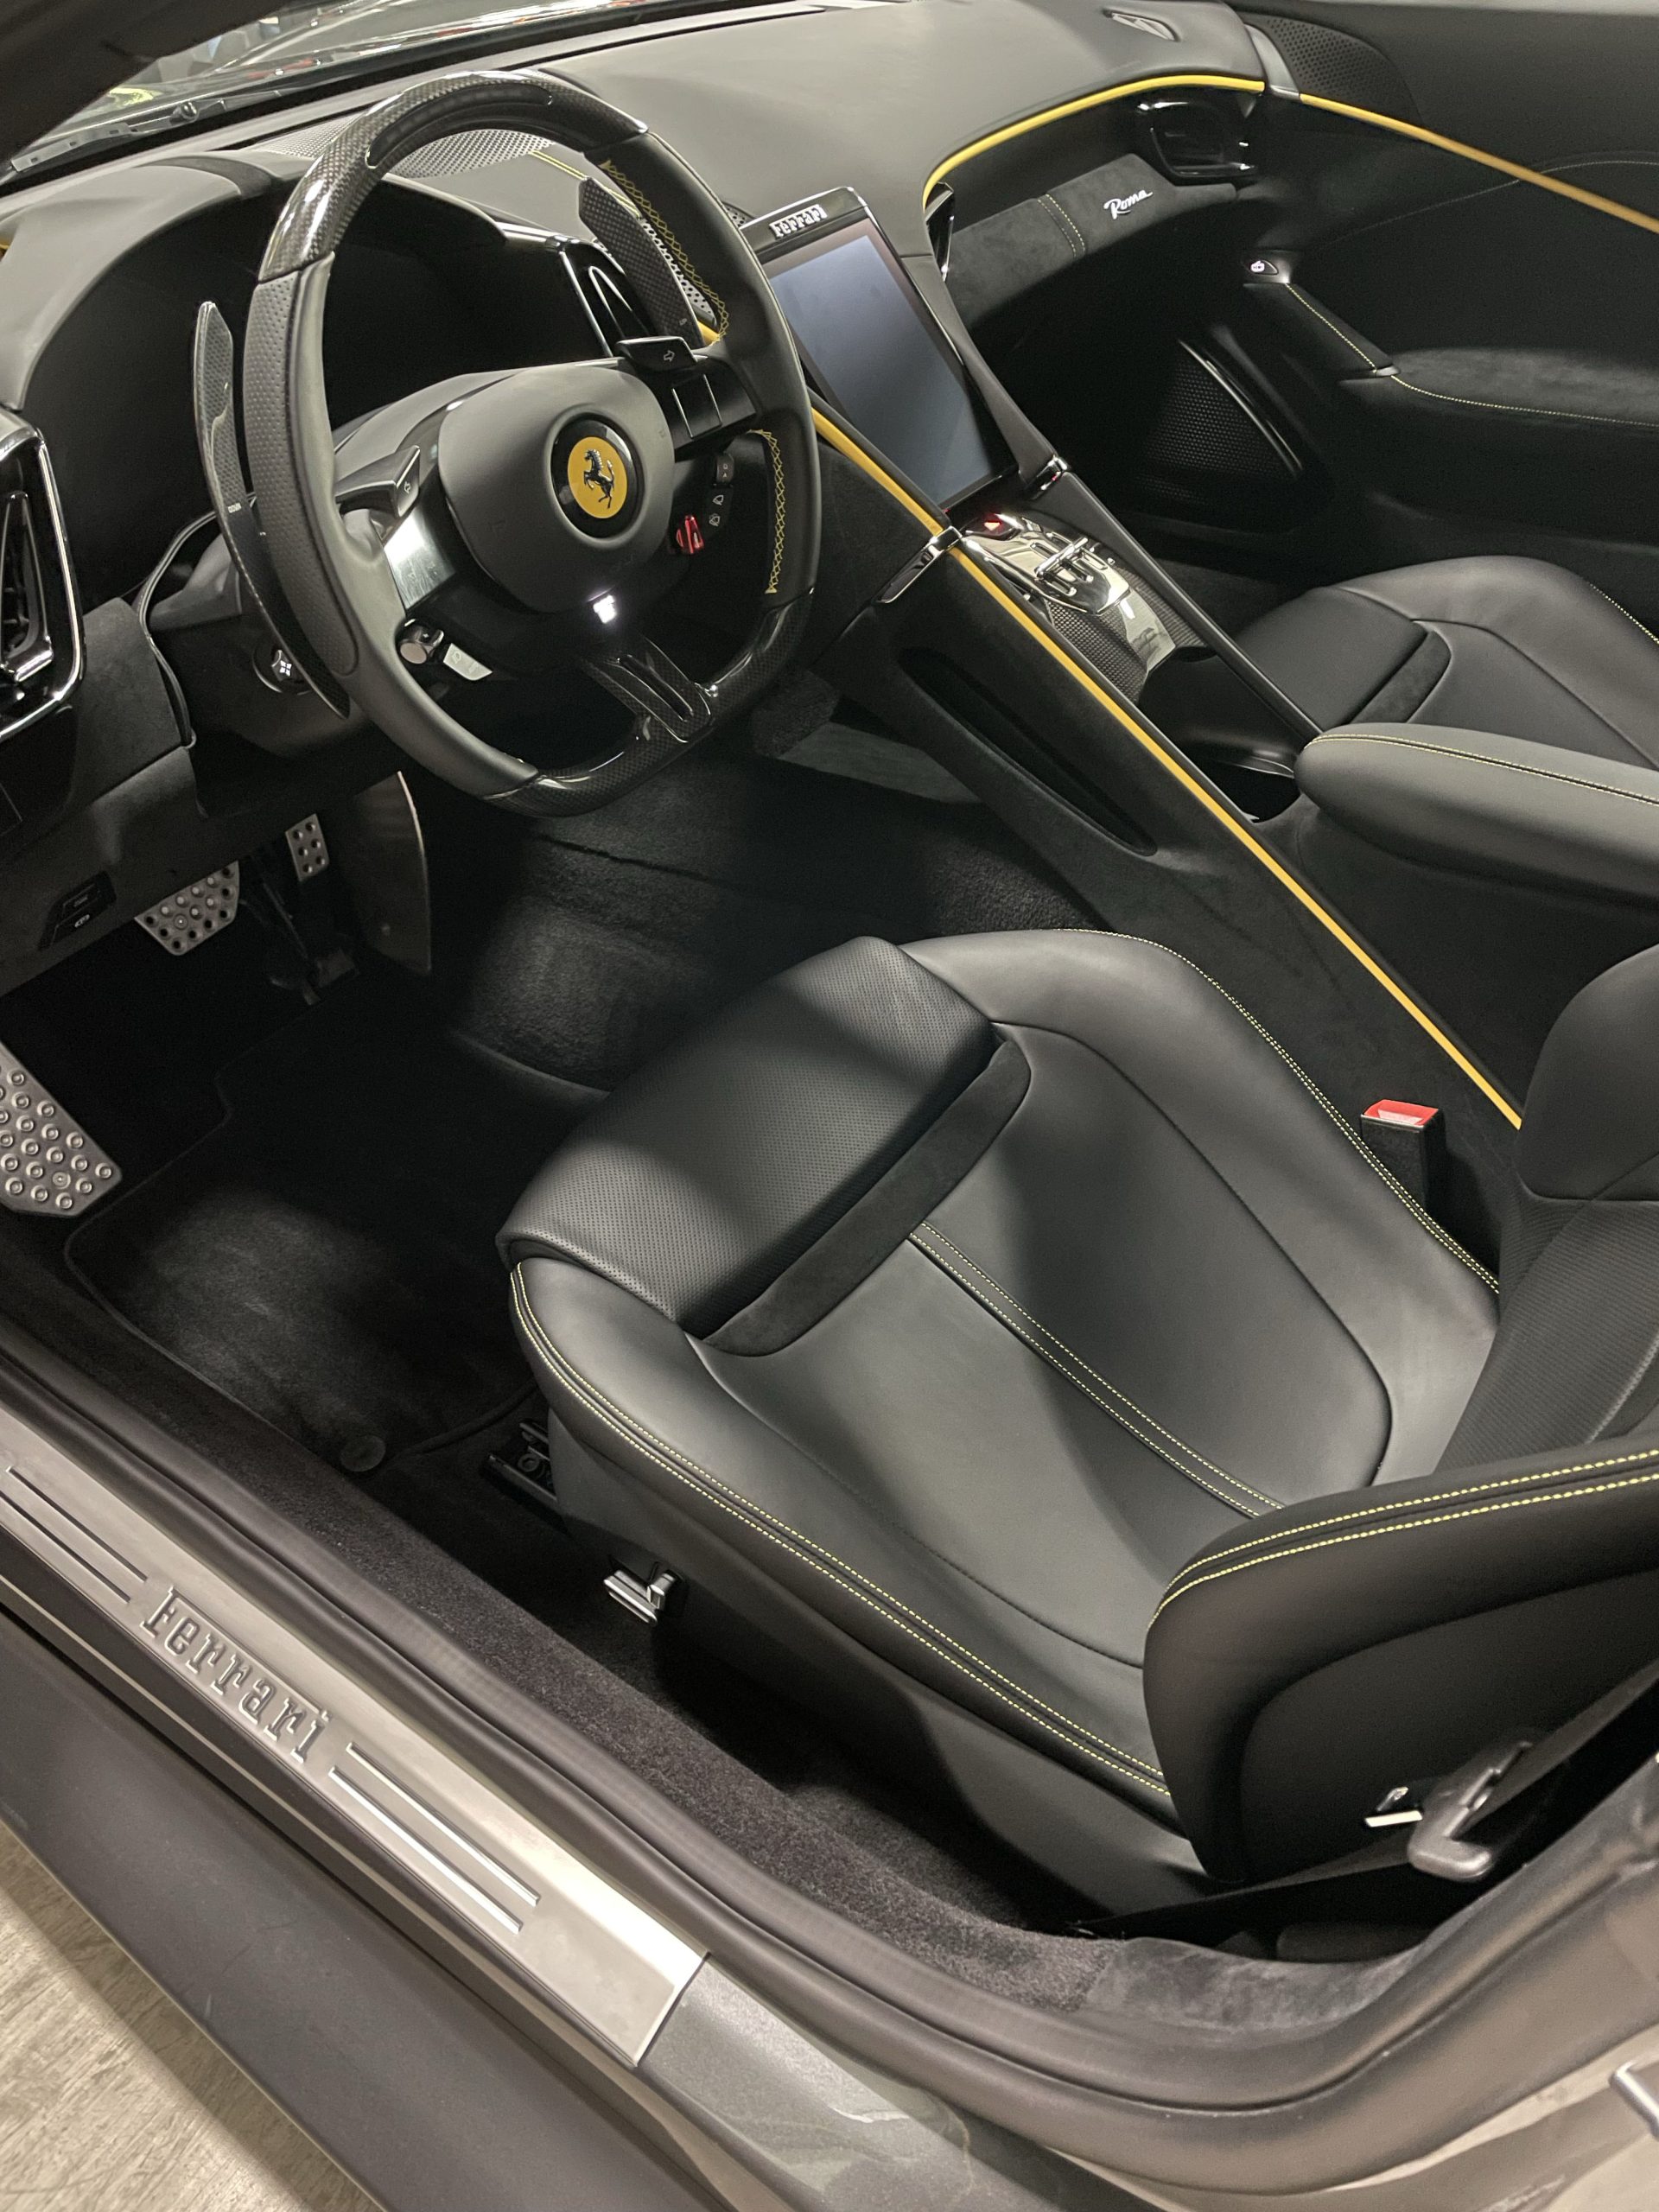
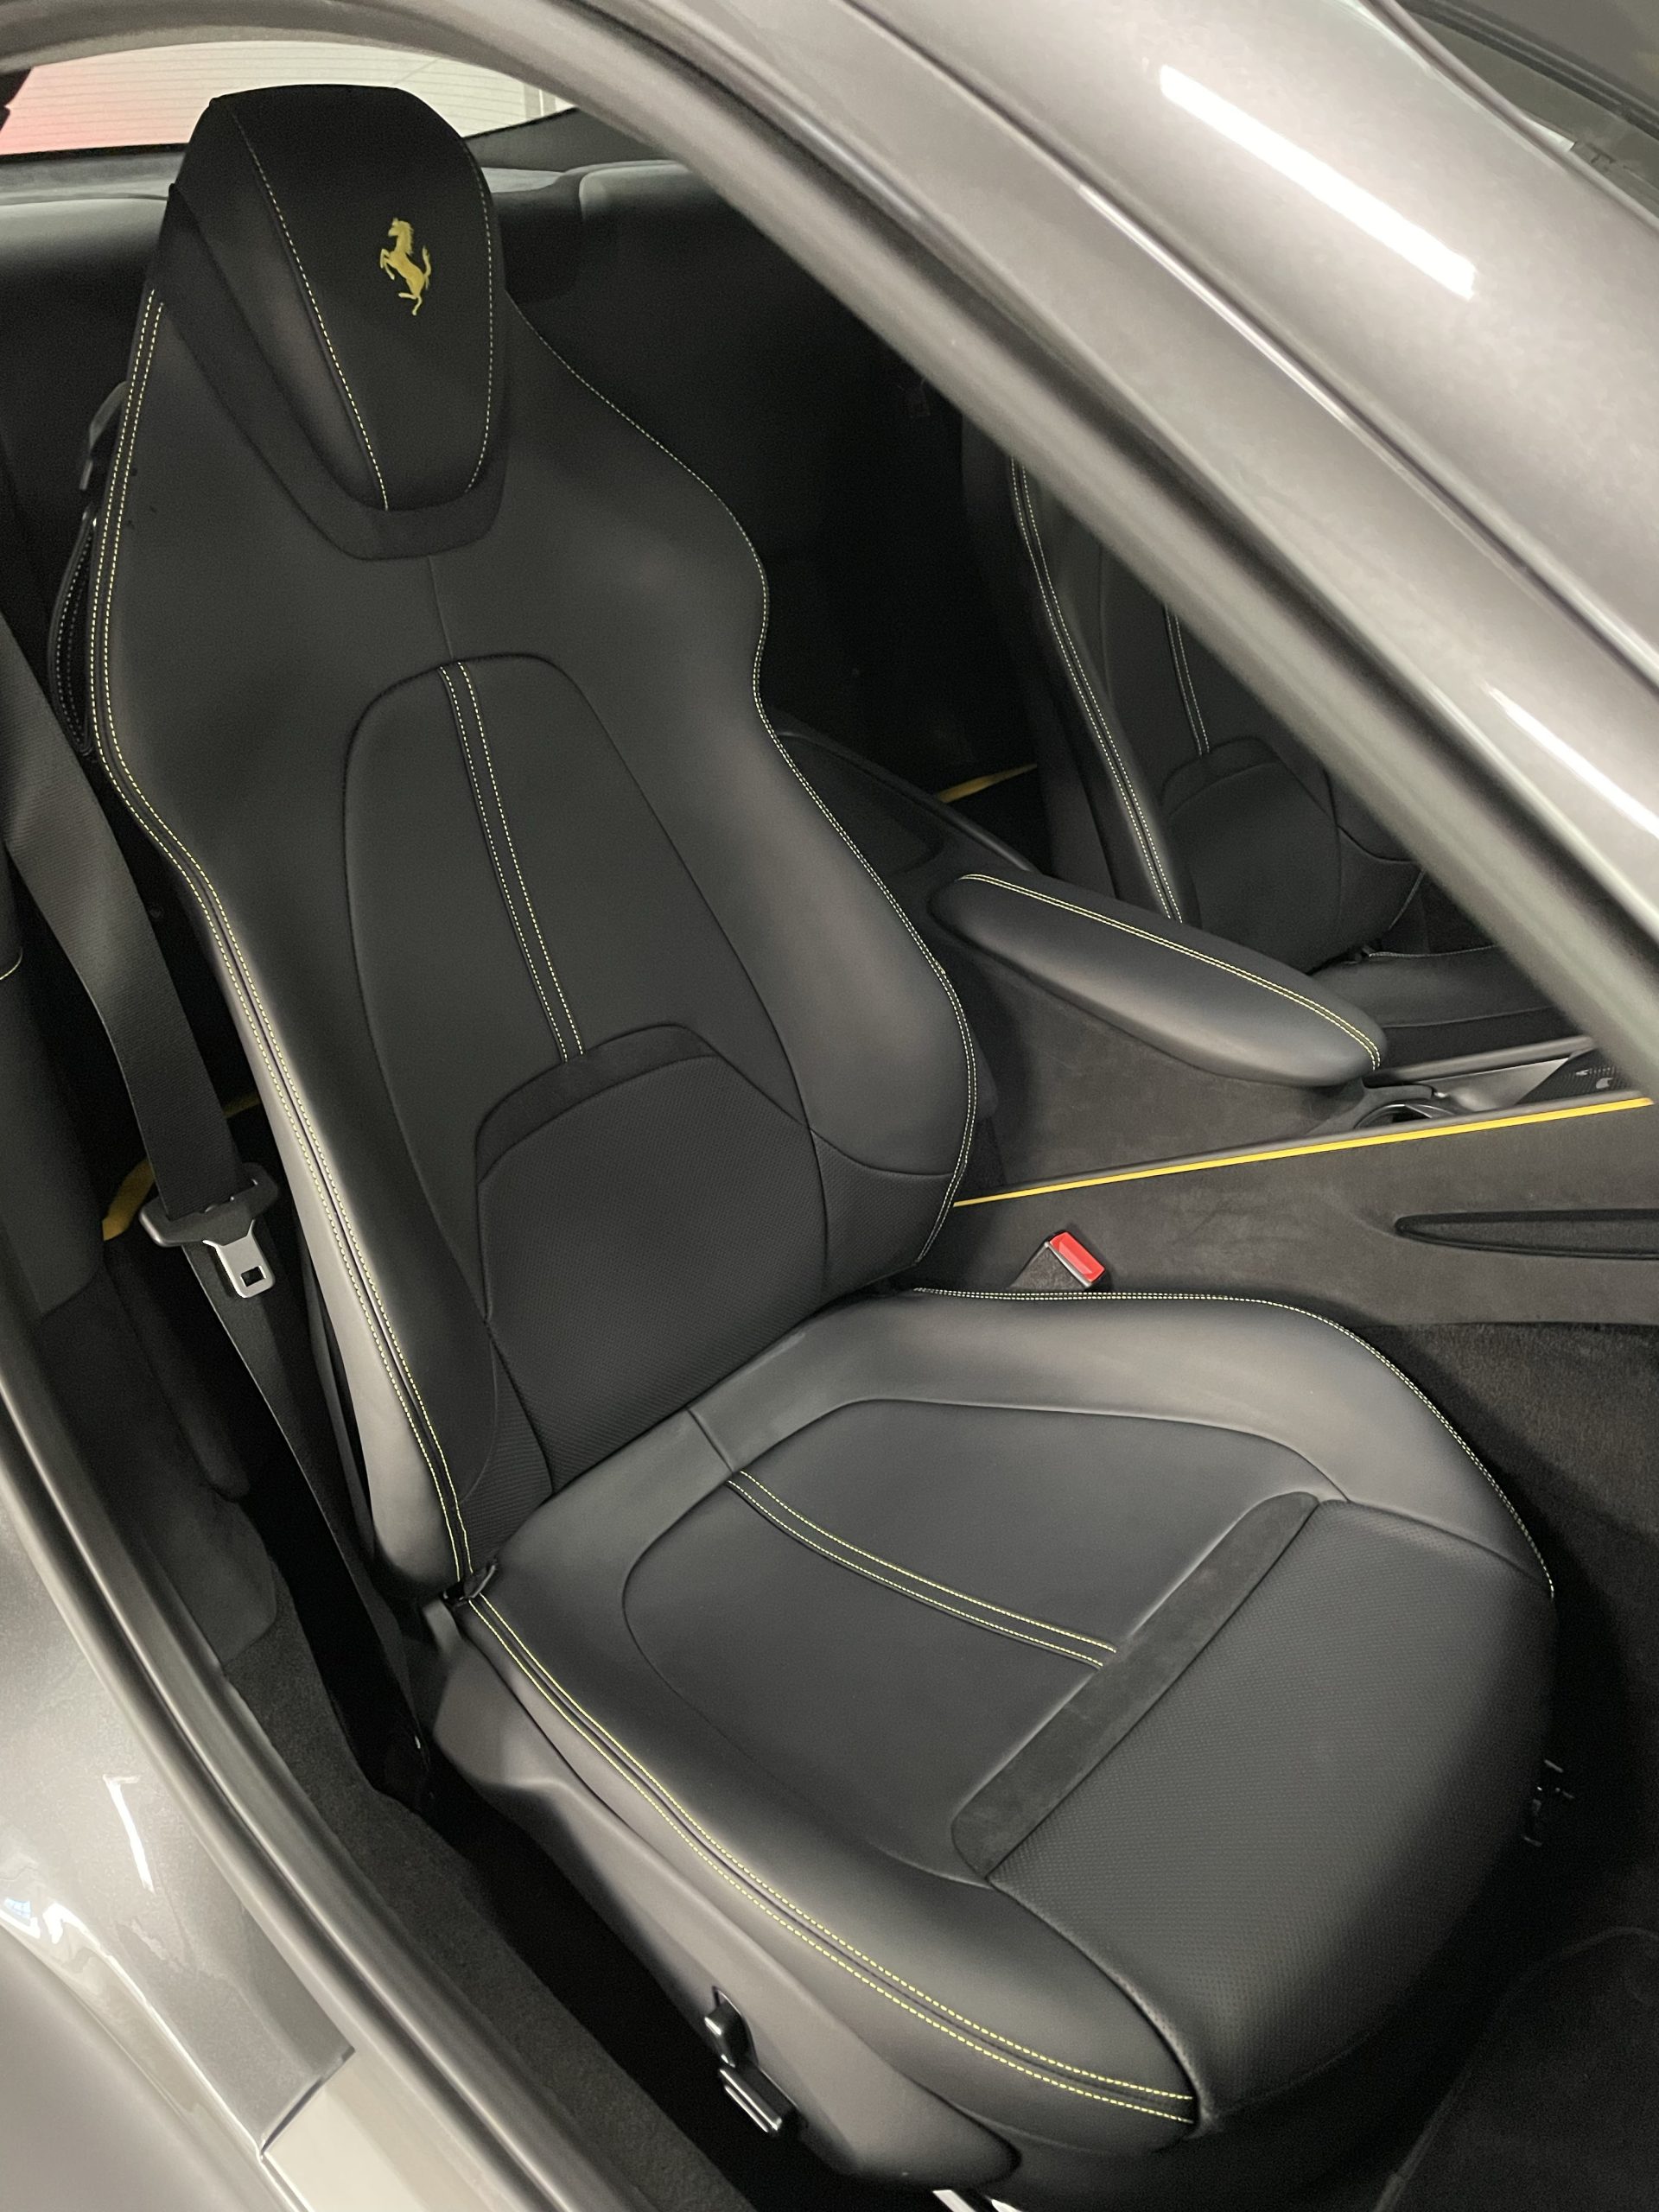
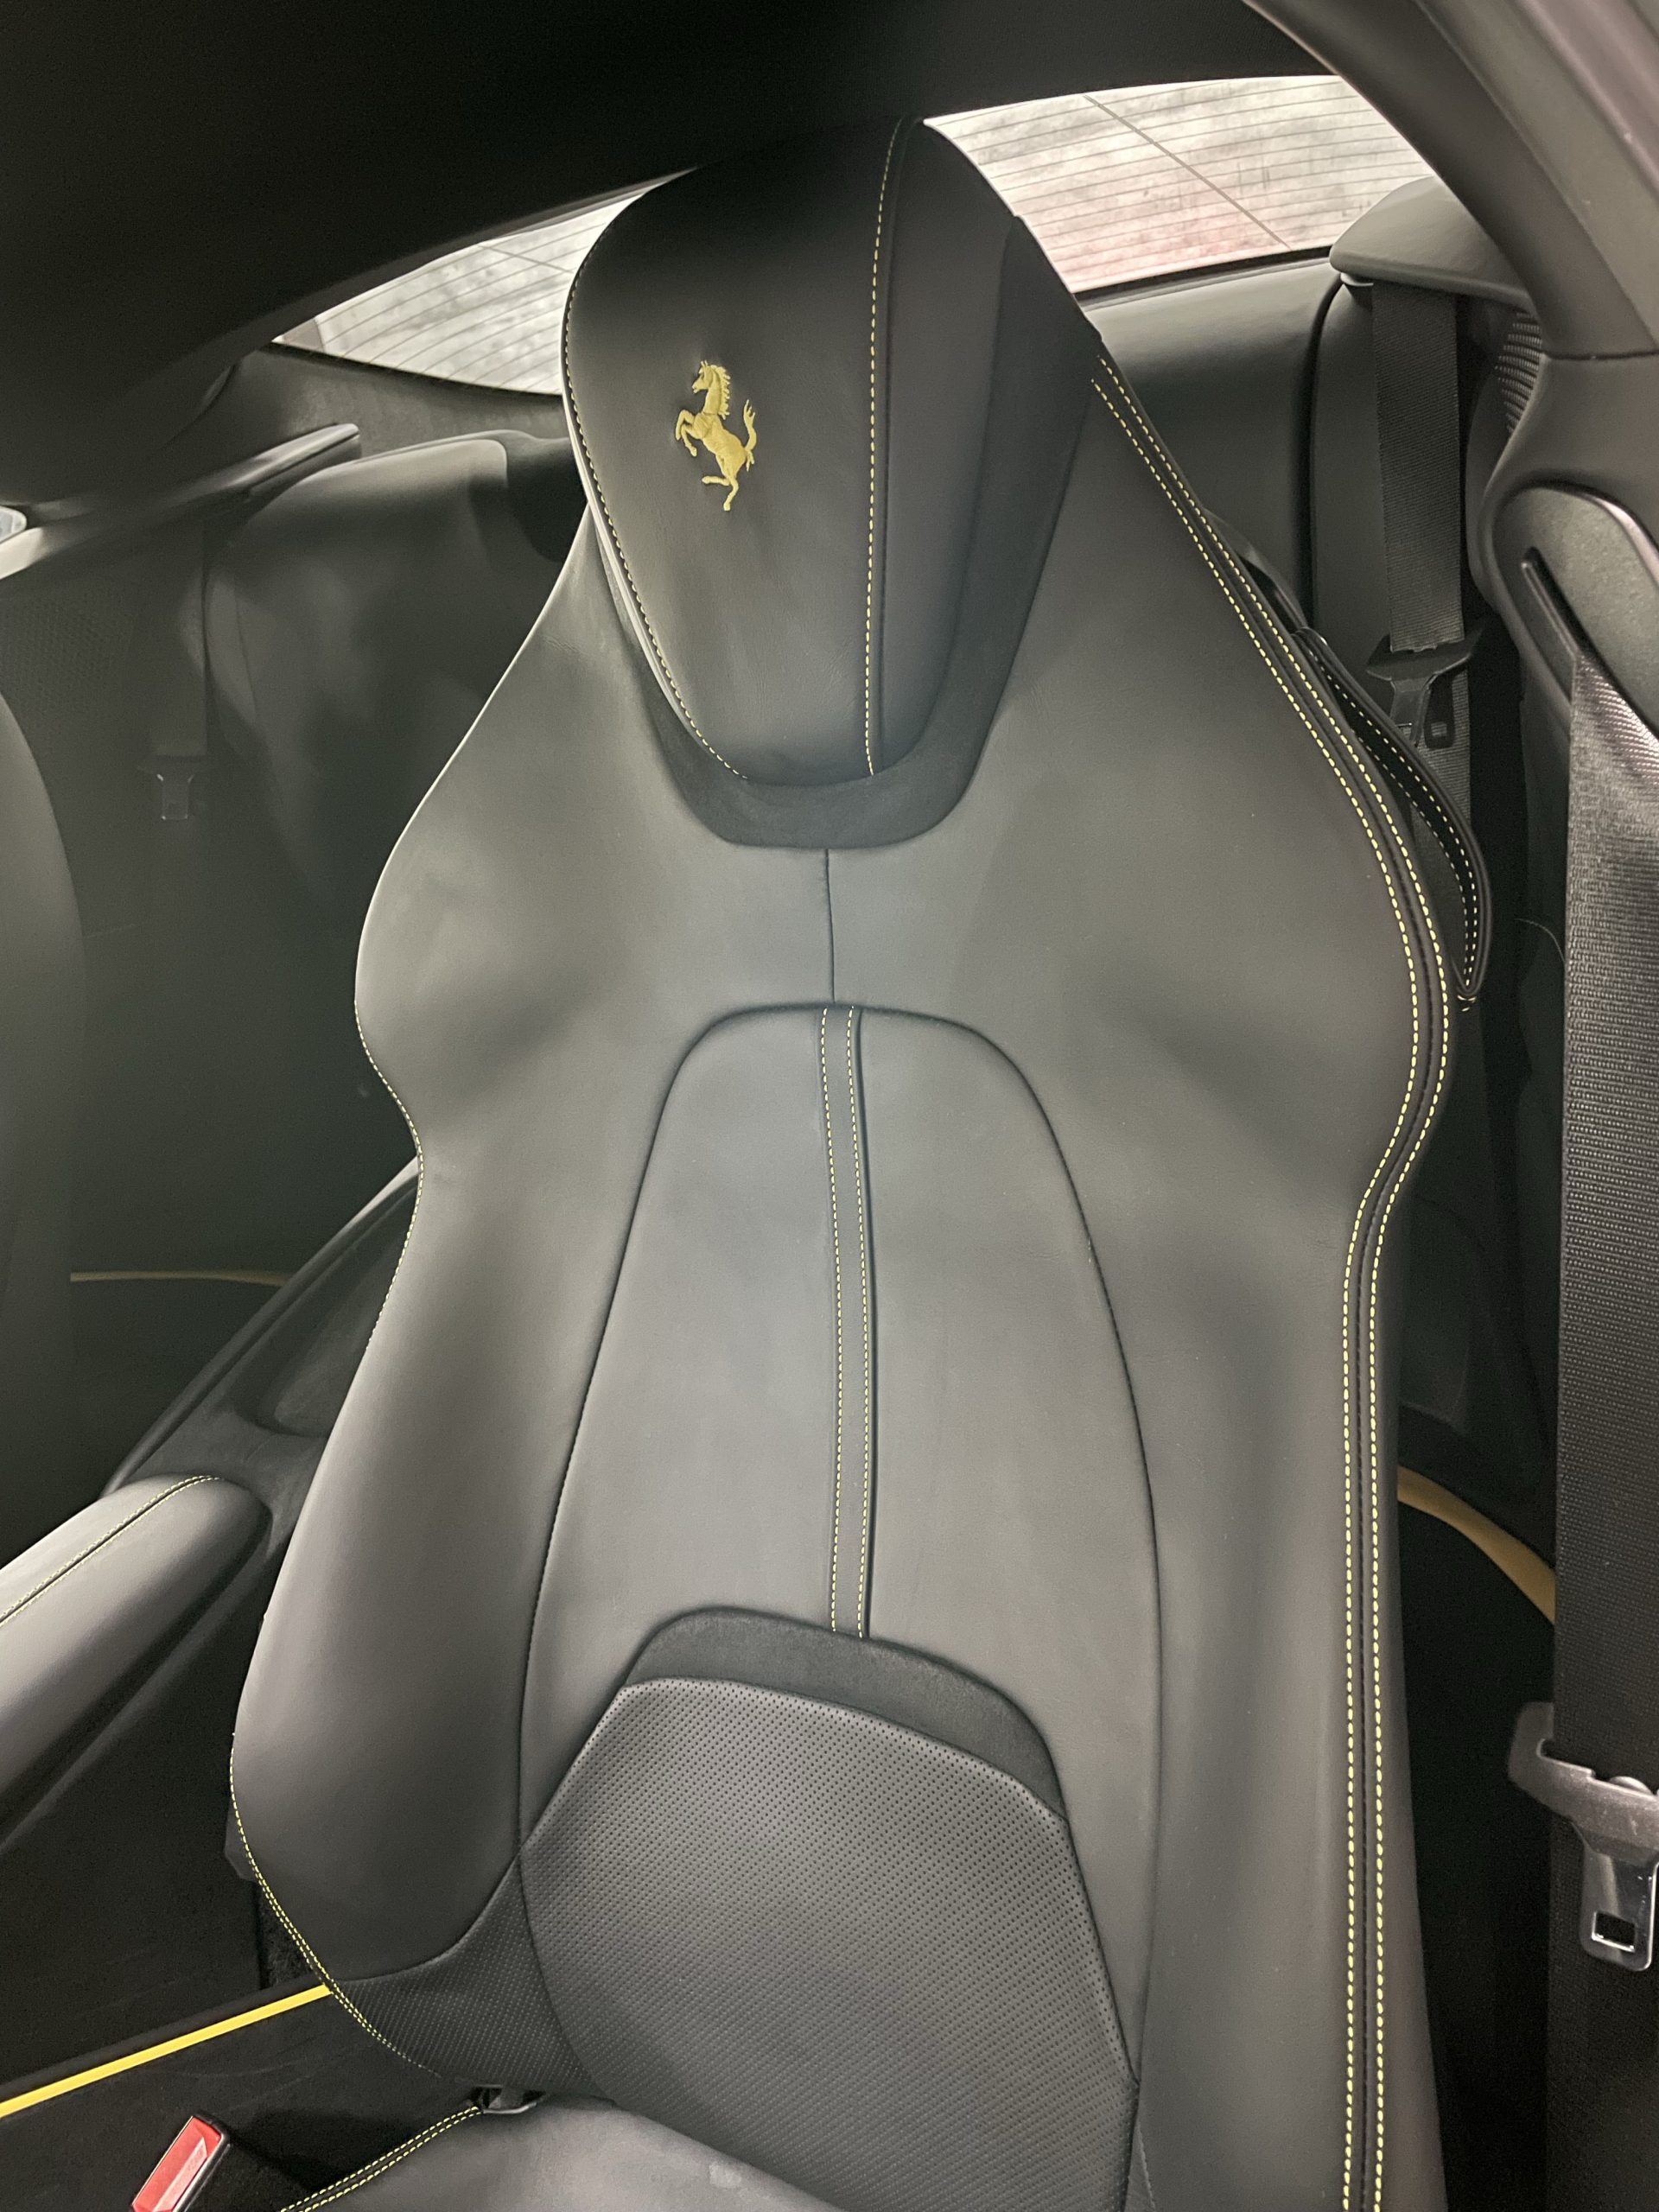
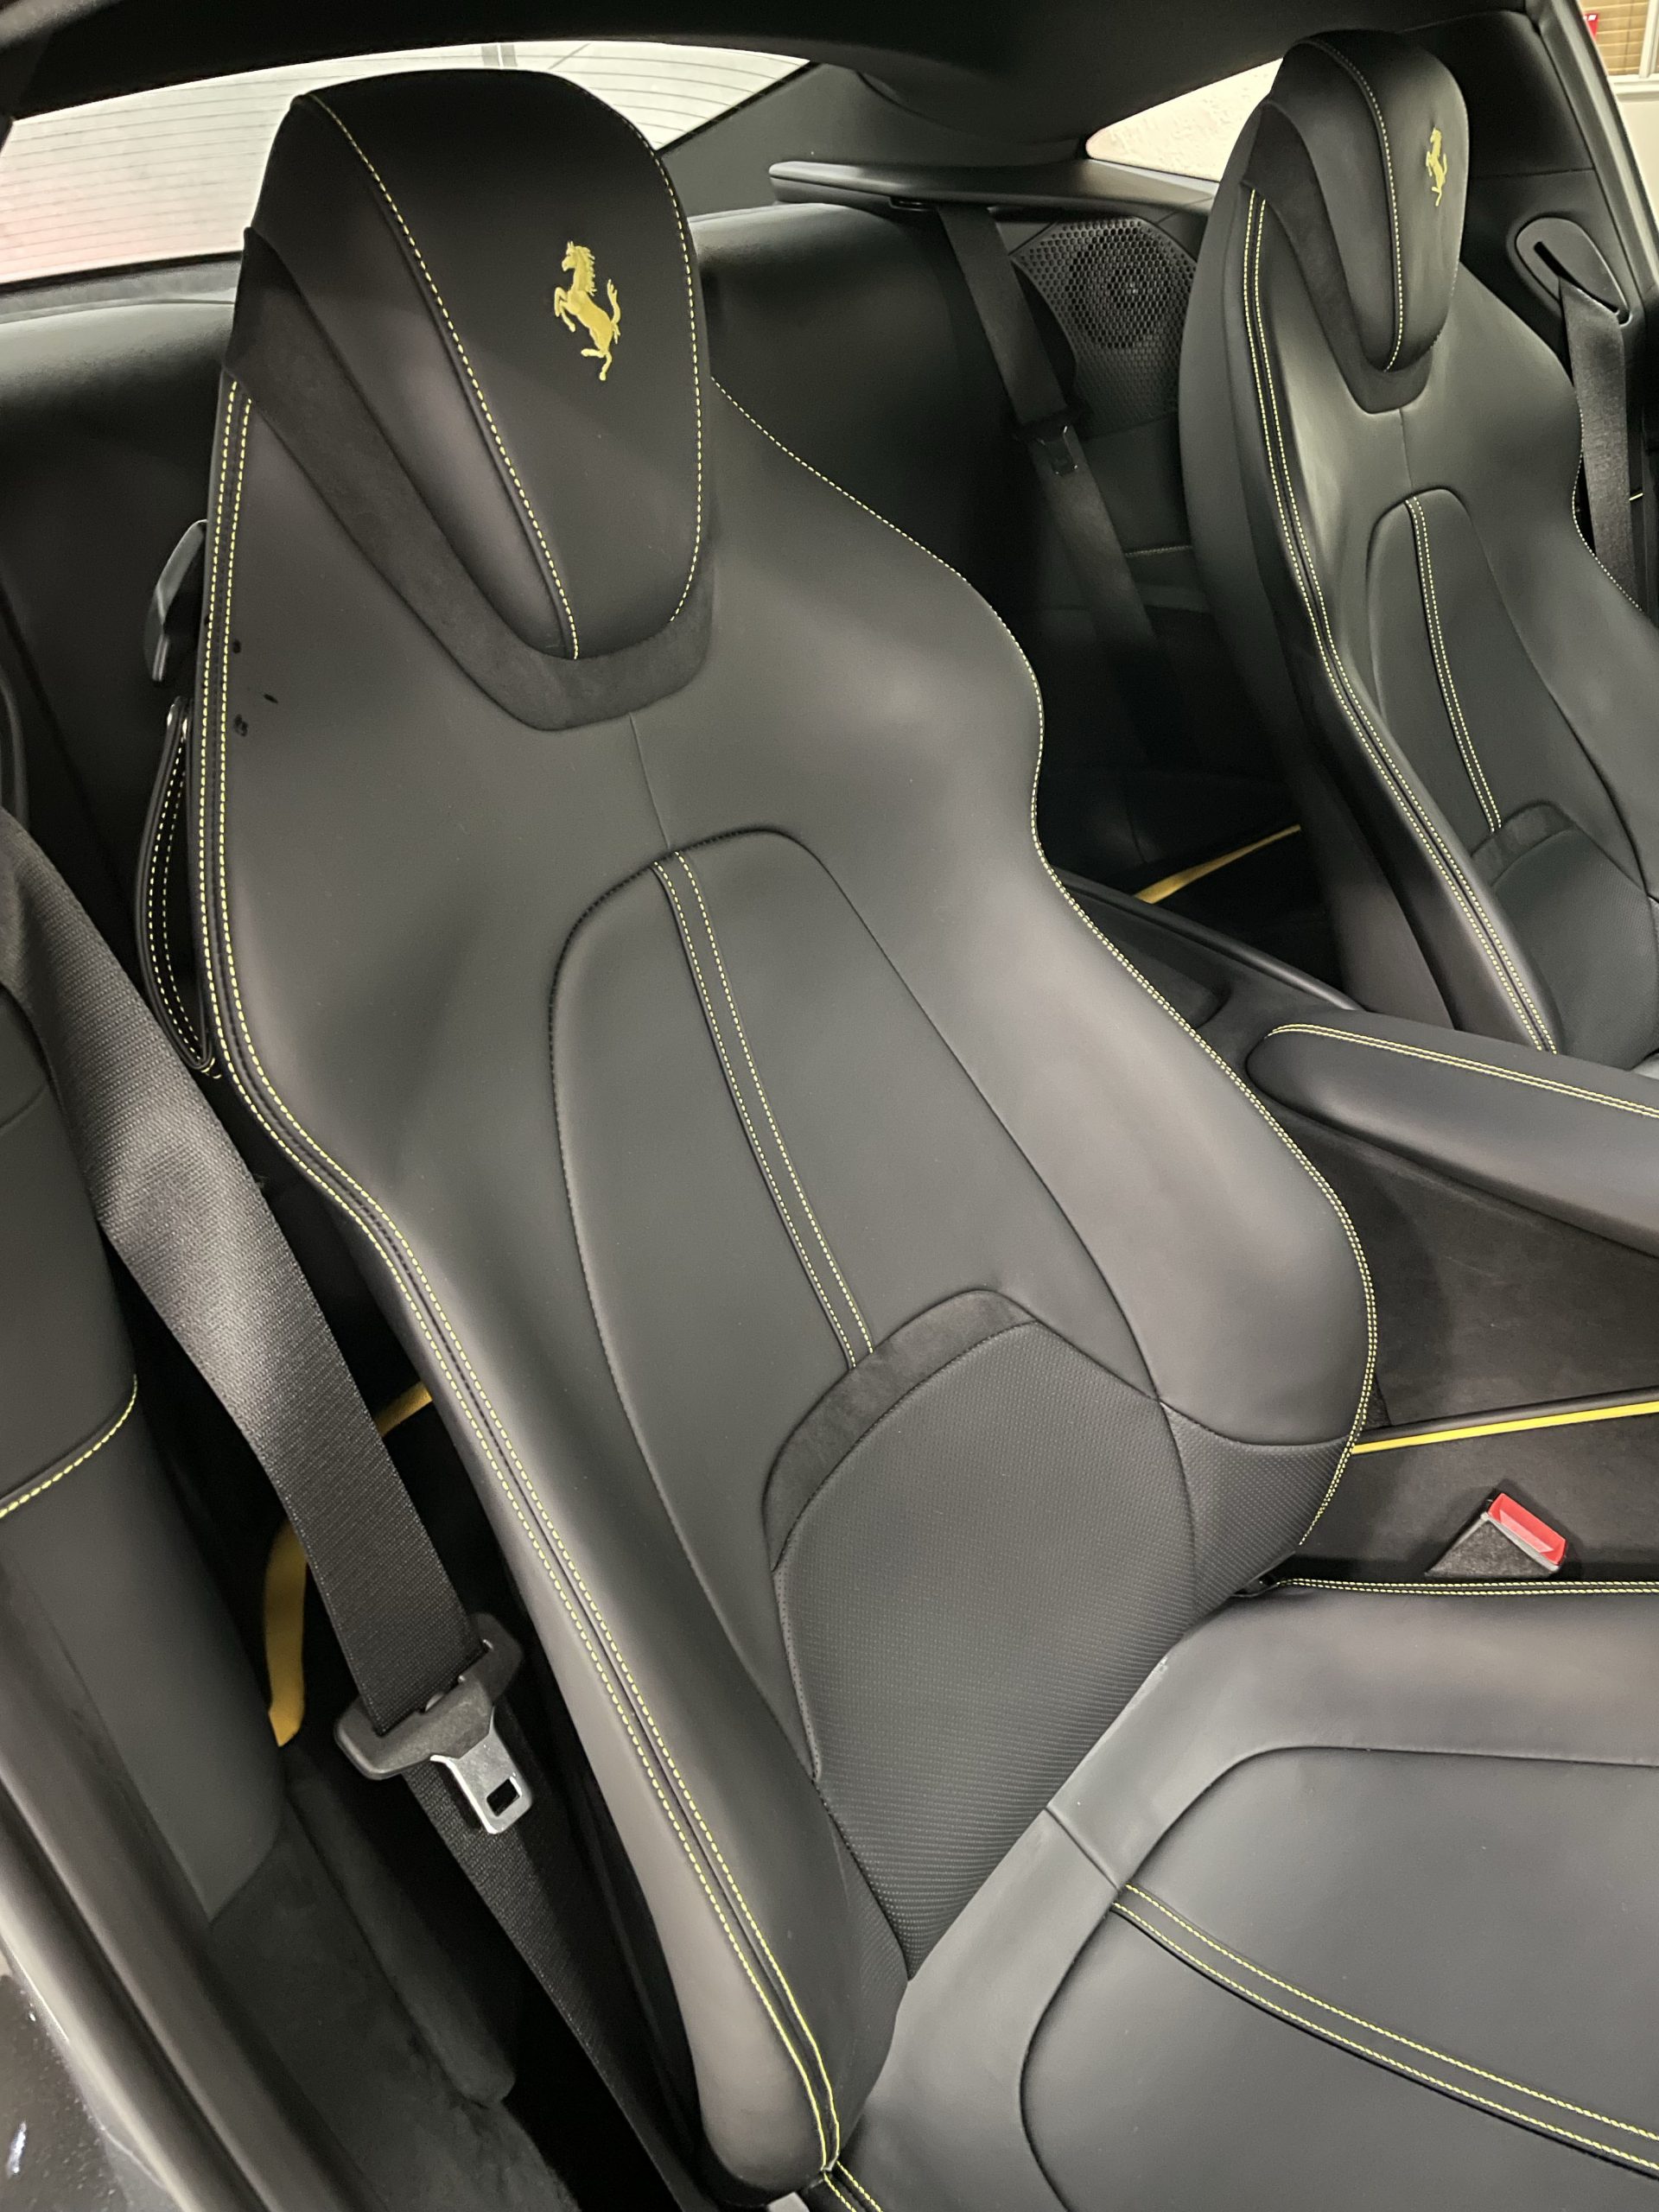
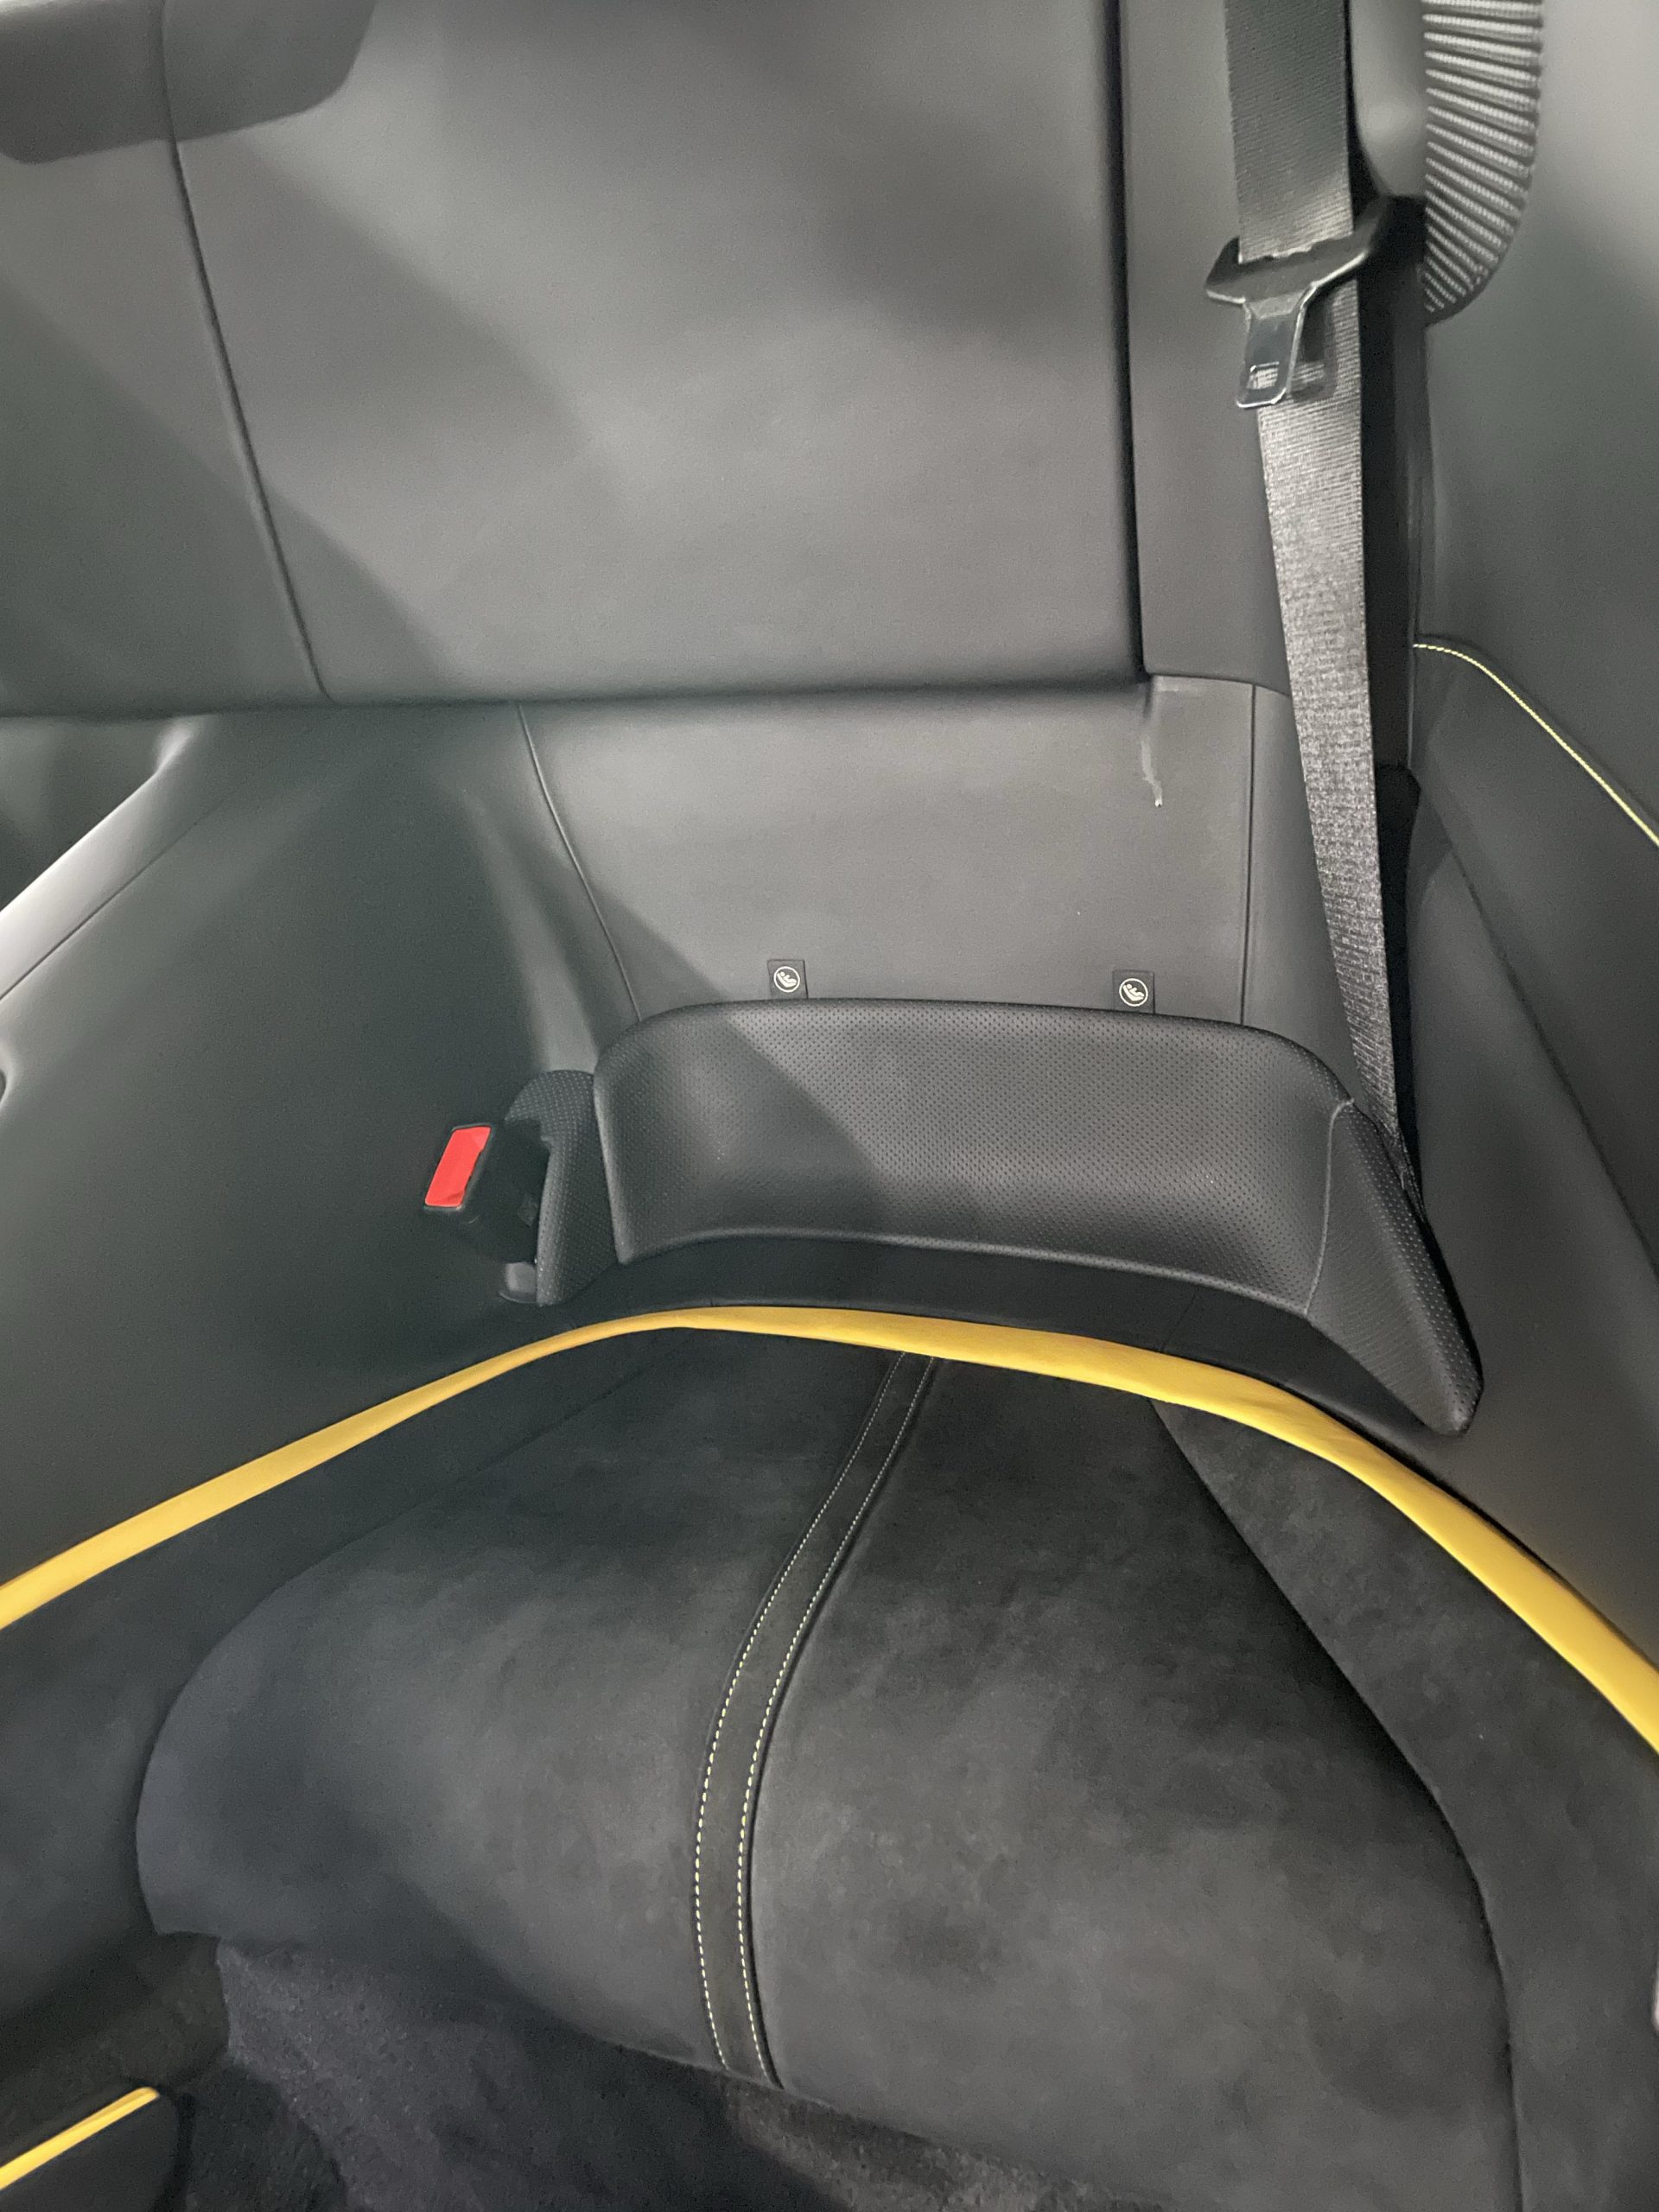
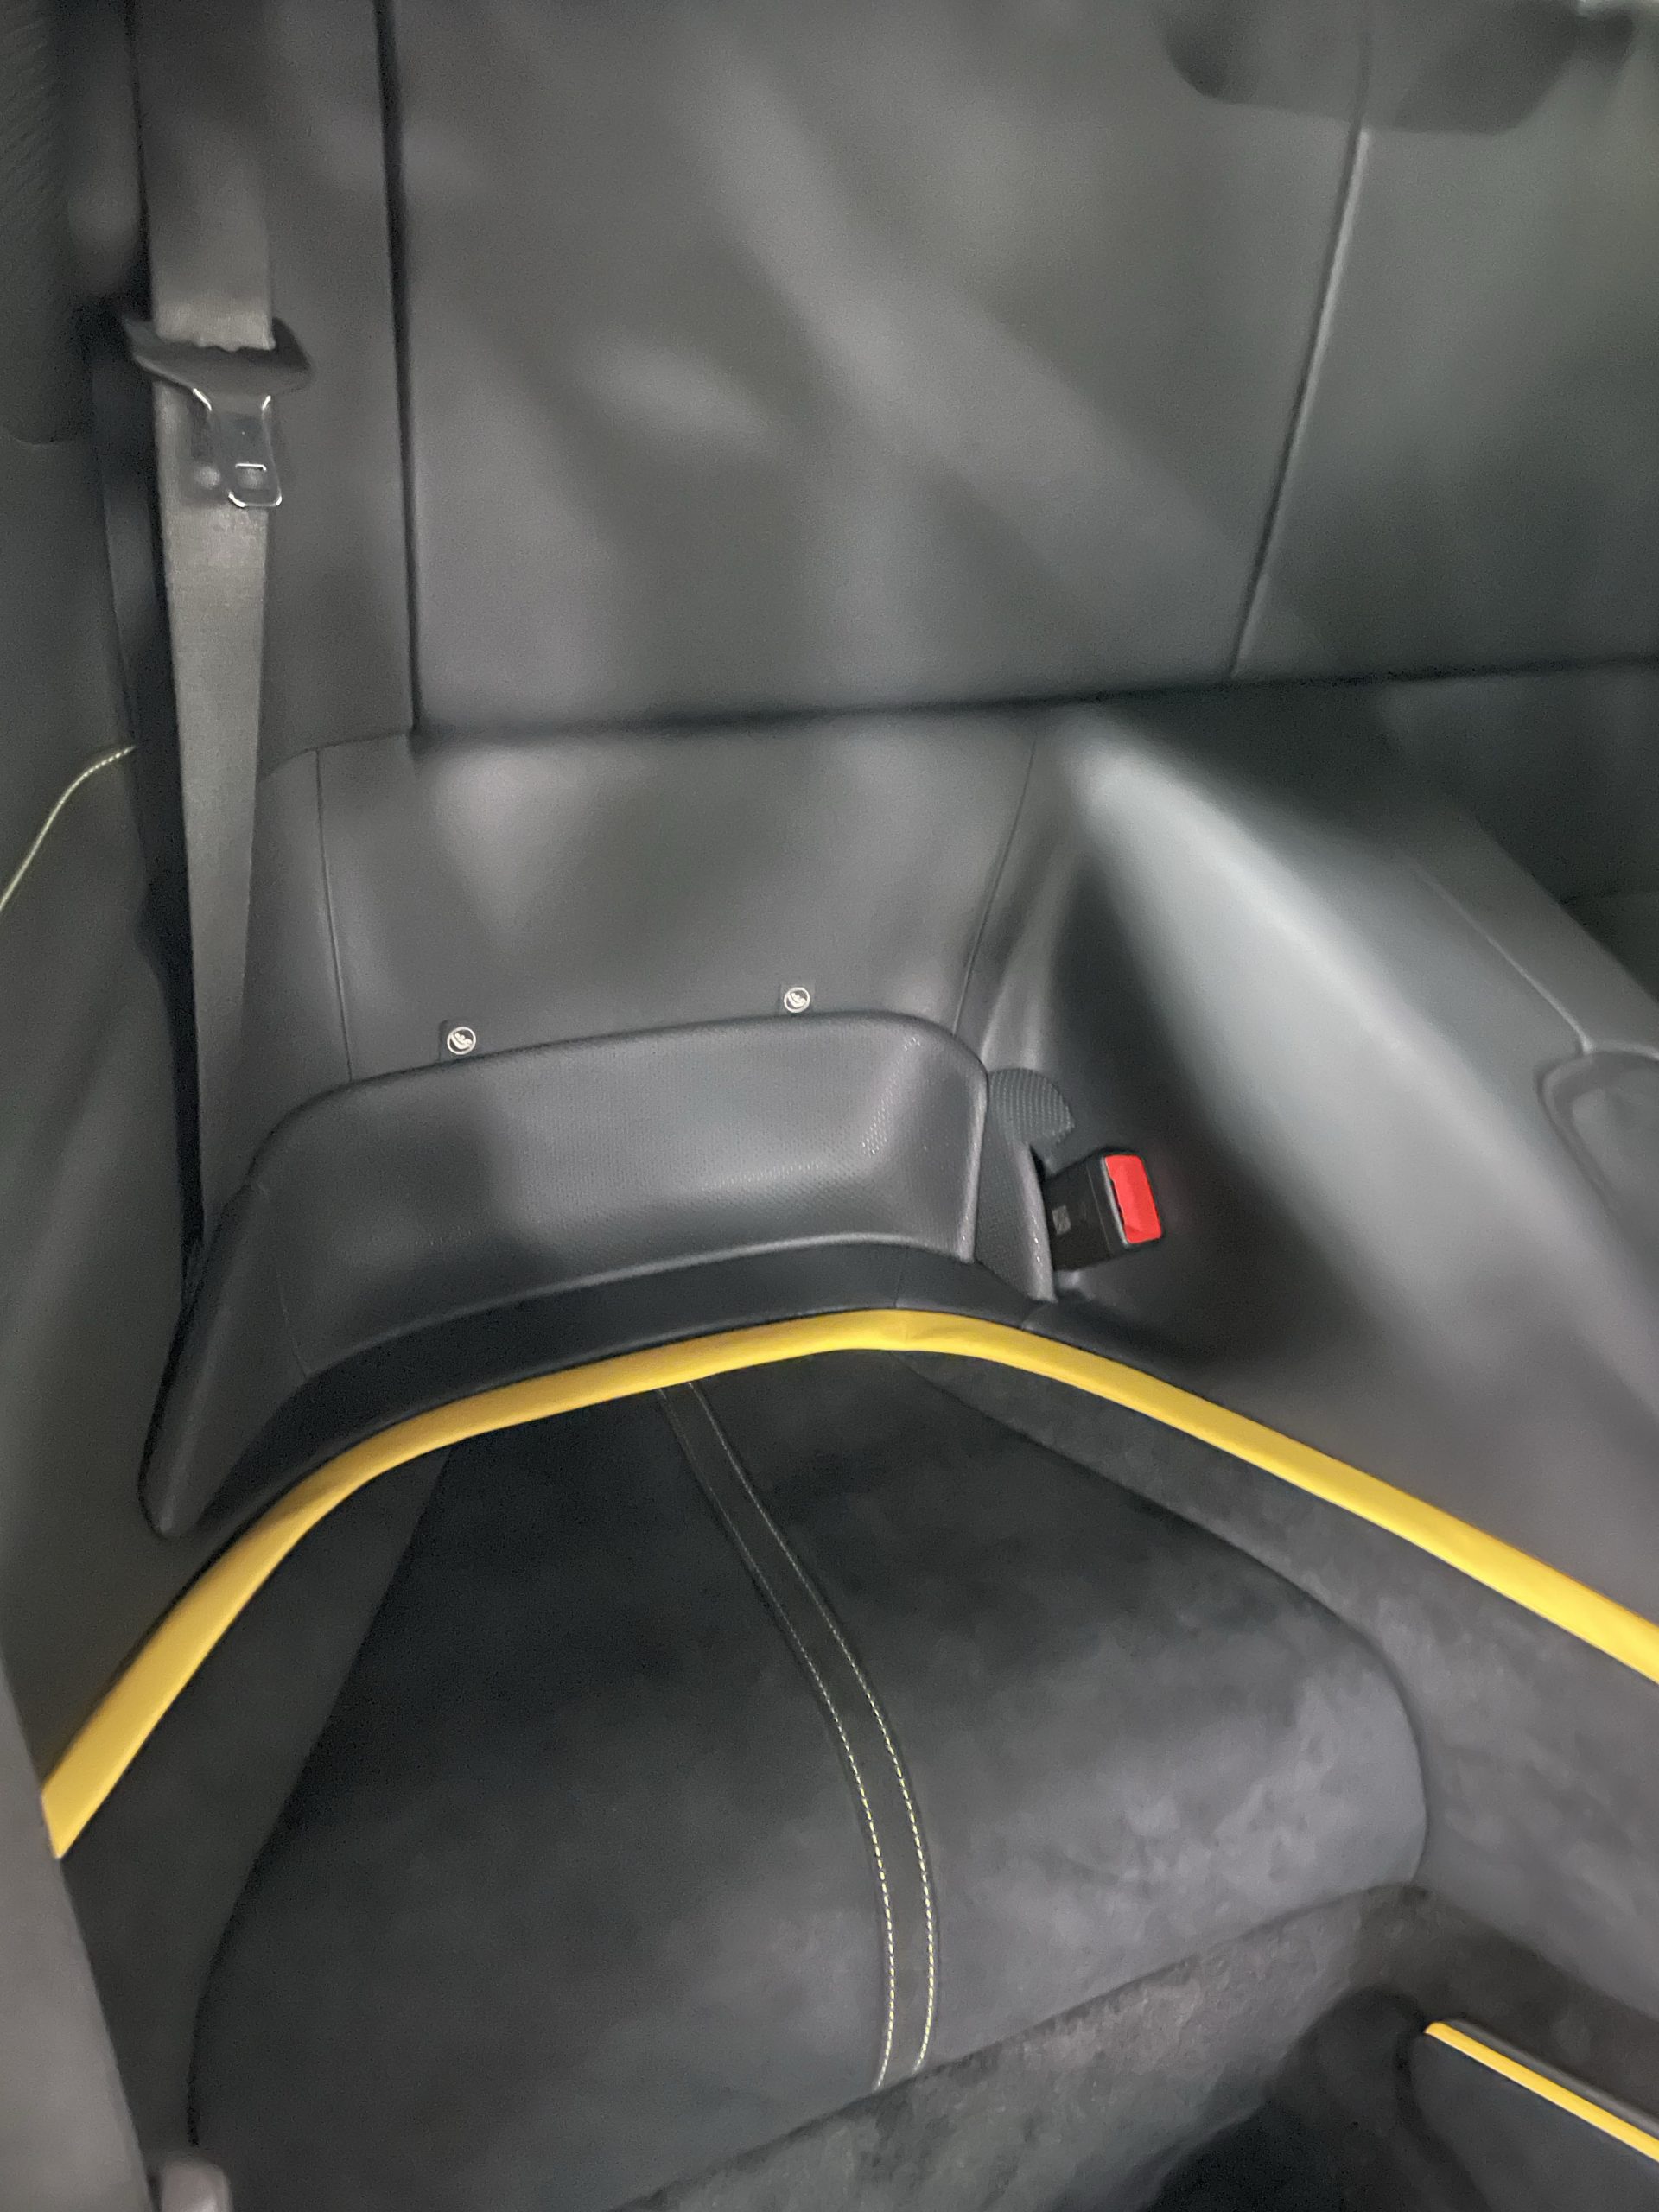
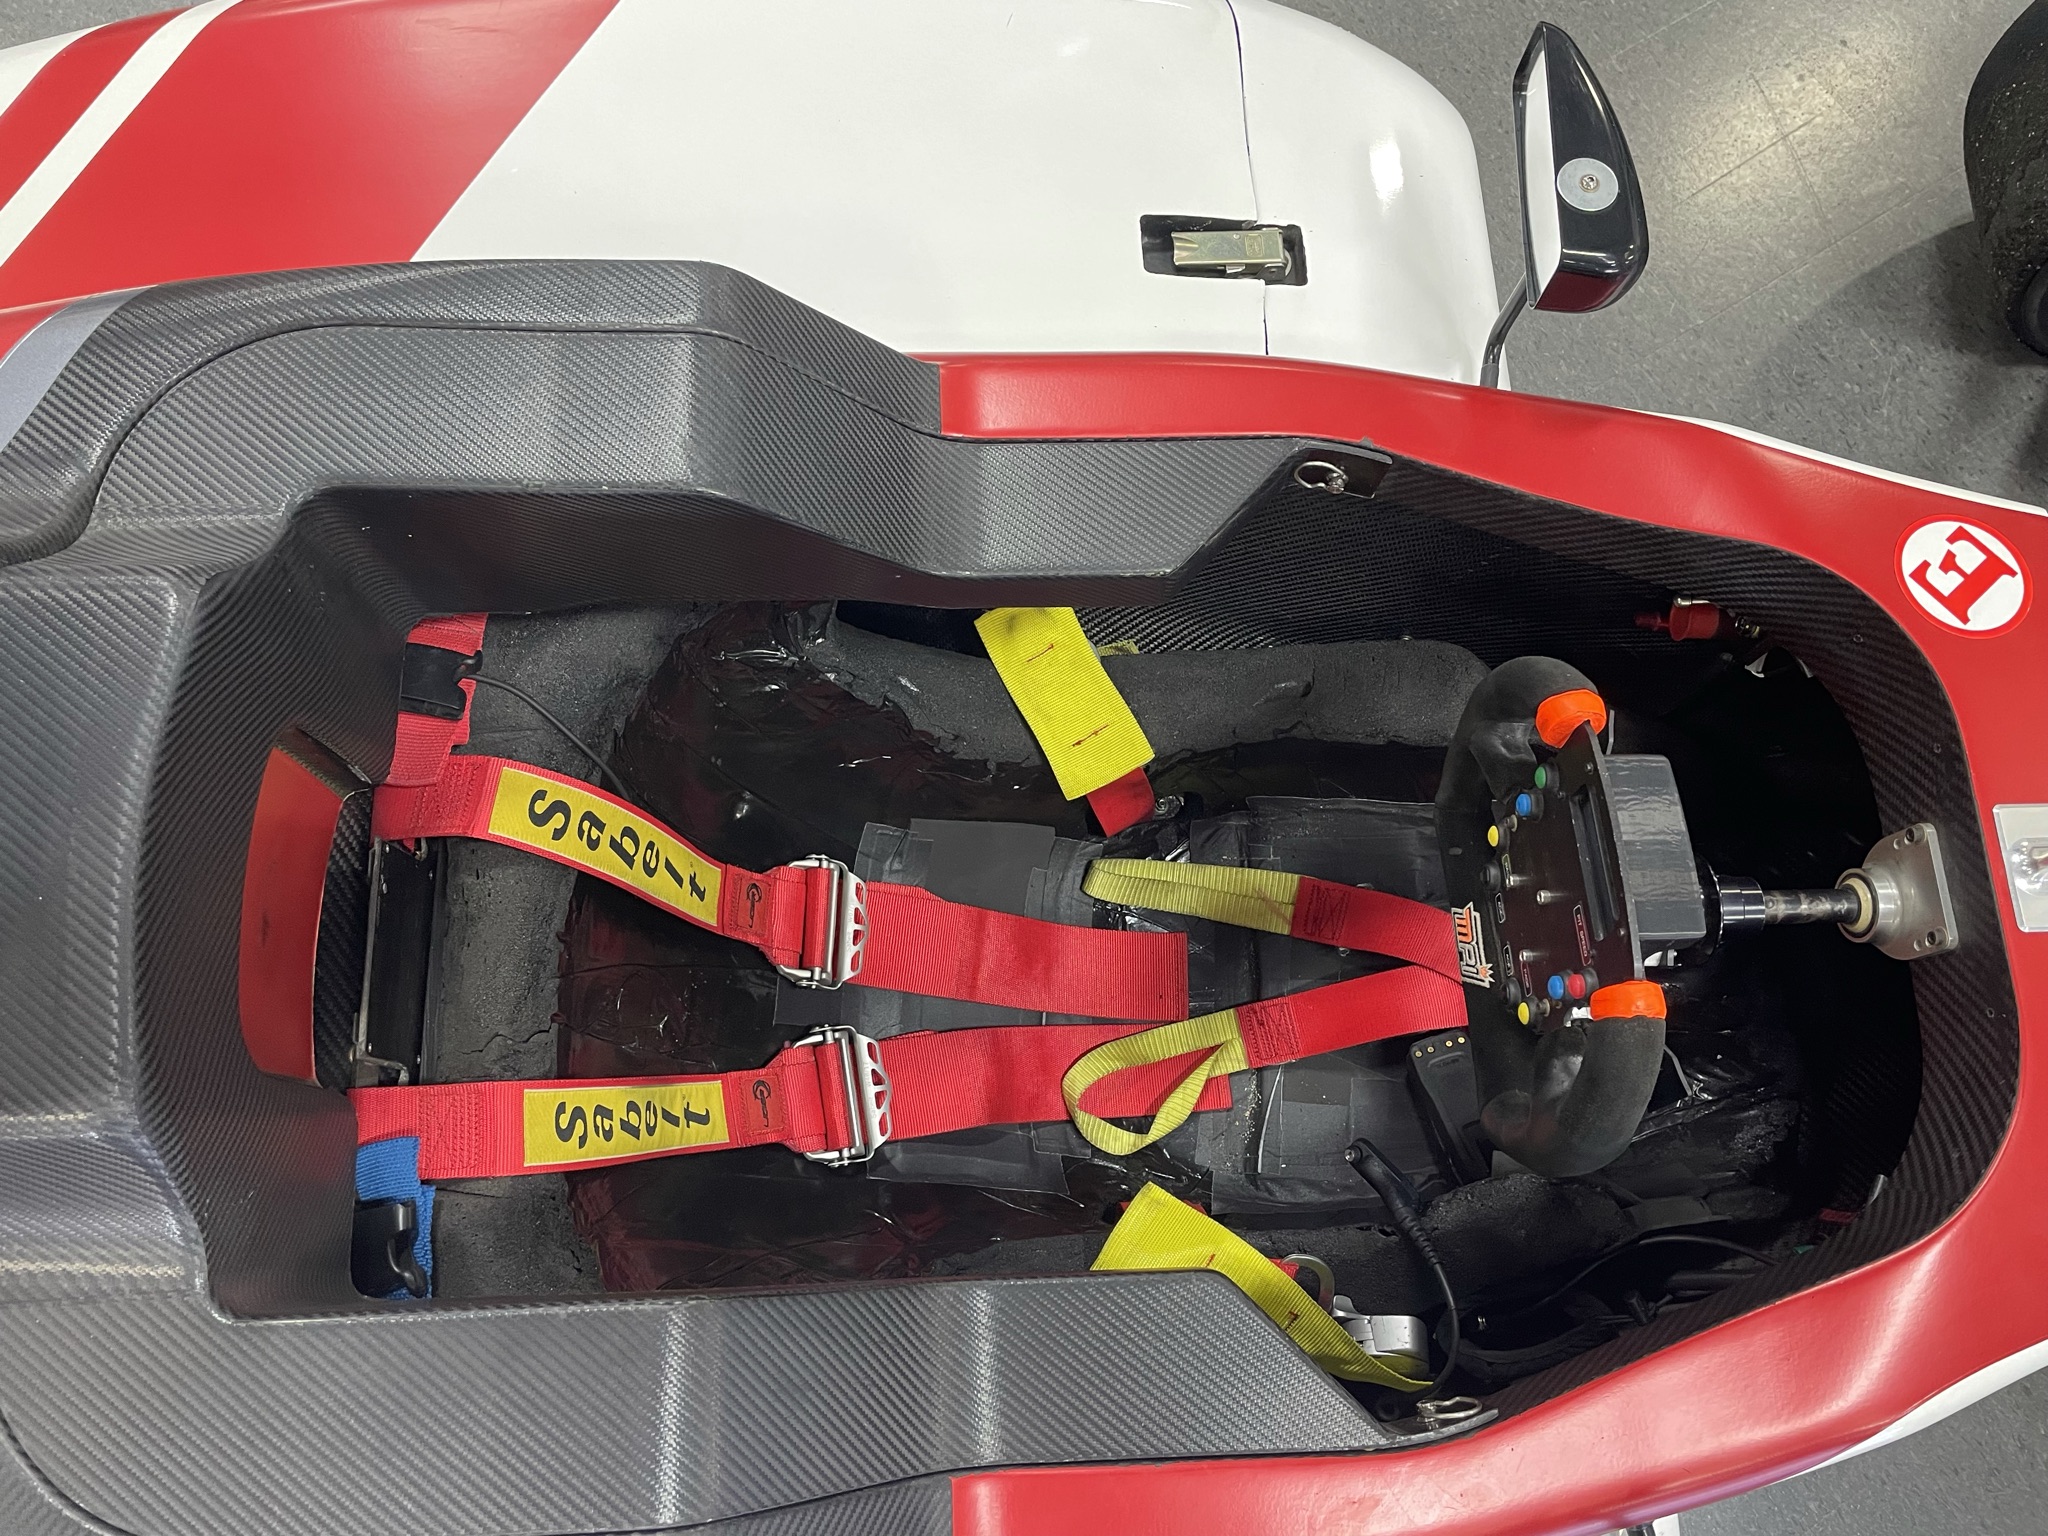
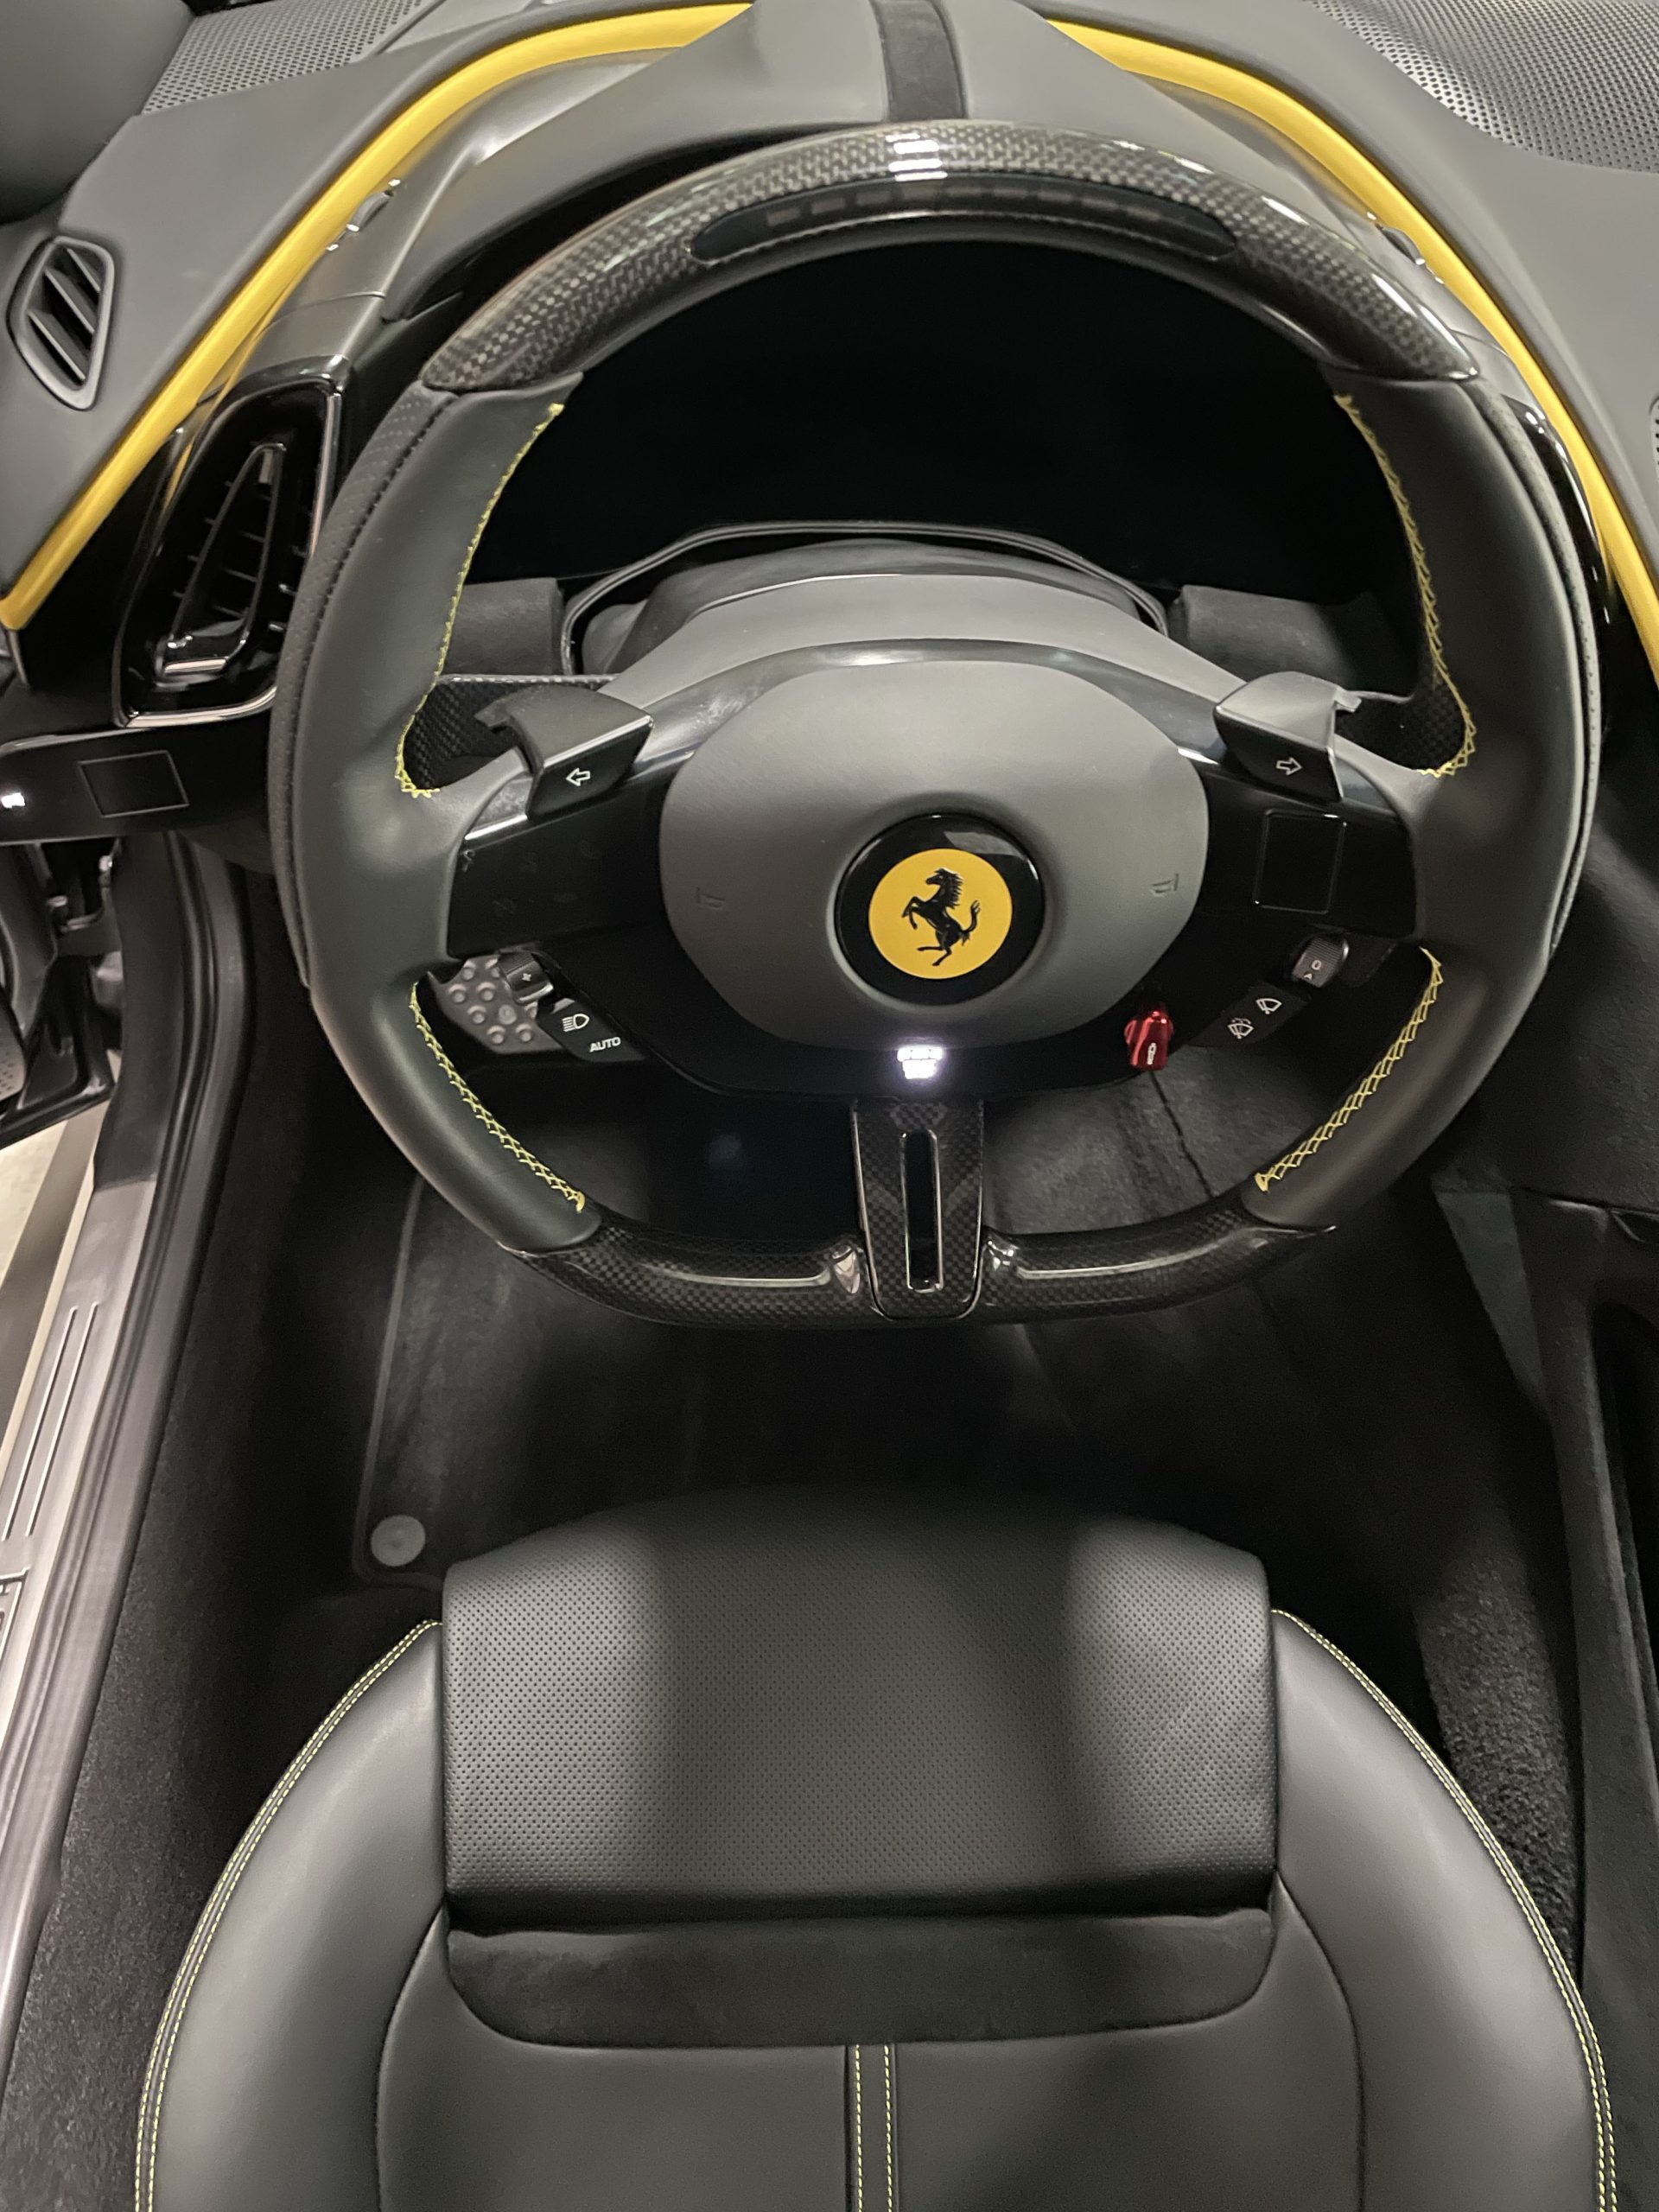
Front and Rear Seats: Take photos of each seat. Make sure that the entire seat is shown in the frame. Include photos of the seatbelts and cup holders. Take close-up shots of any notable flaws, stains, or wear, particularly on the driver’s seat. Take close-ups of any flaws or signs of wear on the carpets and trim.
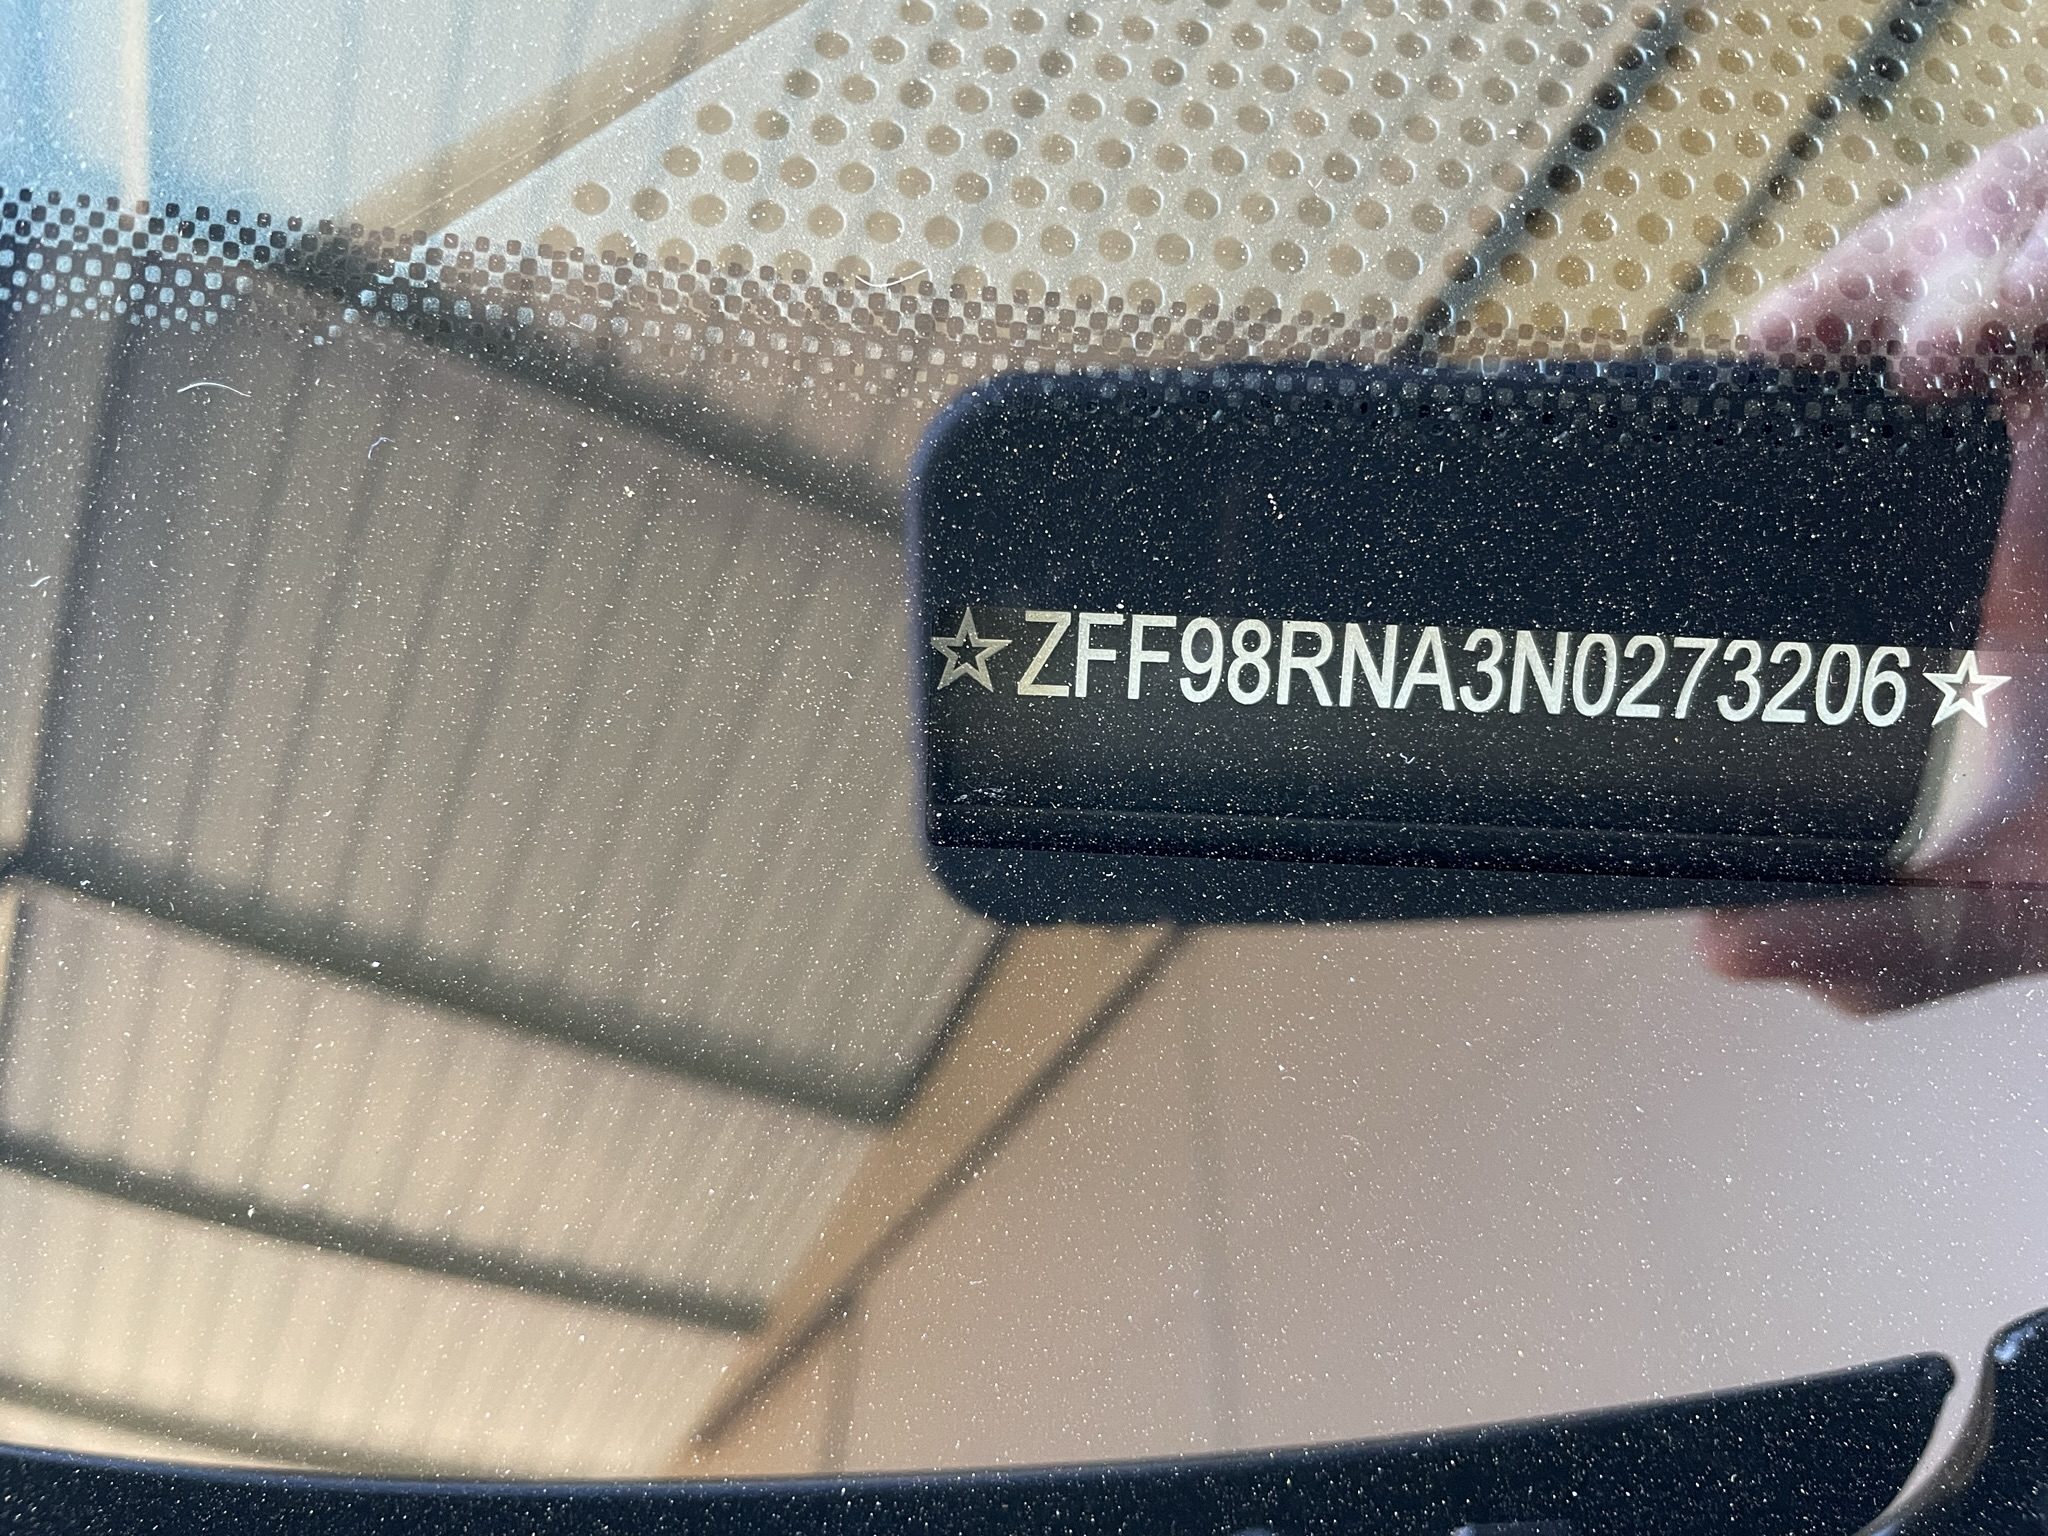
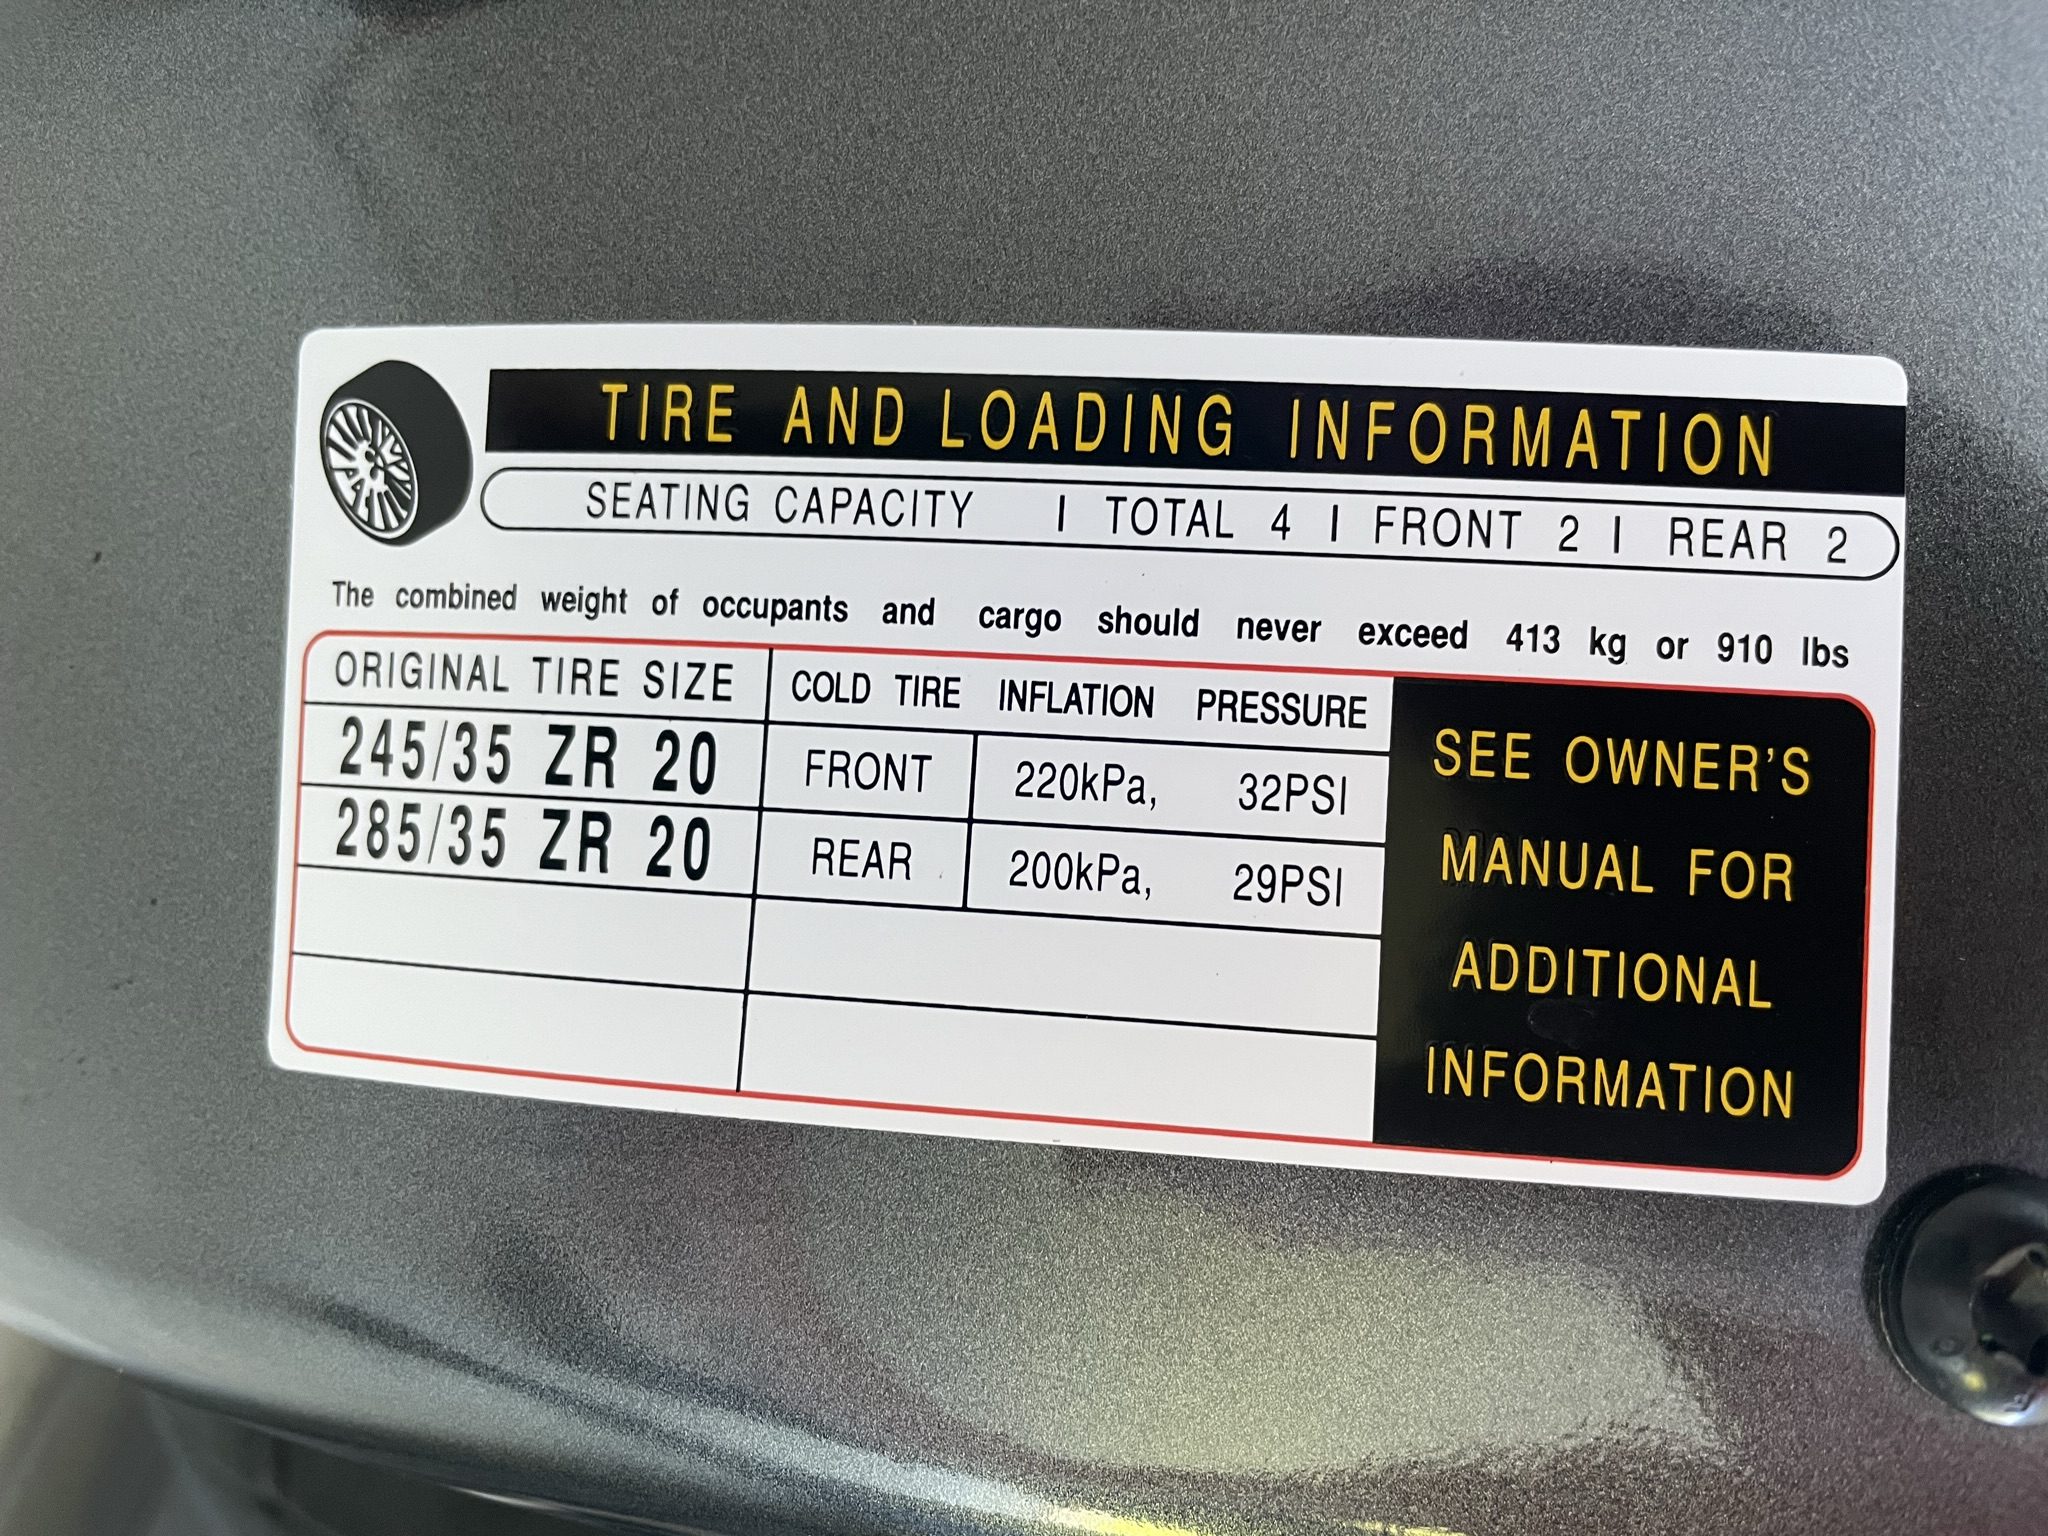
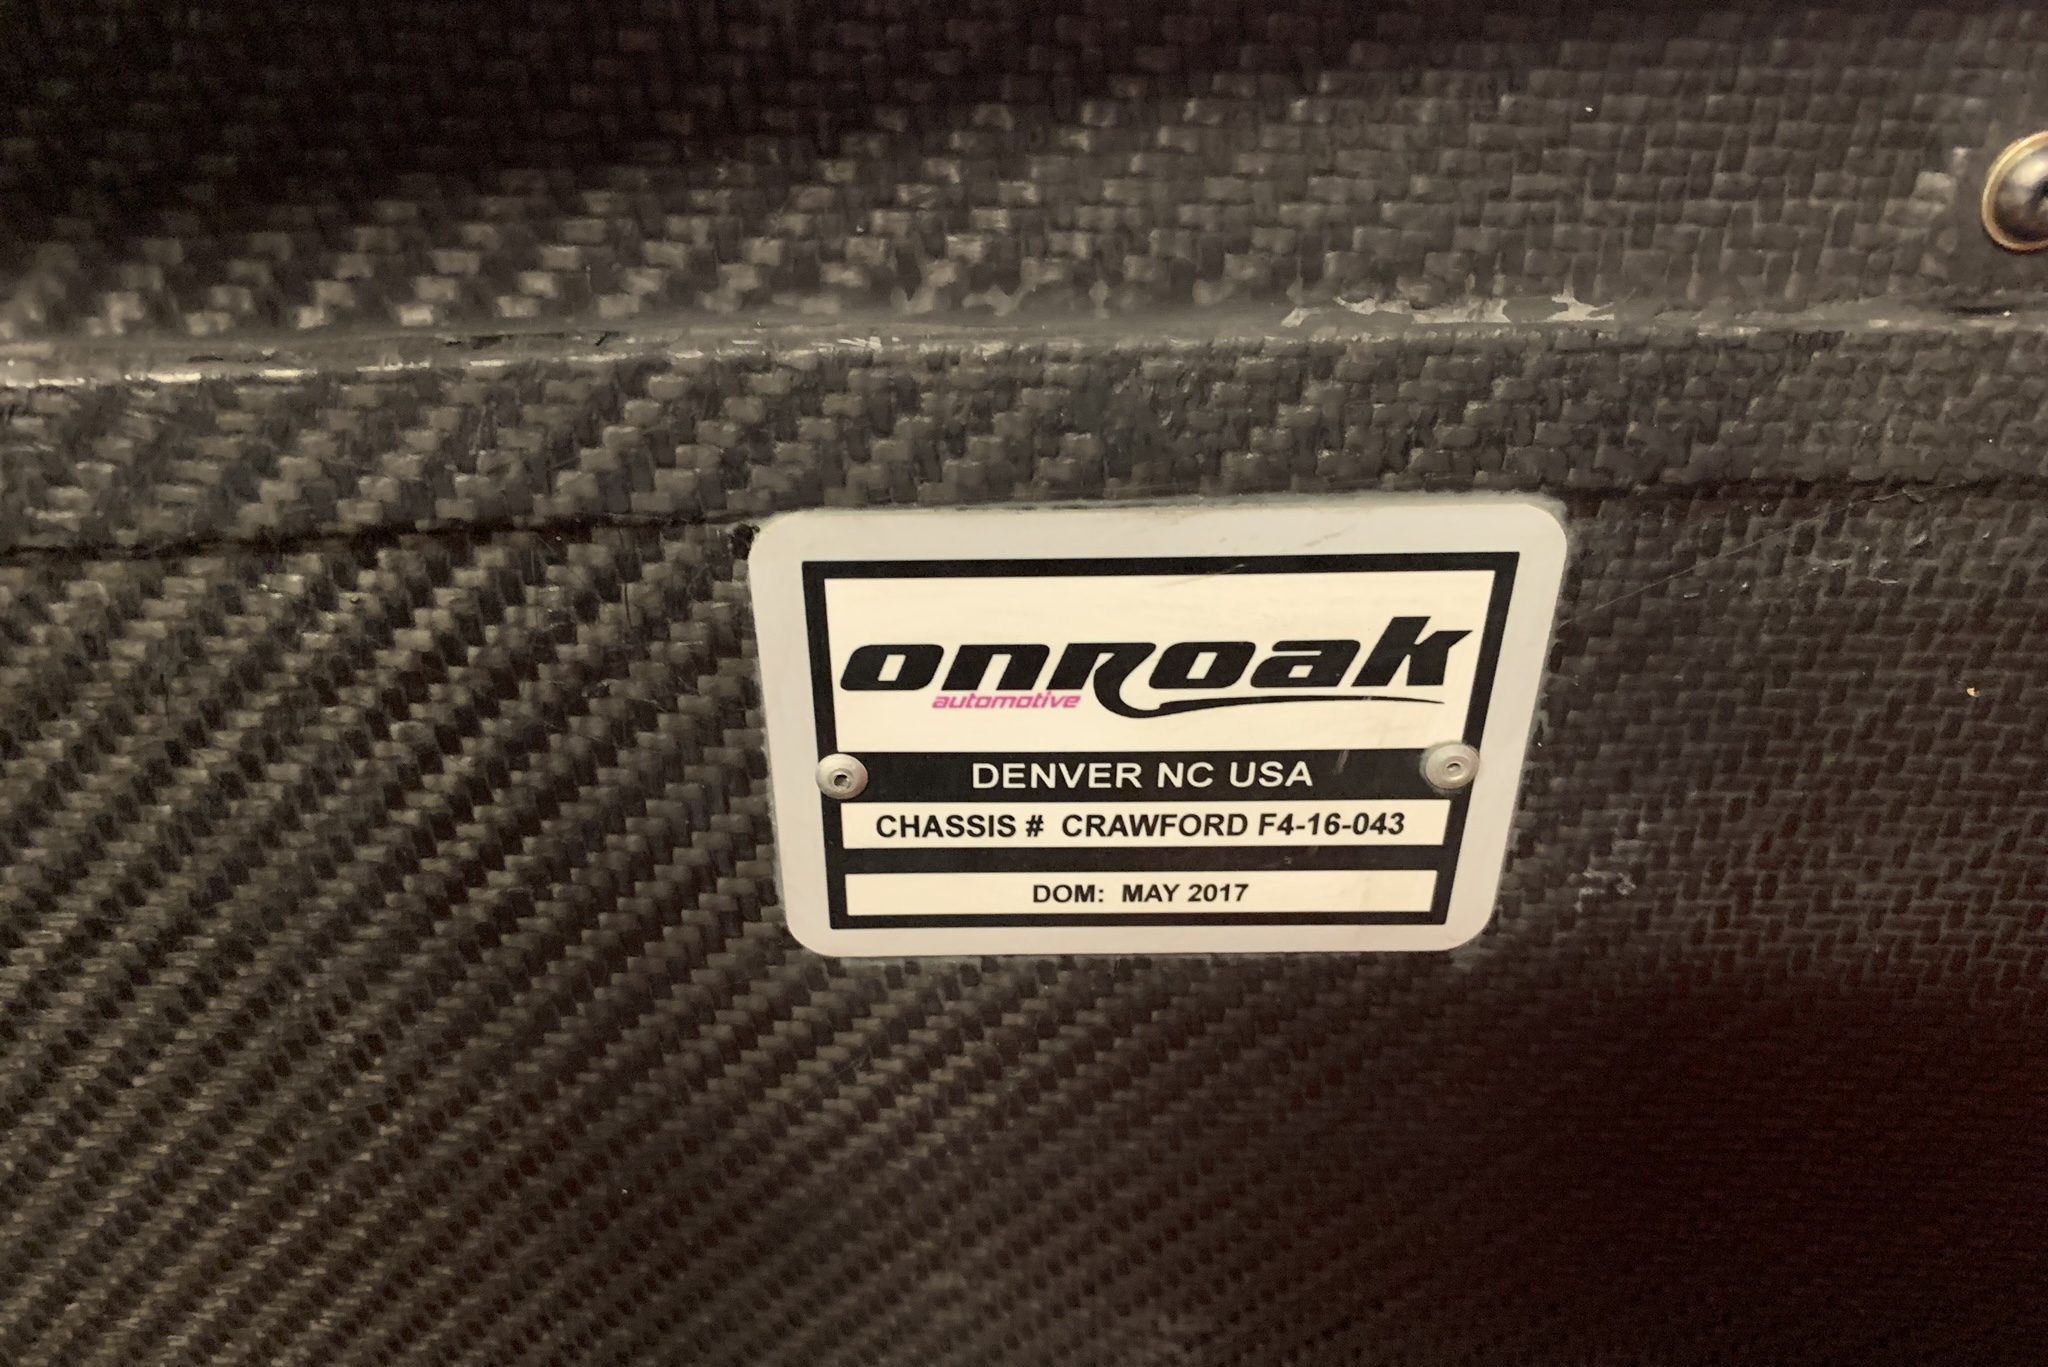
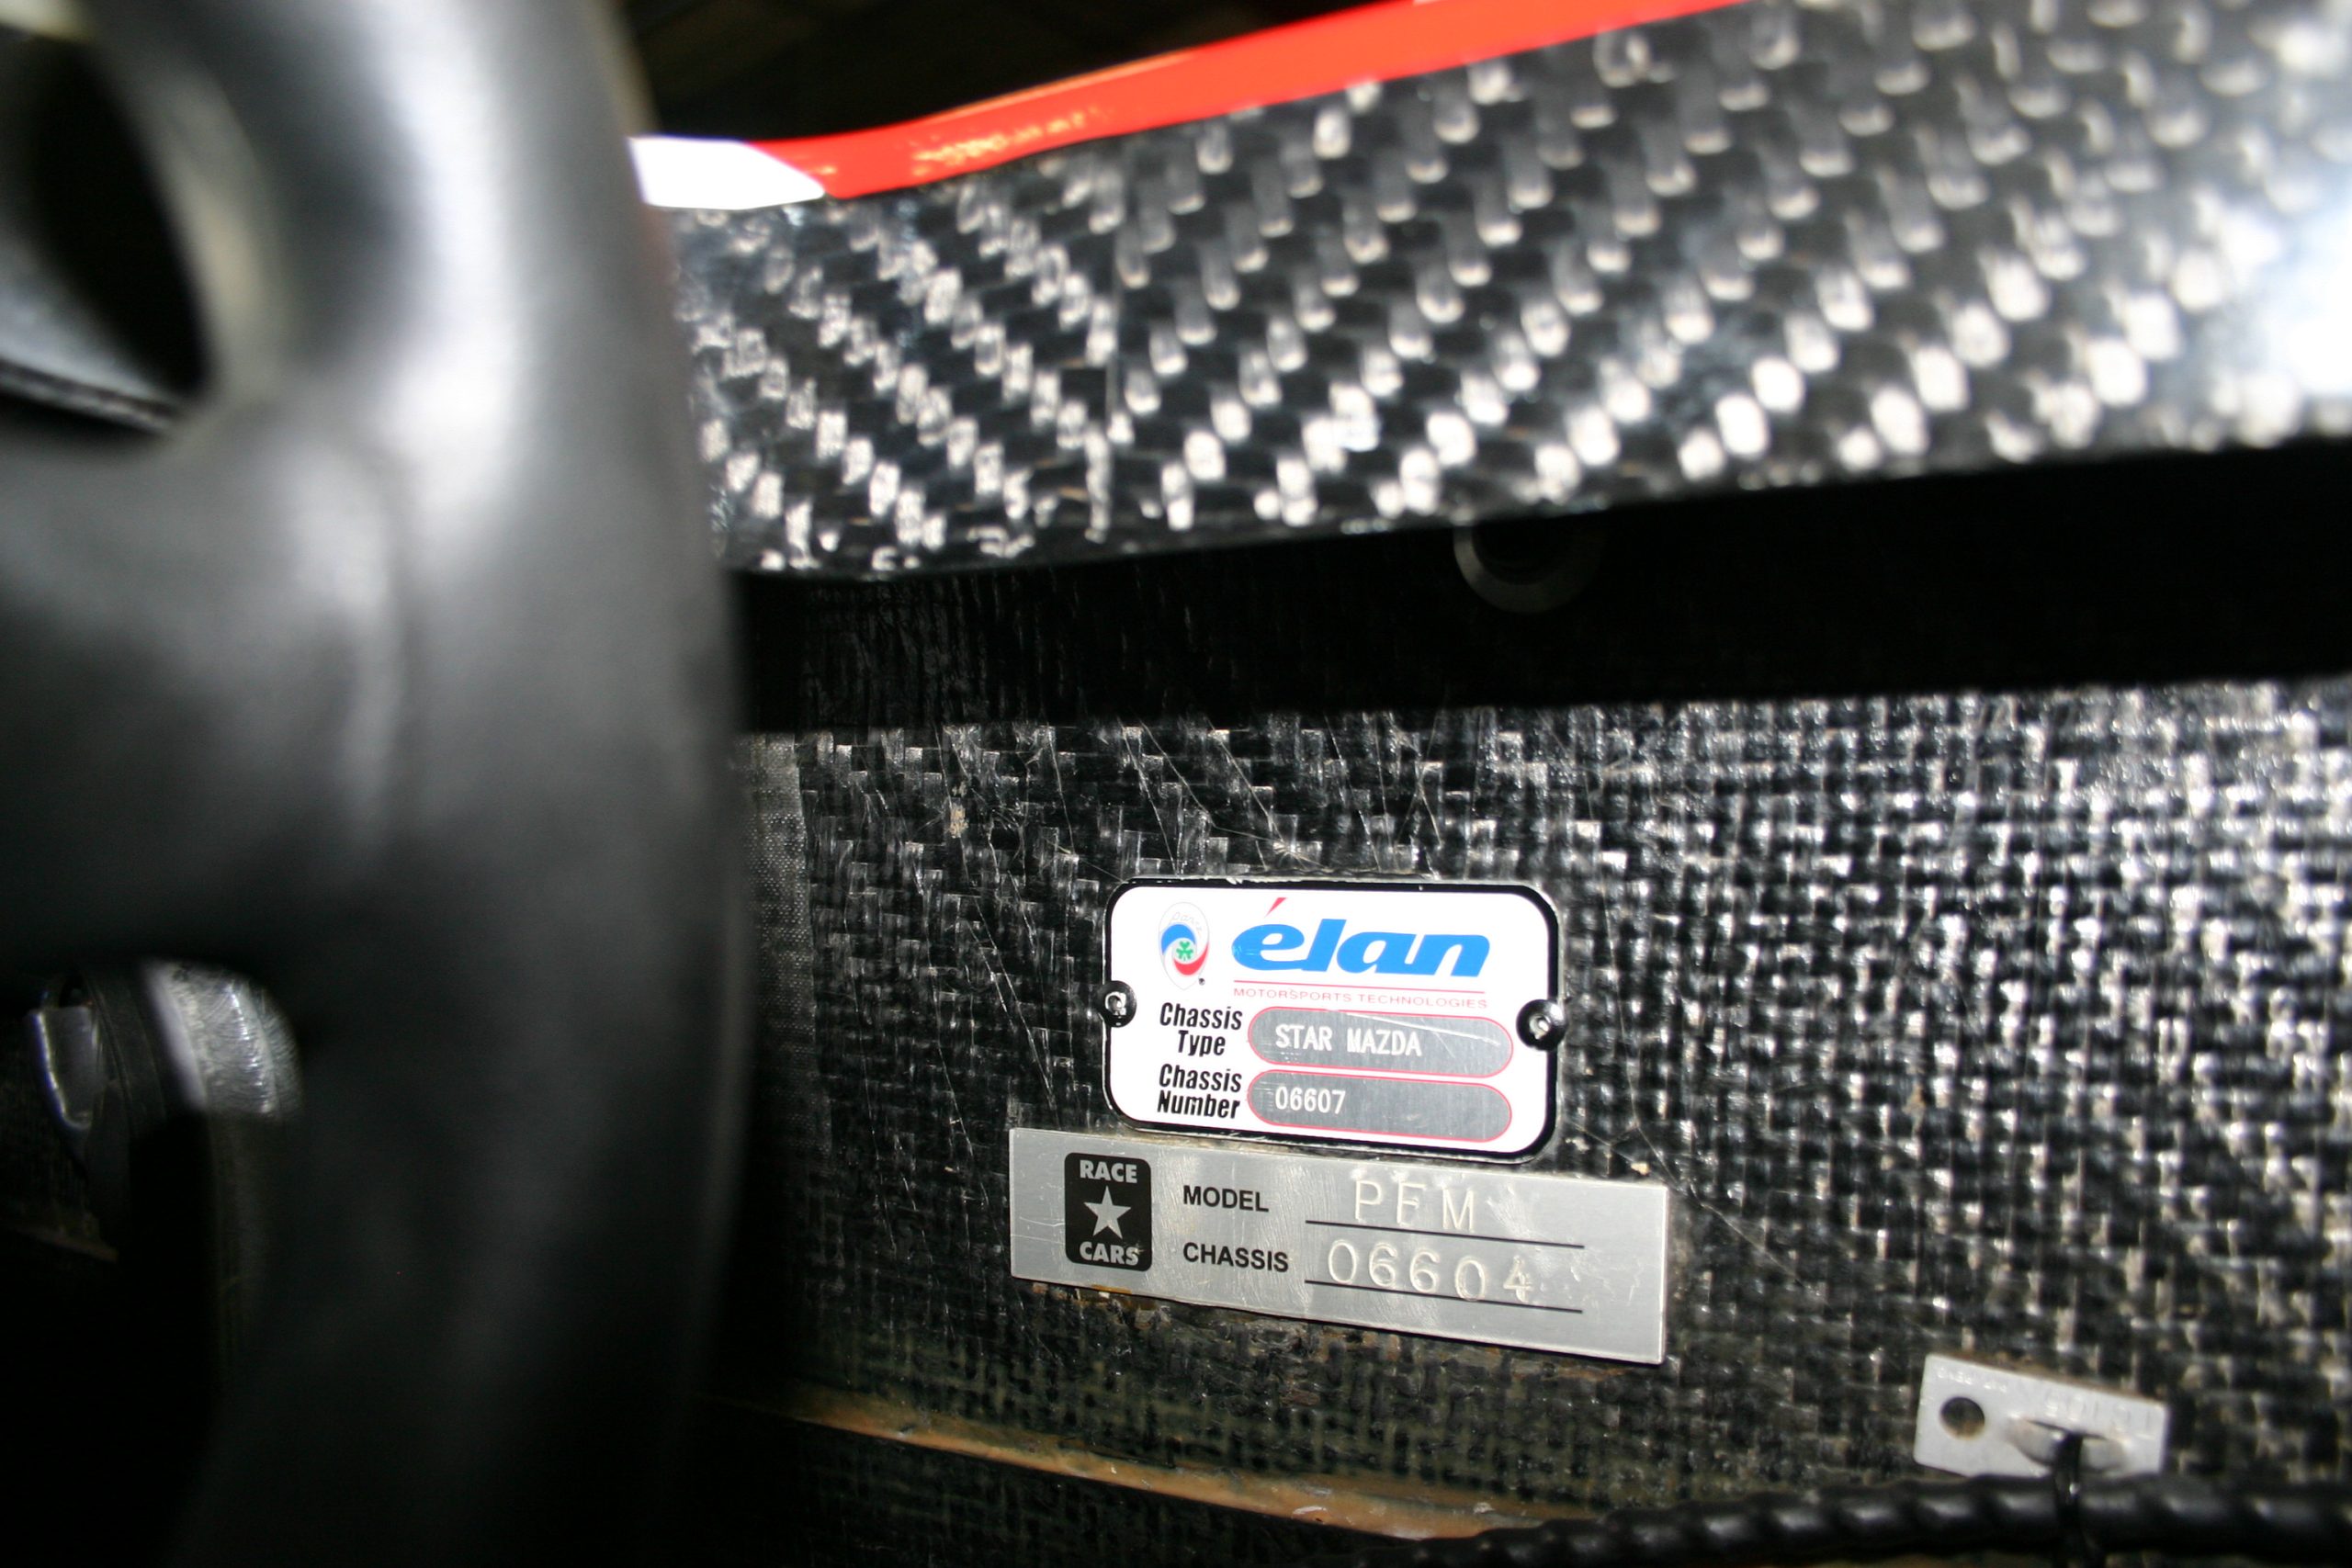
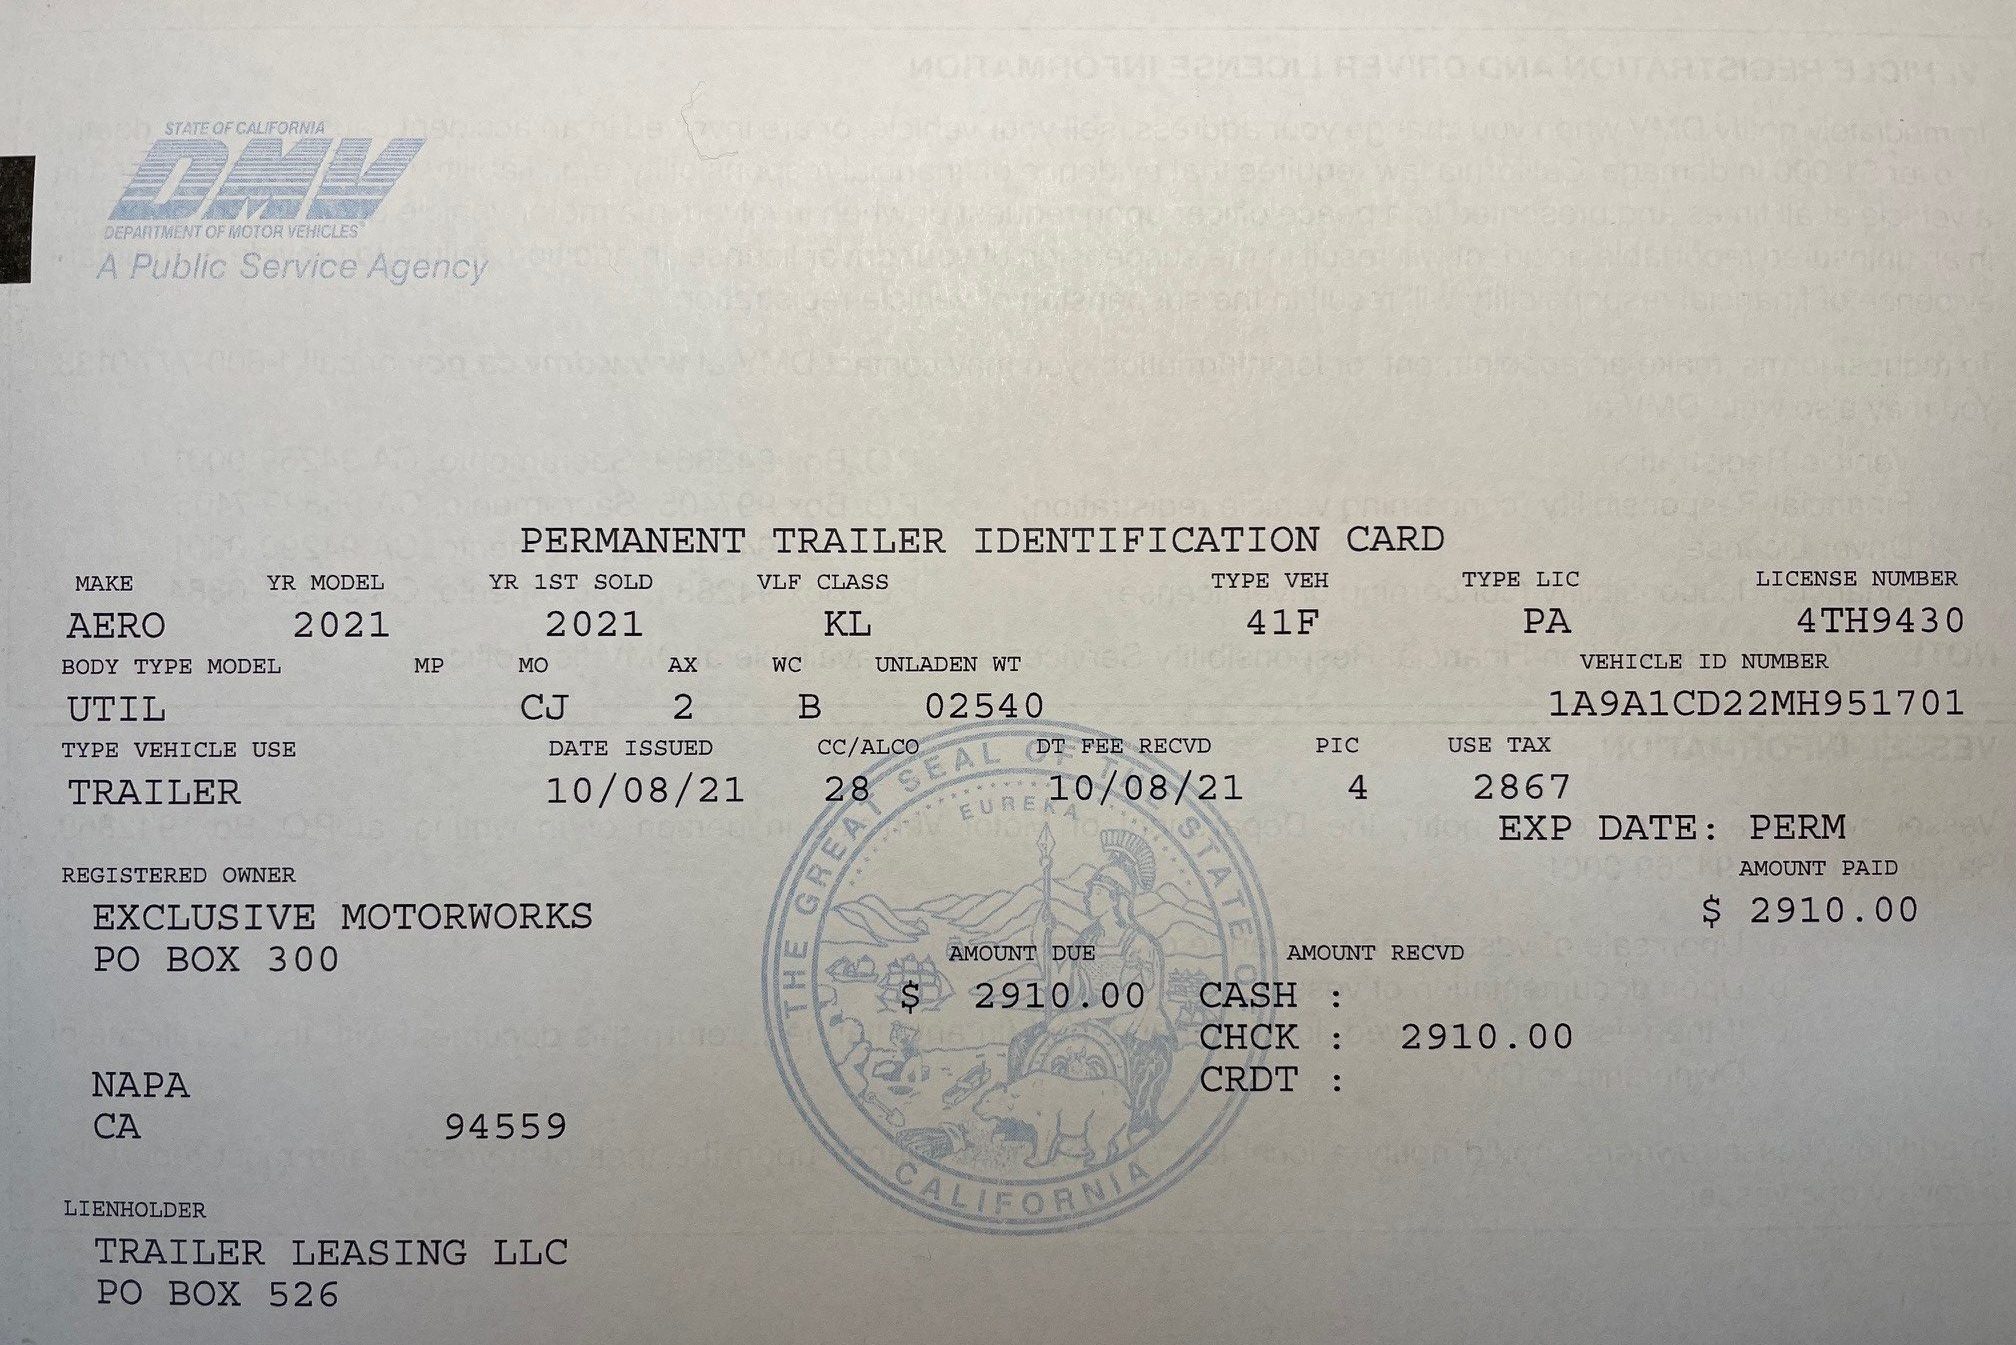
Labels and Stickers: Labels and stickers can be typically found in the driver or passenger door jambs as well as under the hood or trunk of the car. Include photos of all information labels and factory VIN stickers in your Listing. Make sure that the entire label is shown in the frame, but the shot should be clear and close enough for the information to be legible on camera.
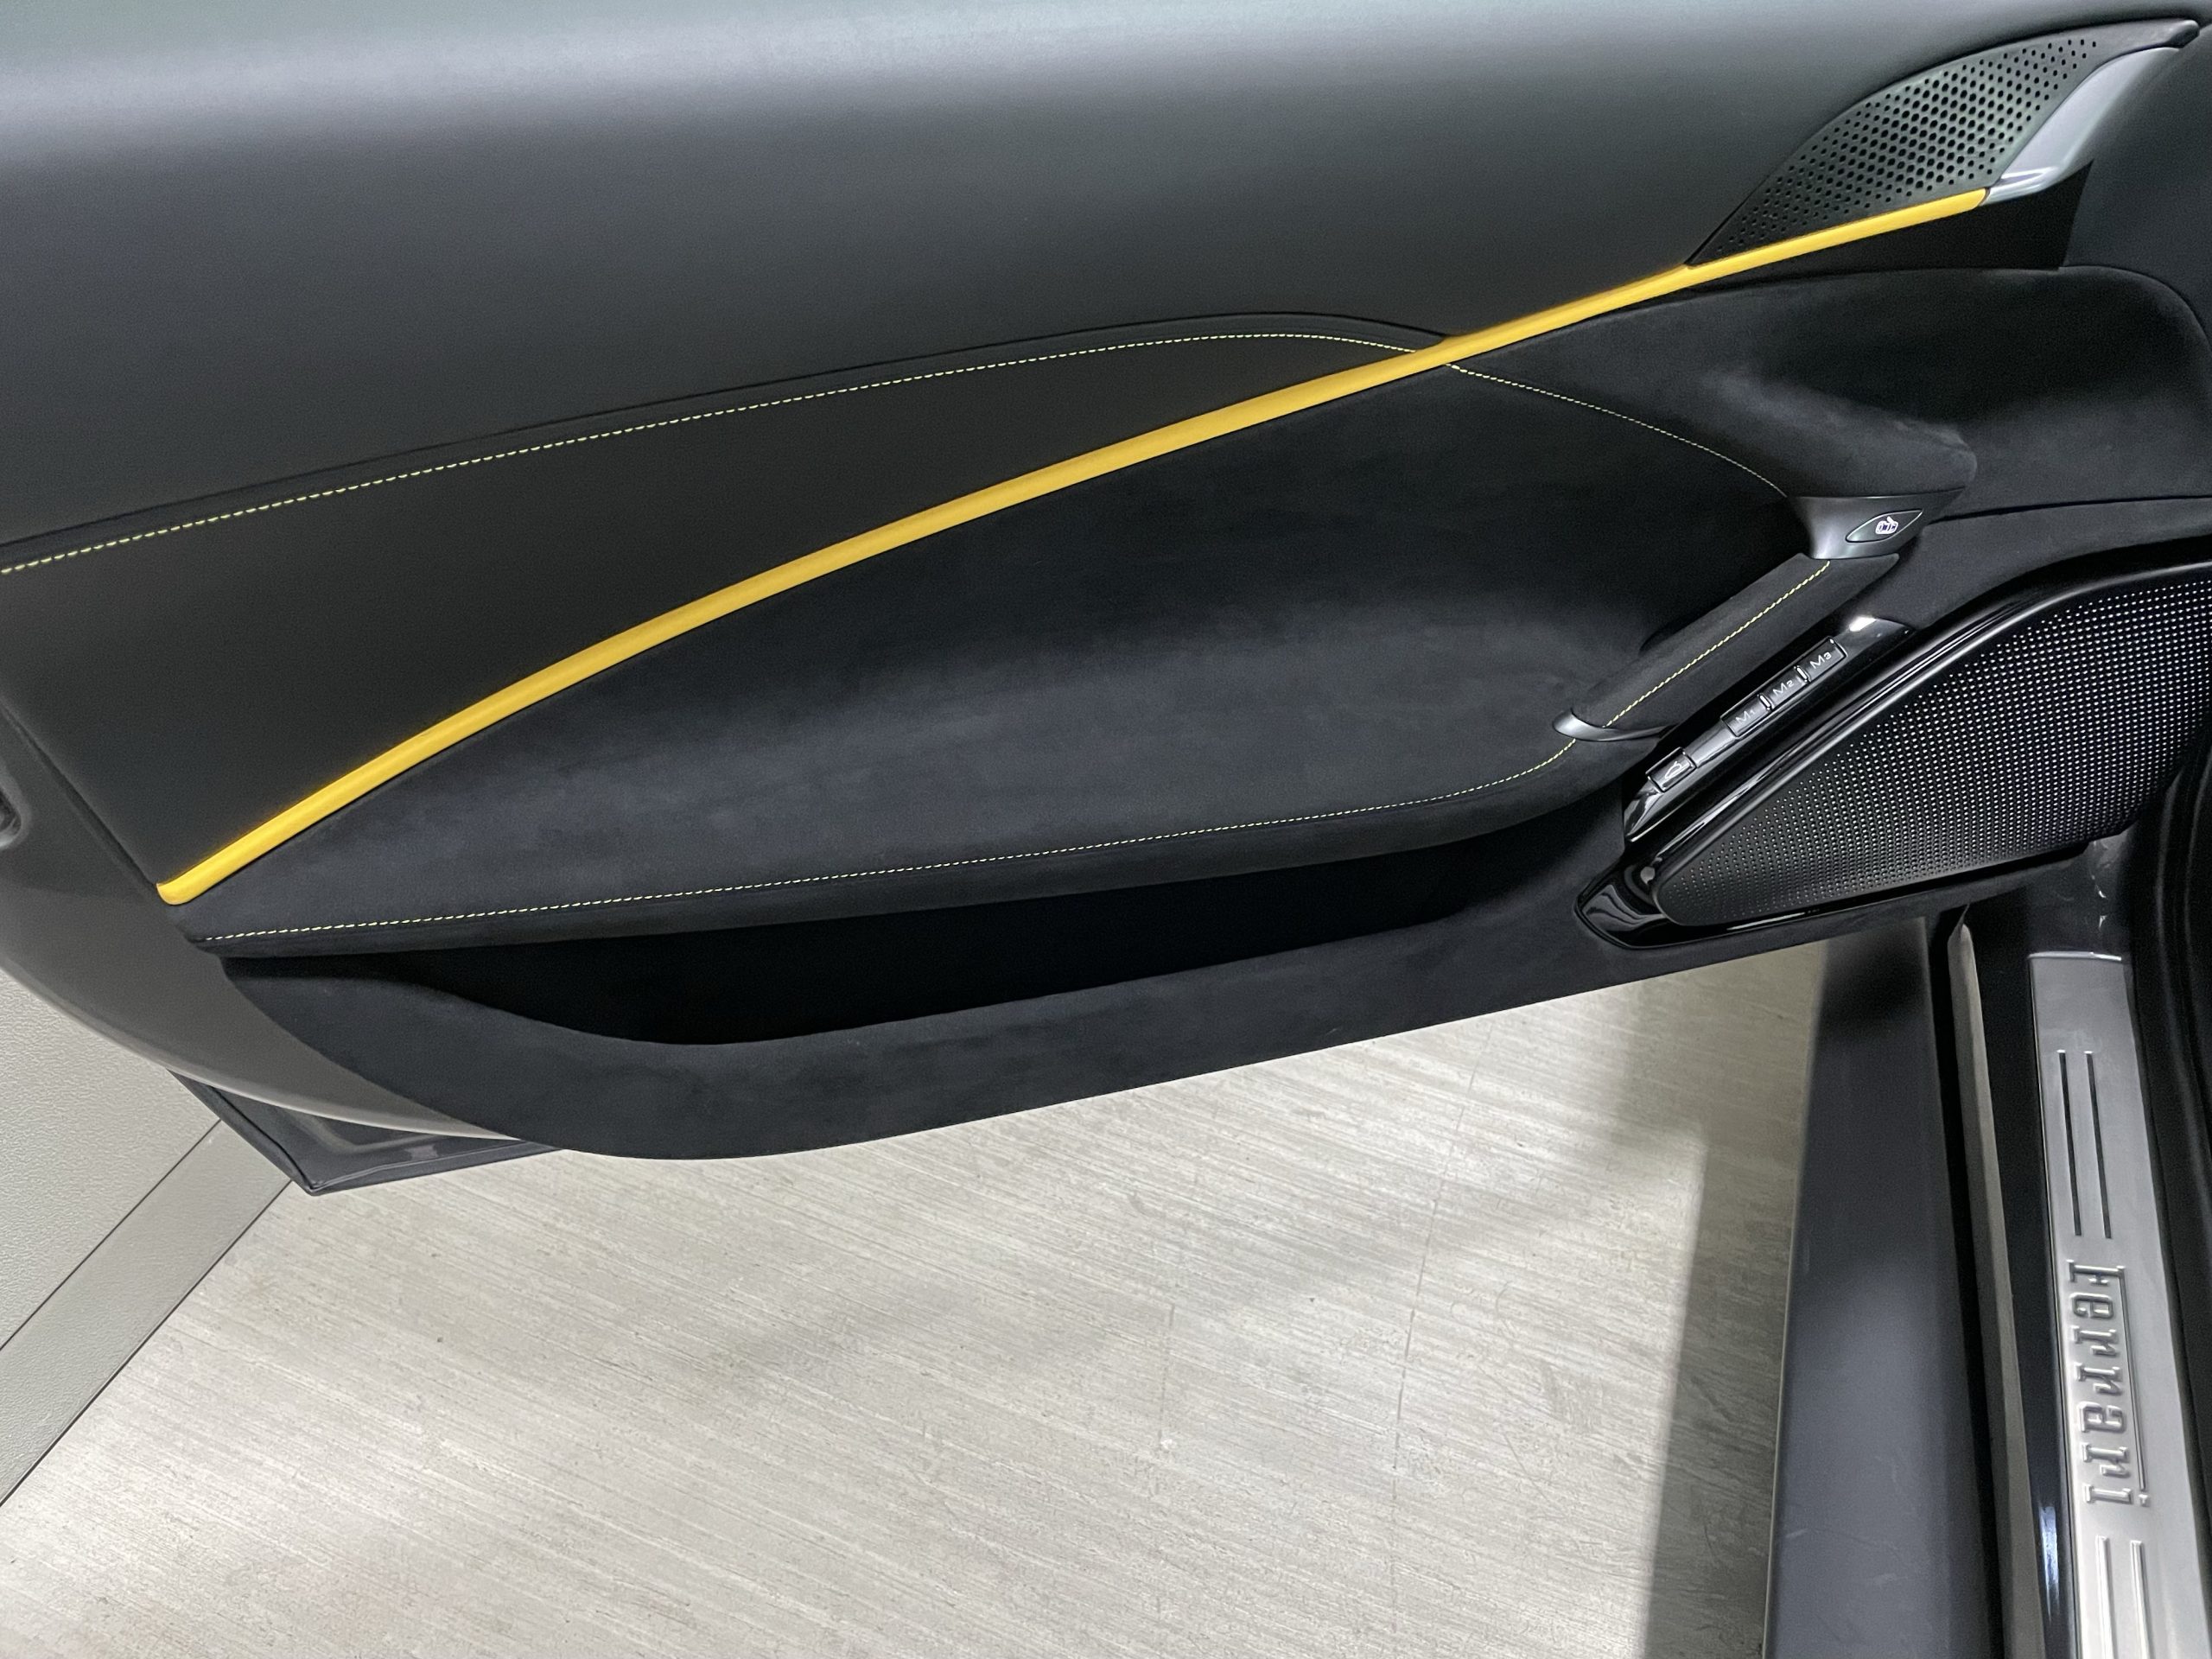
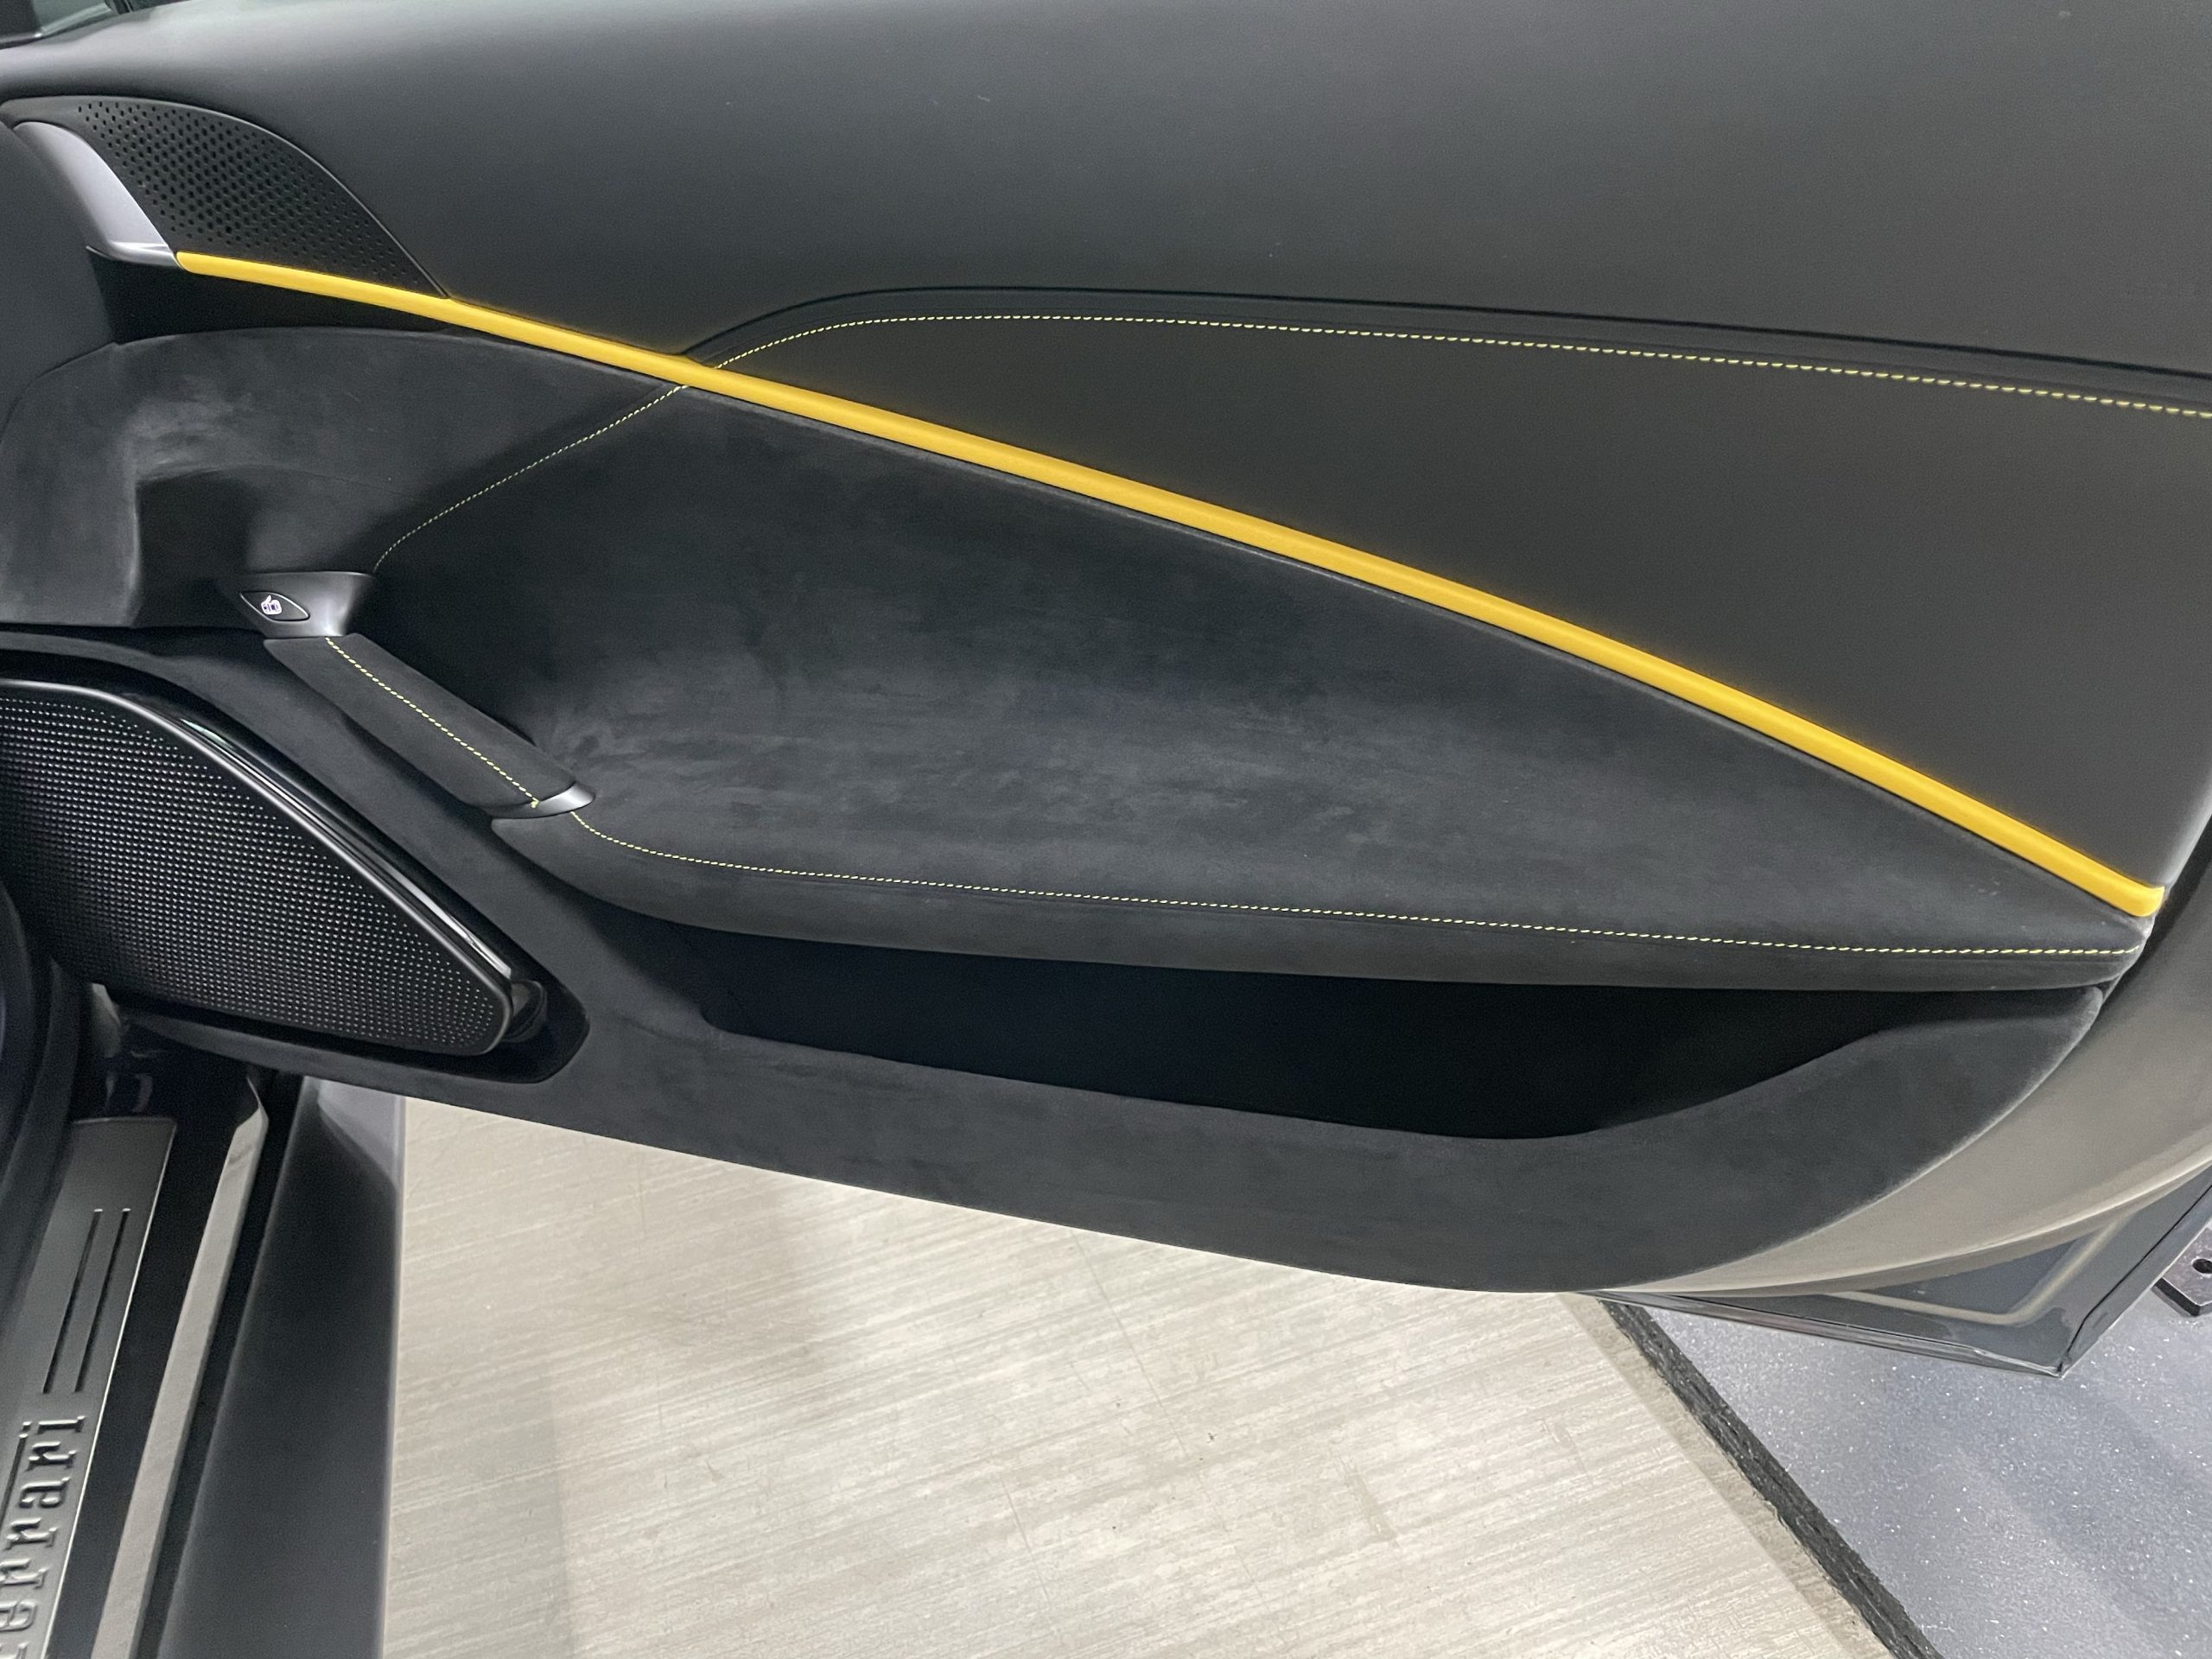
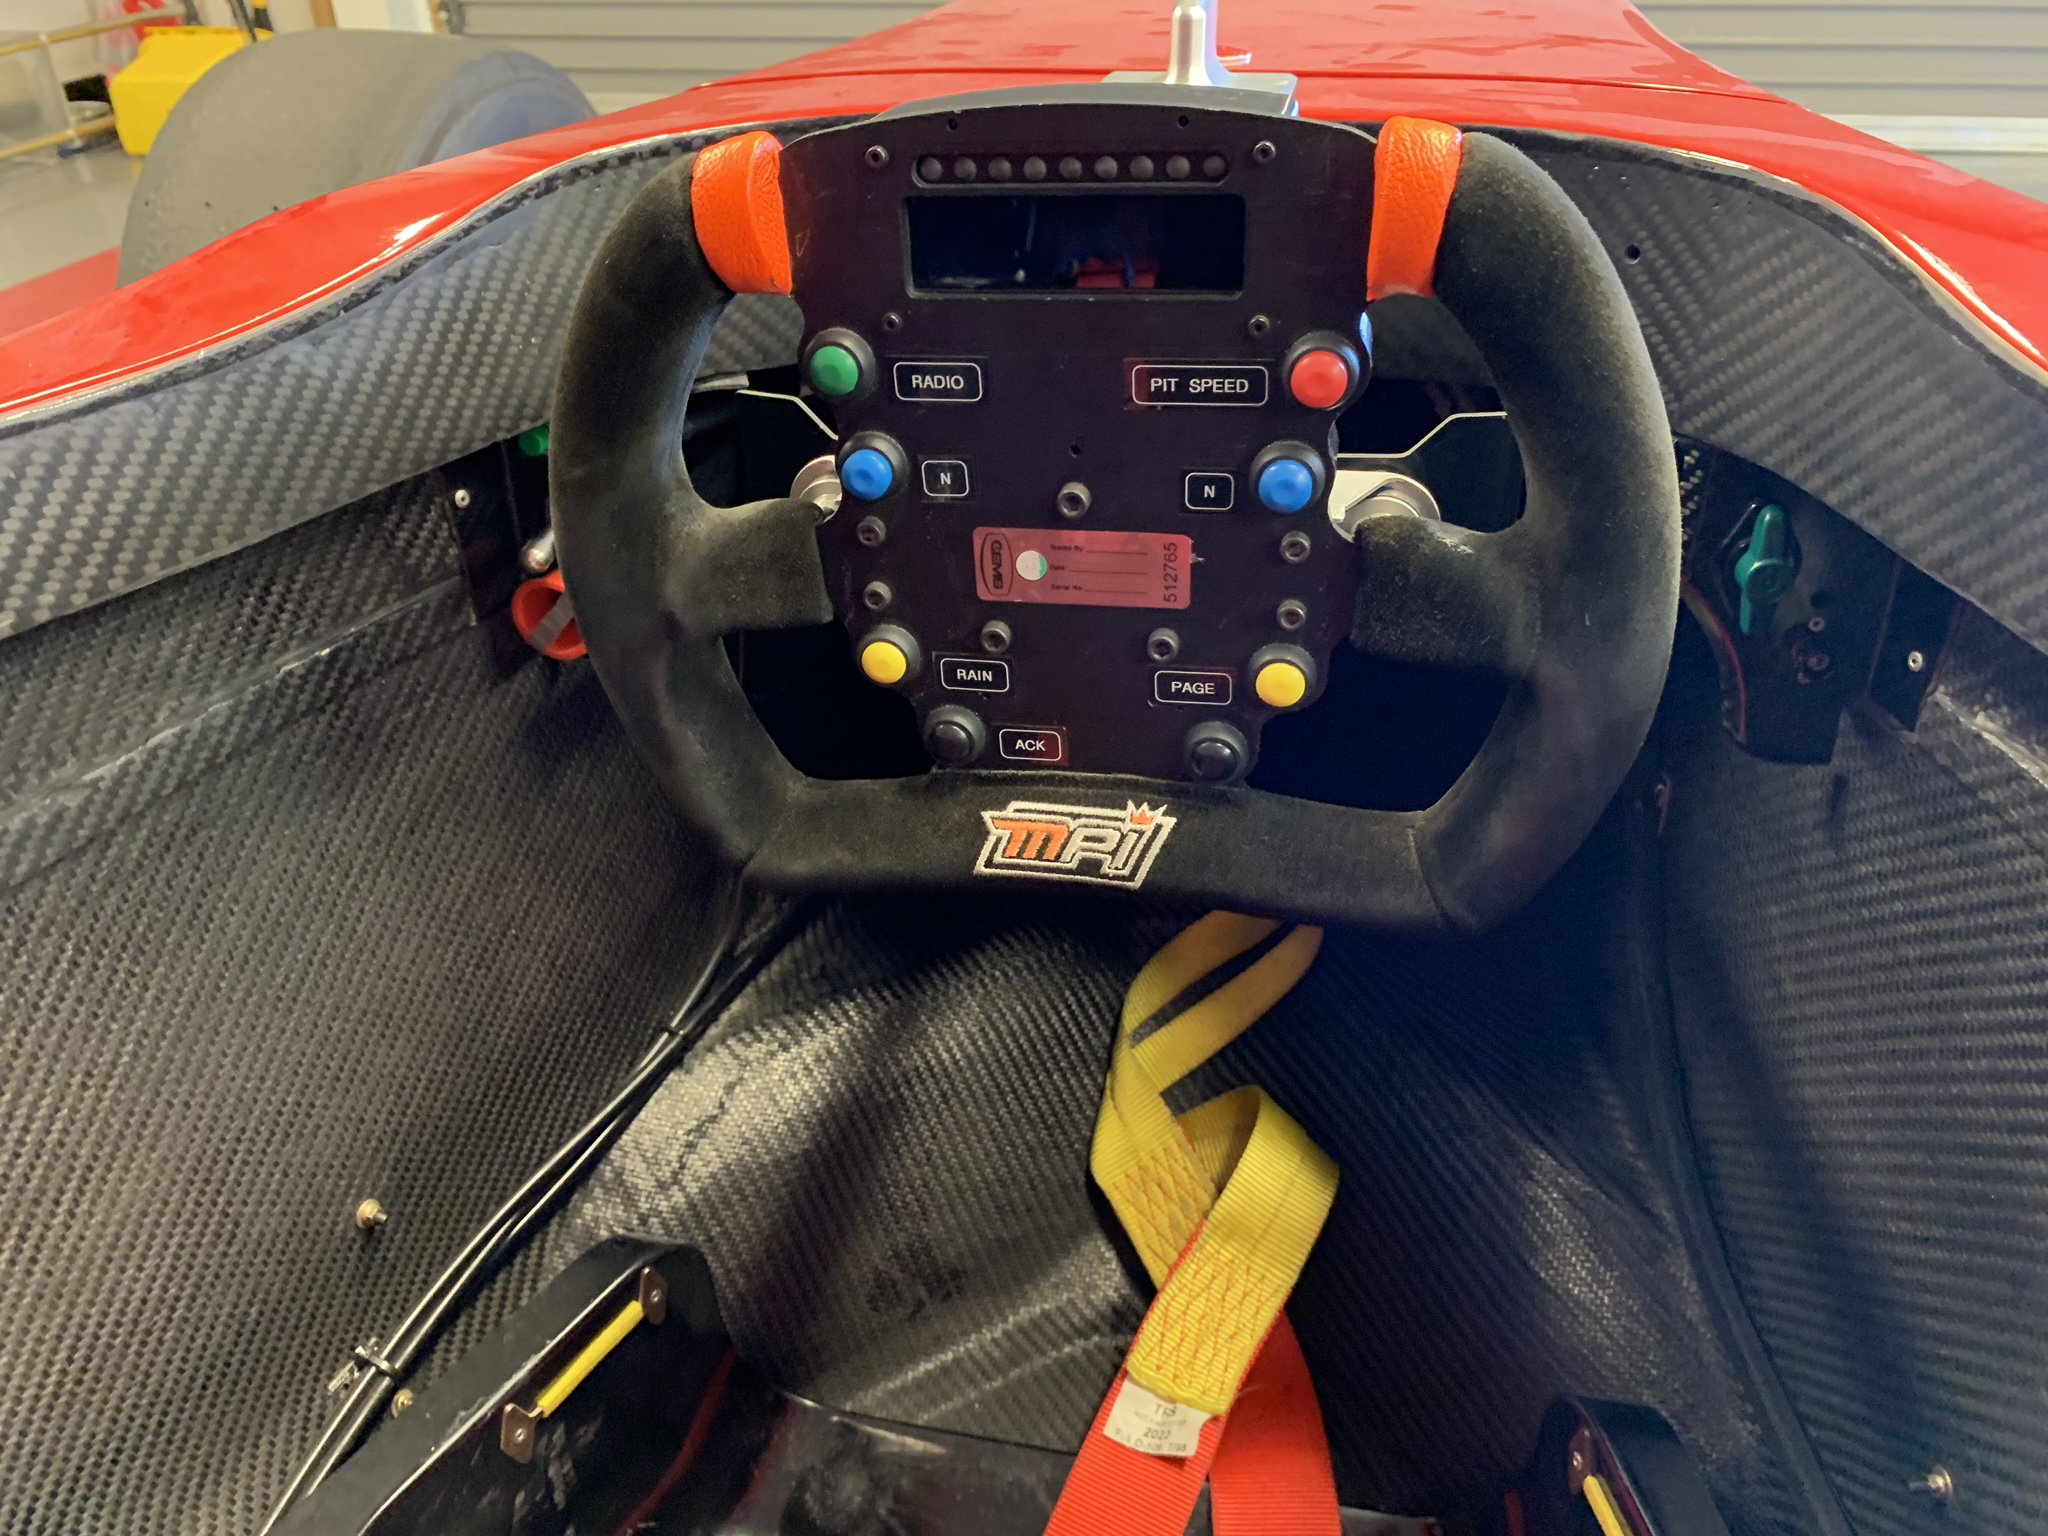
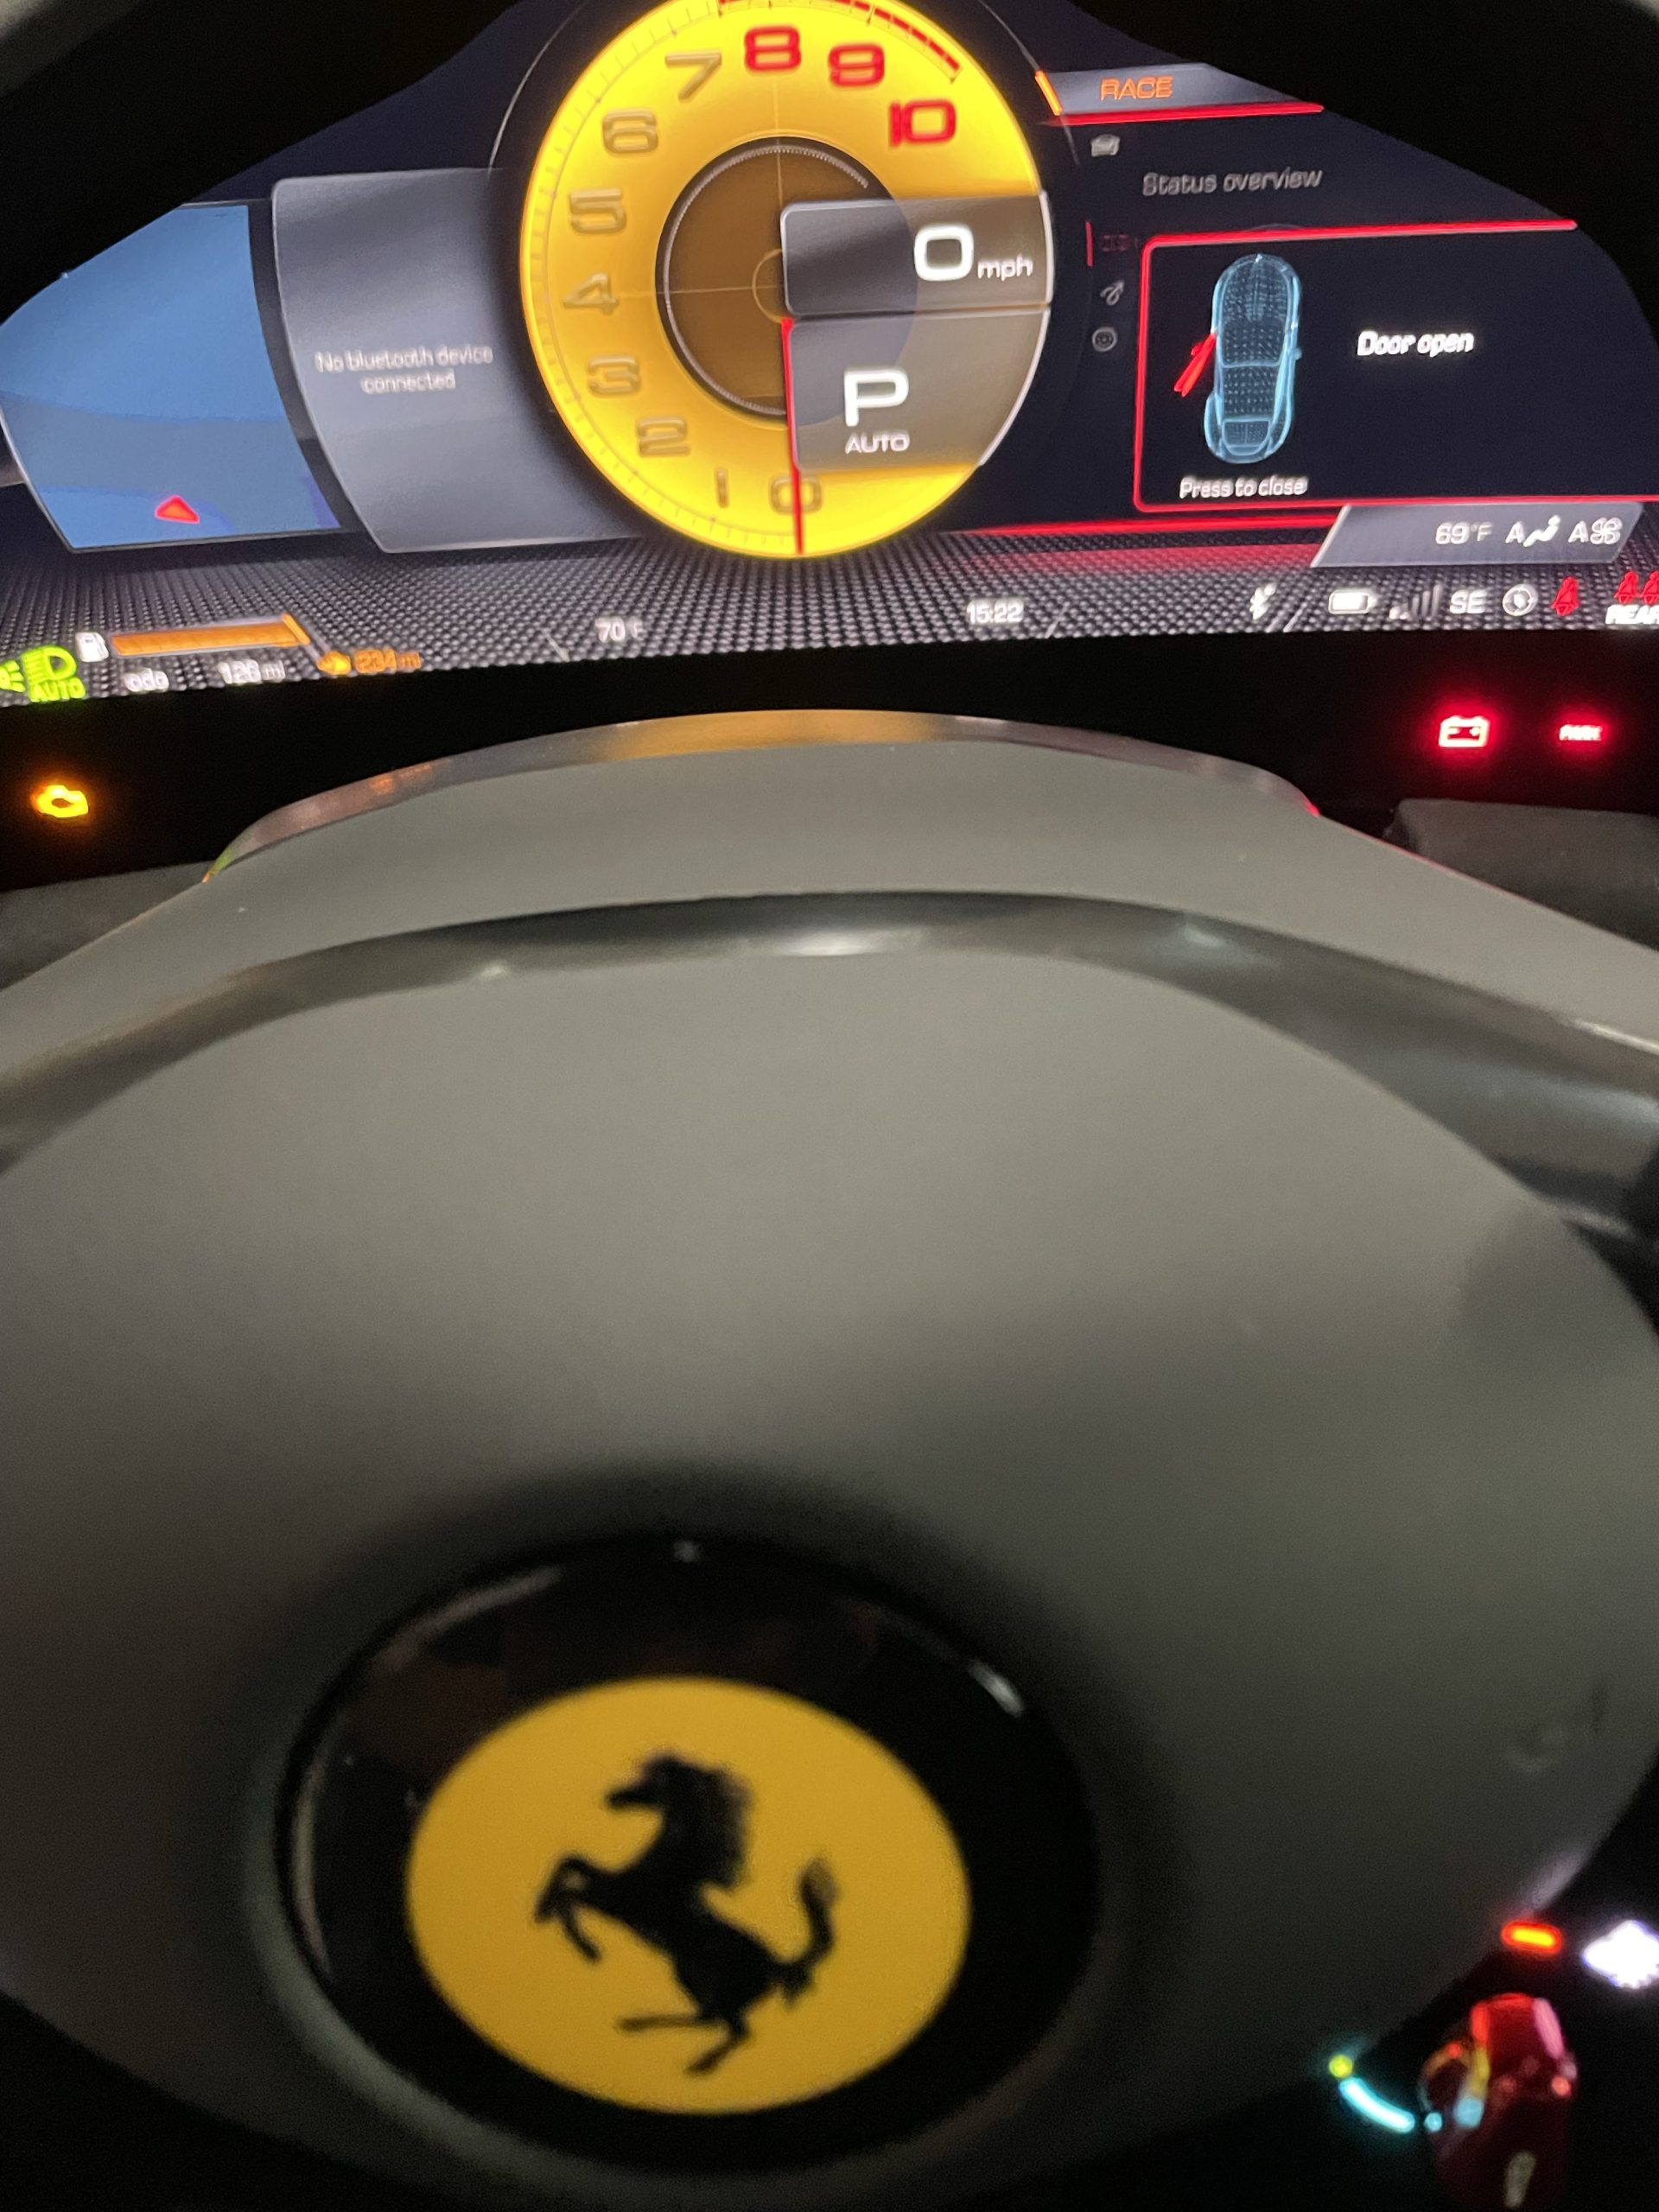
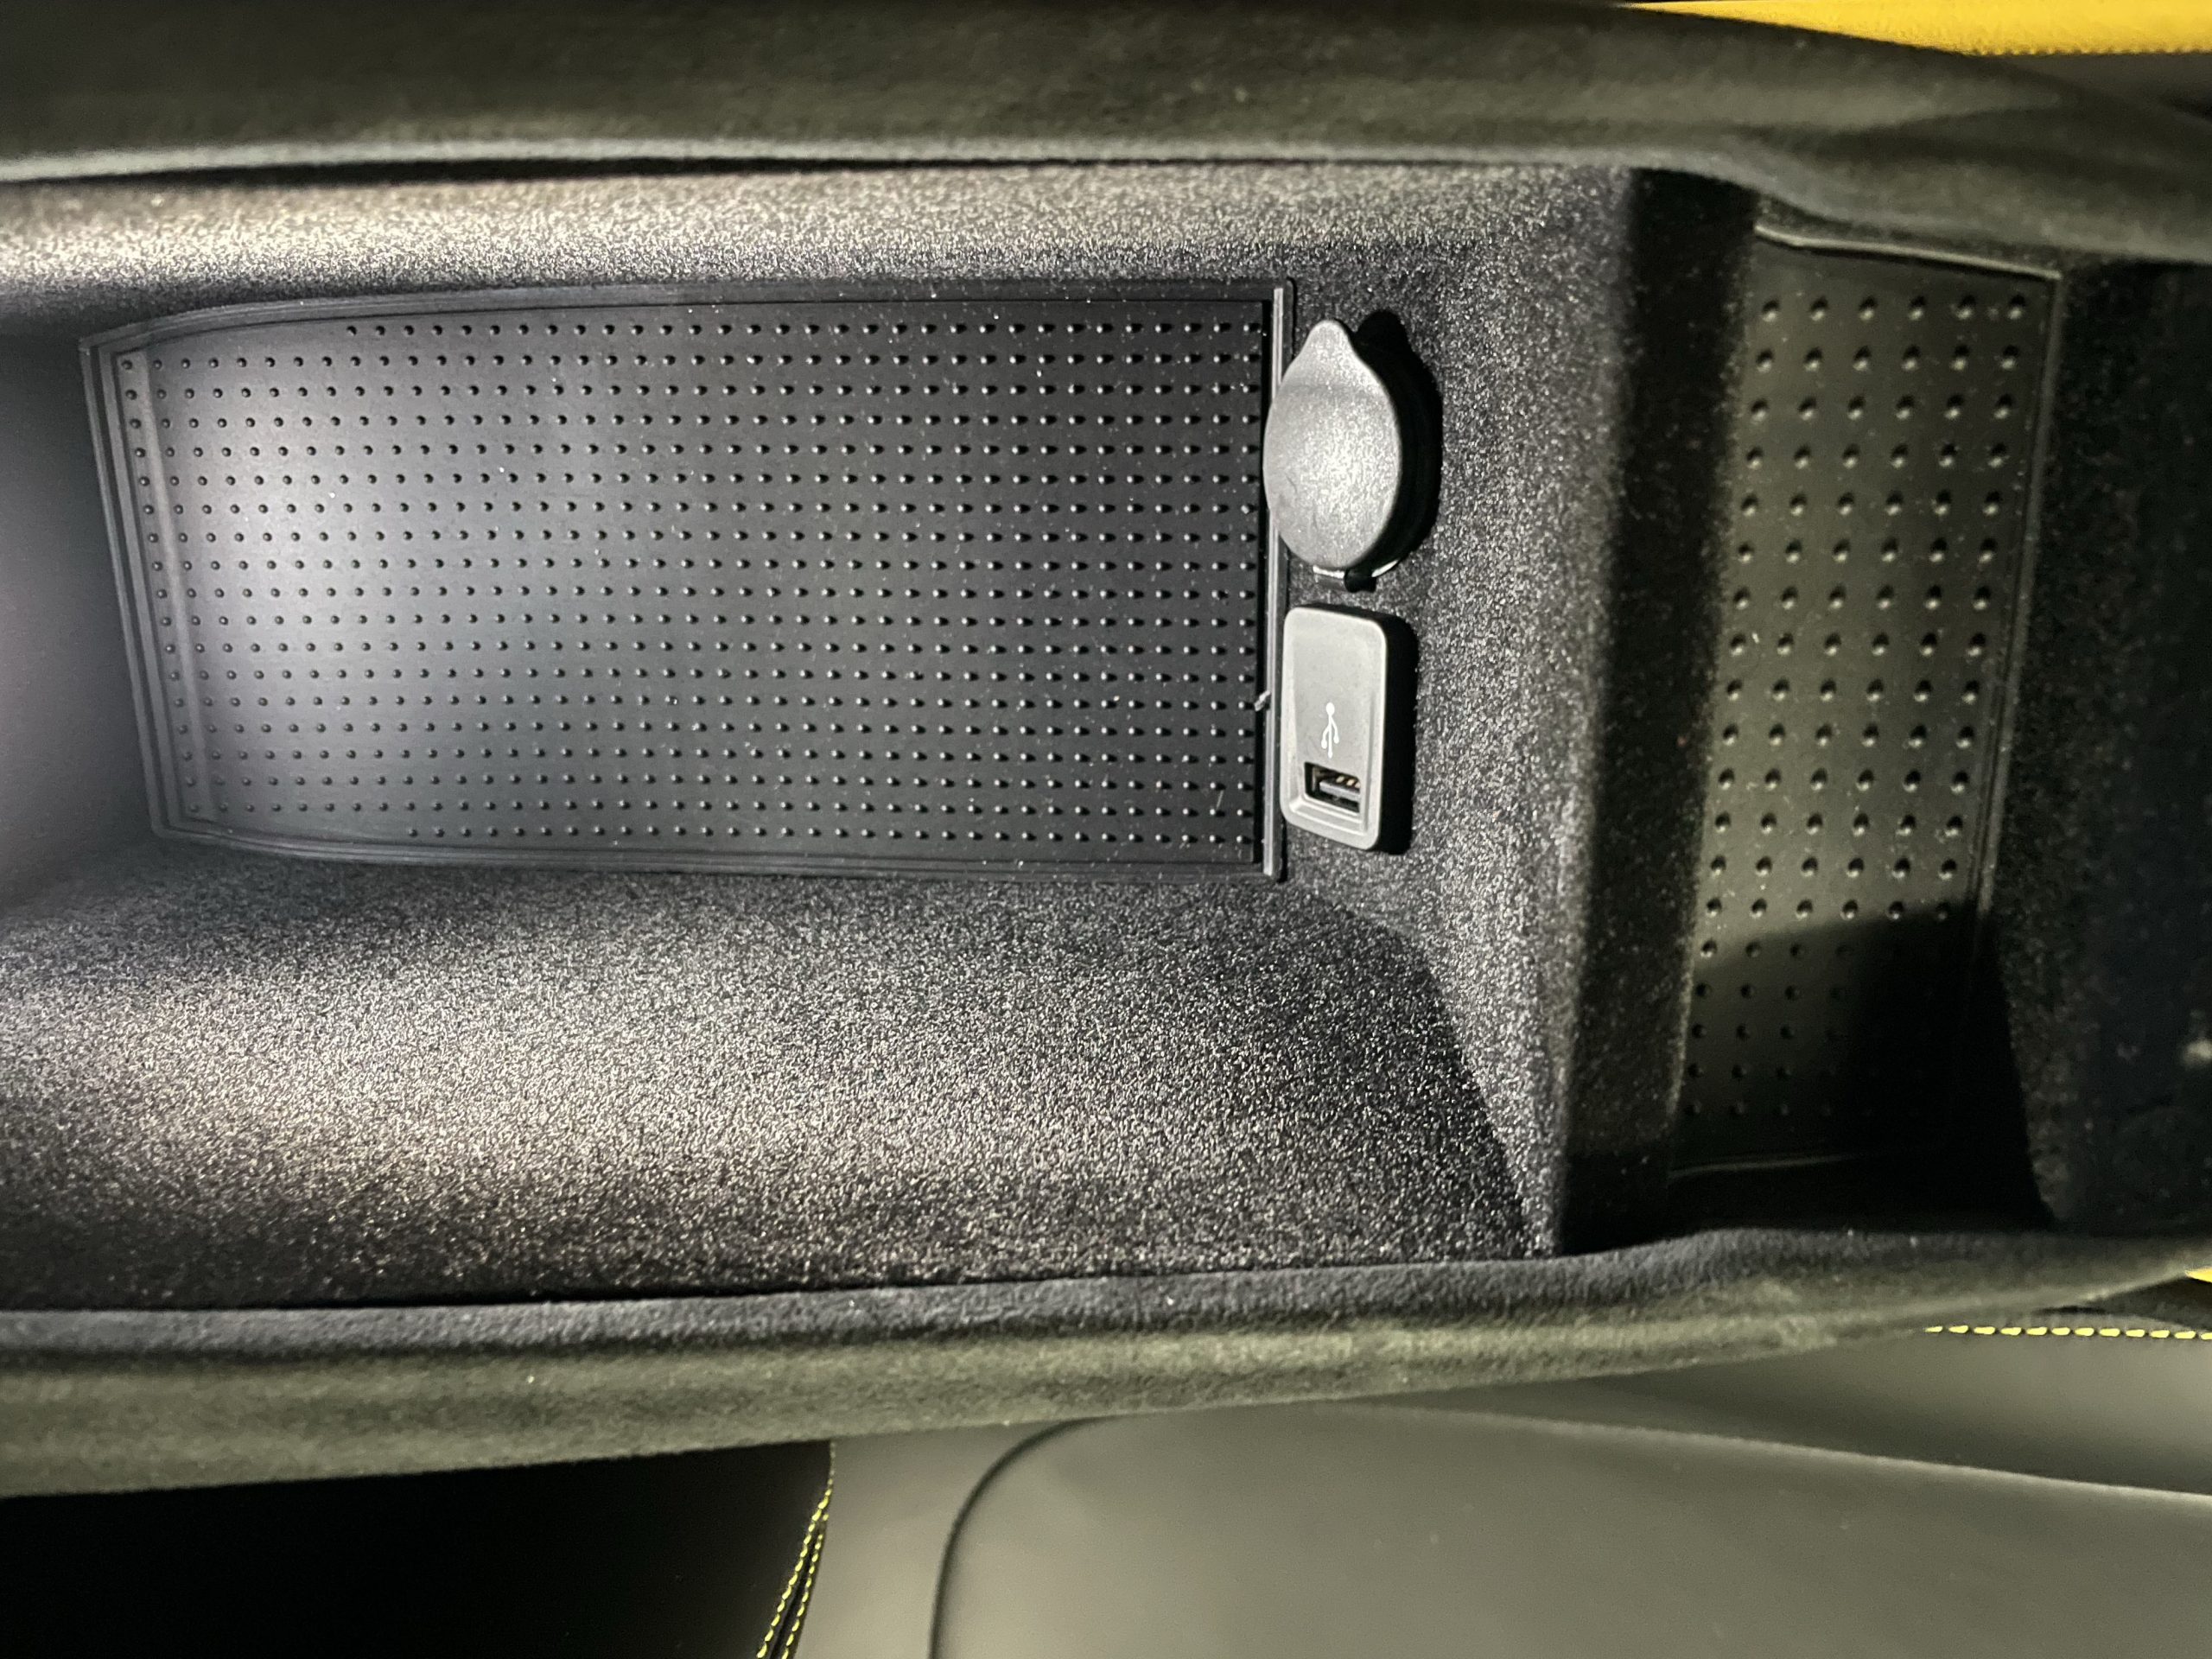
Interior Cabin: Take photos of the vehicle’s dashboard from both sides. Include the whole instrument cluster, including the car idling, odometer reading, and center stack or console, in a single photo. Take close-ups of different sections like the radio, climate controls, shifter area, door panel, headliner and trunk compartment. If the vehicle comes with a spare tire or has space beneath the trunk carpet, make sure to include photos.
Mechanical
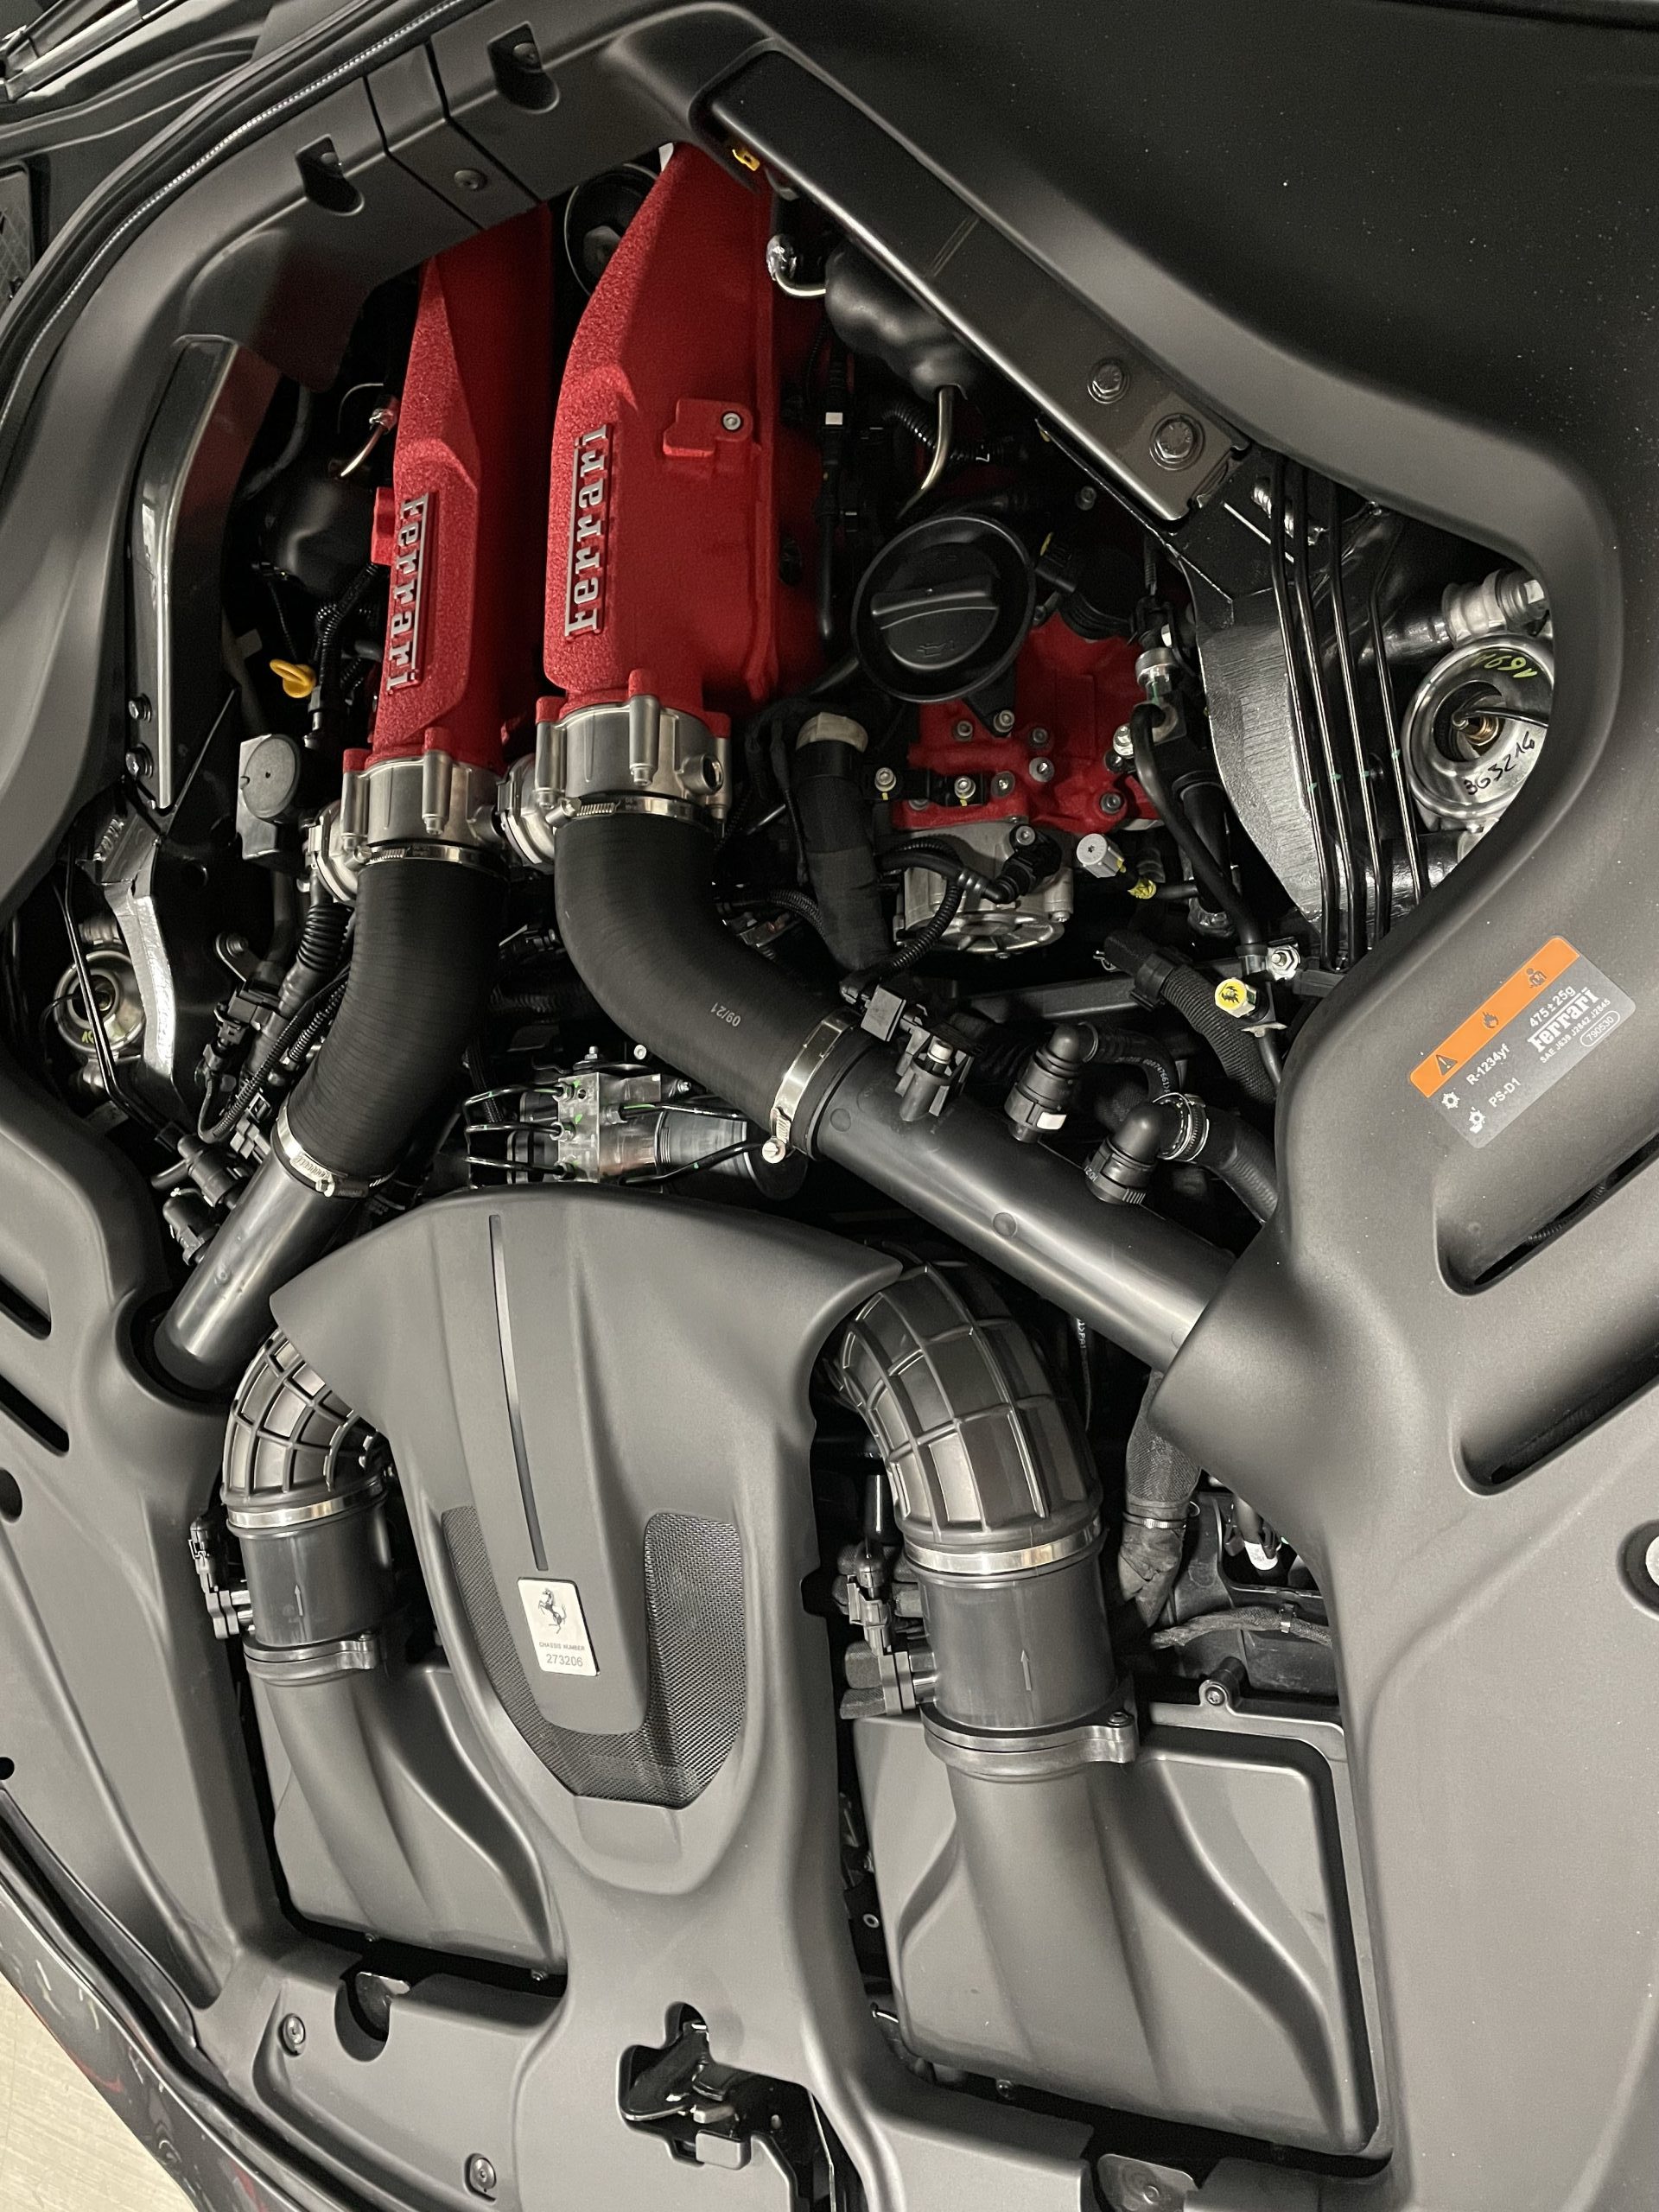
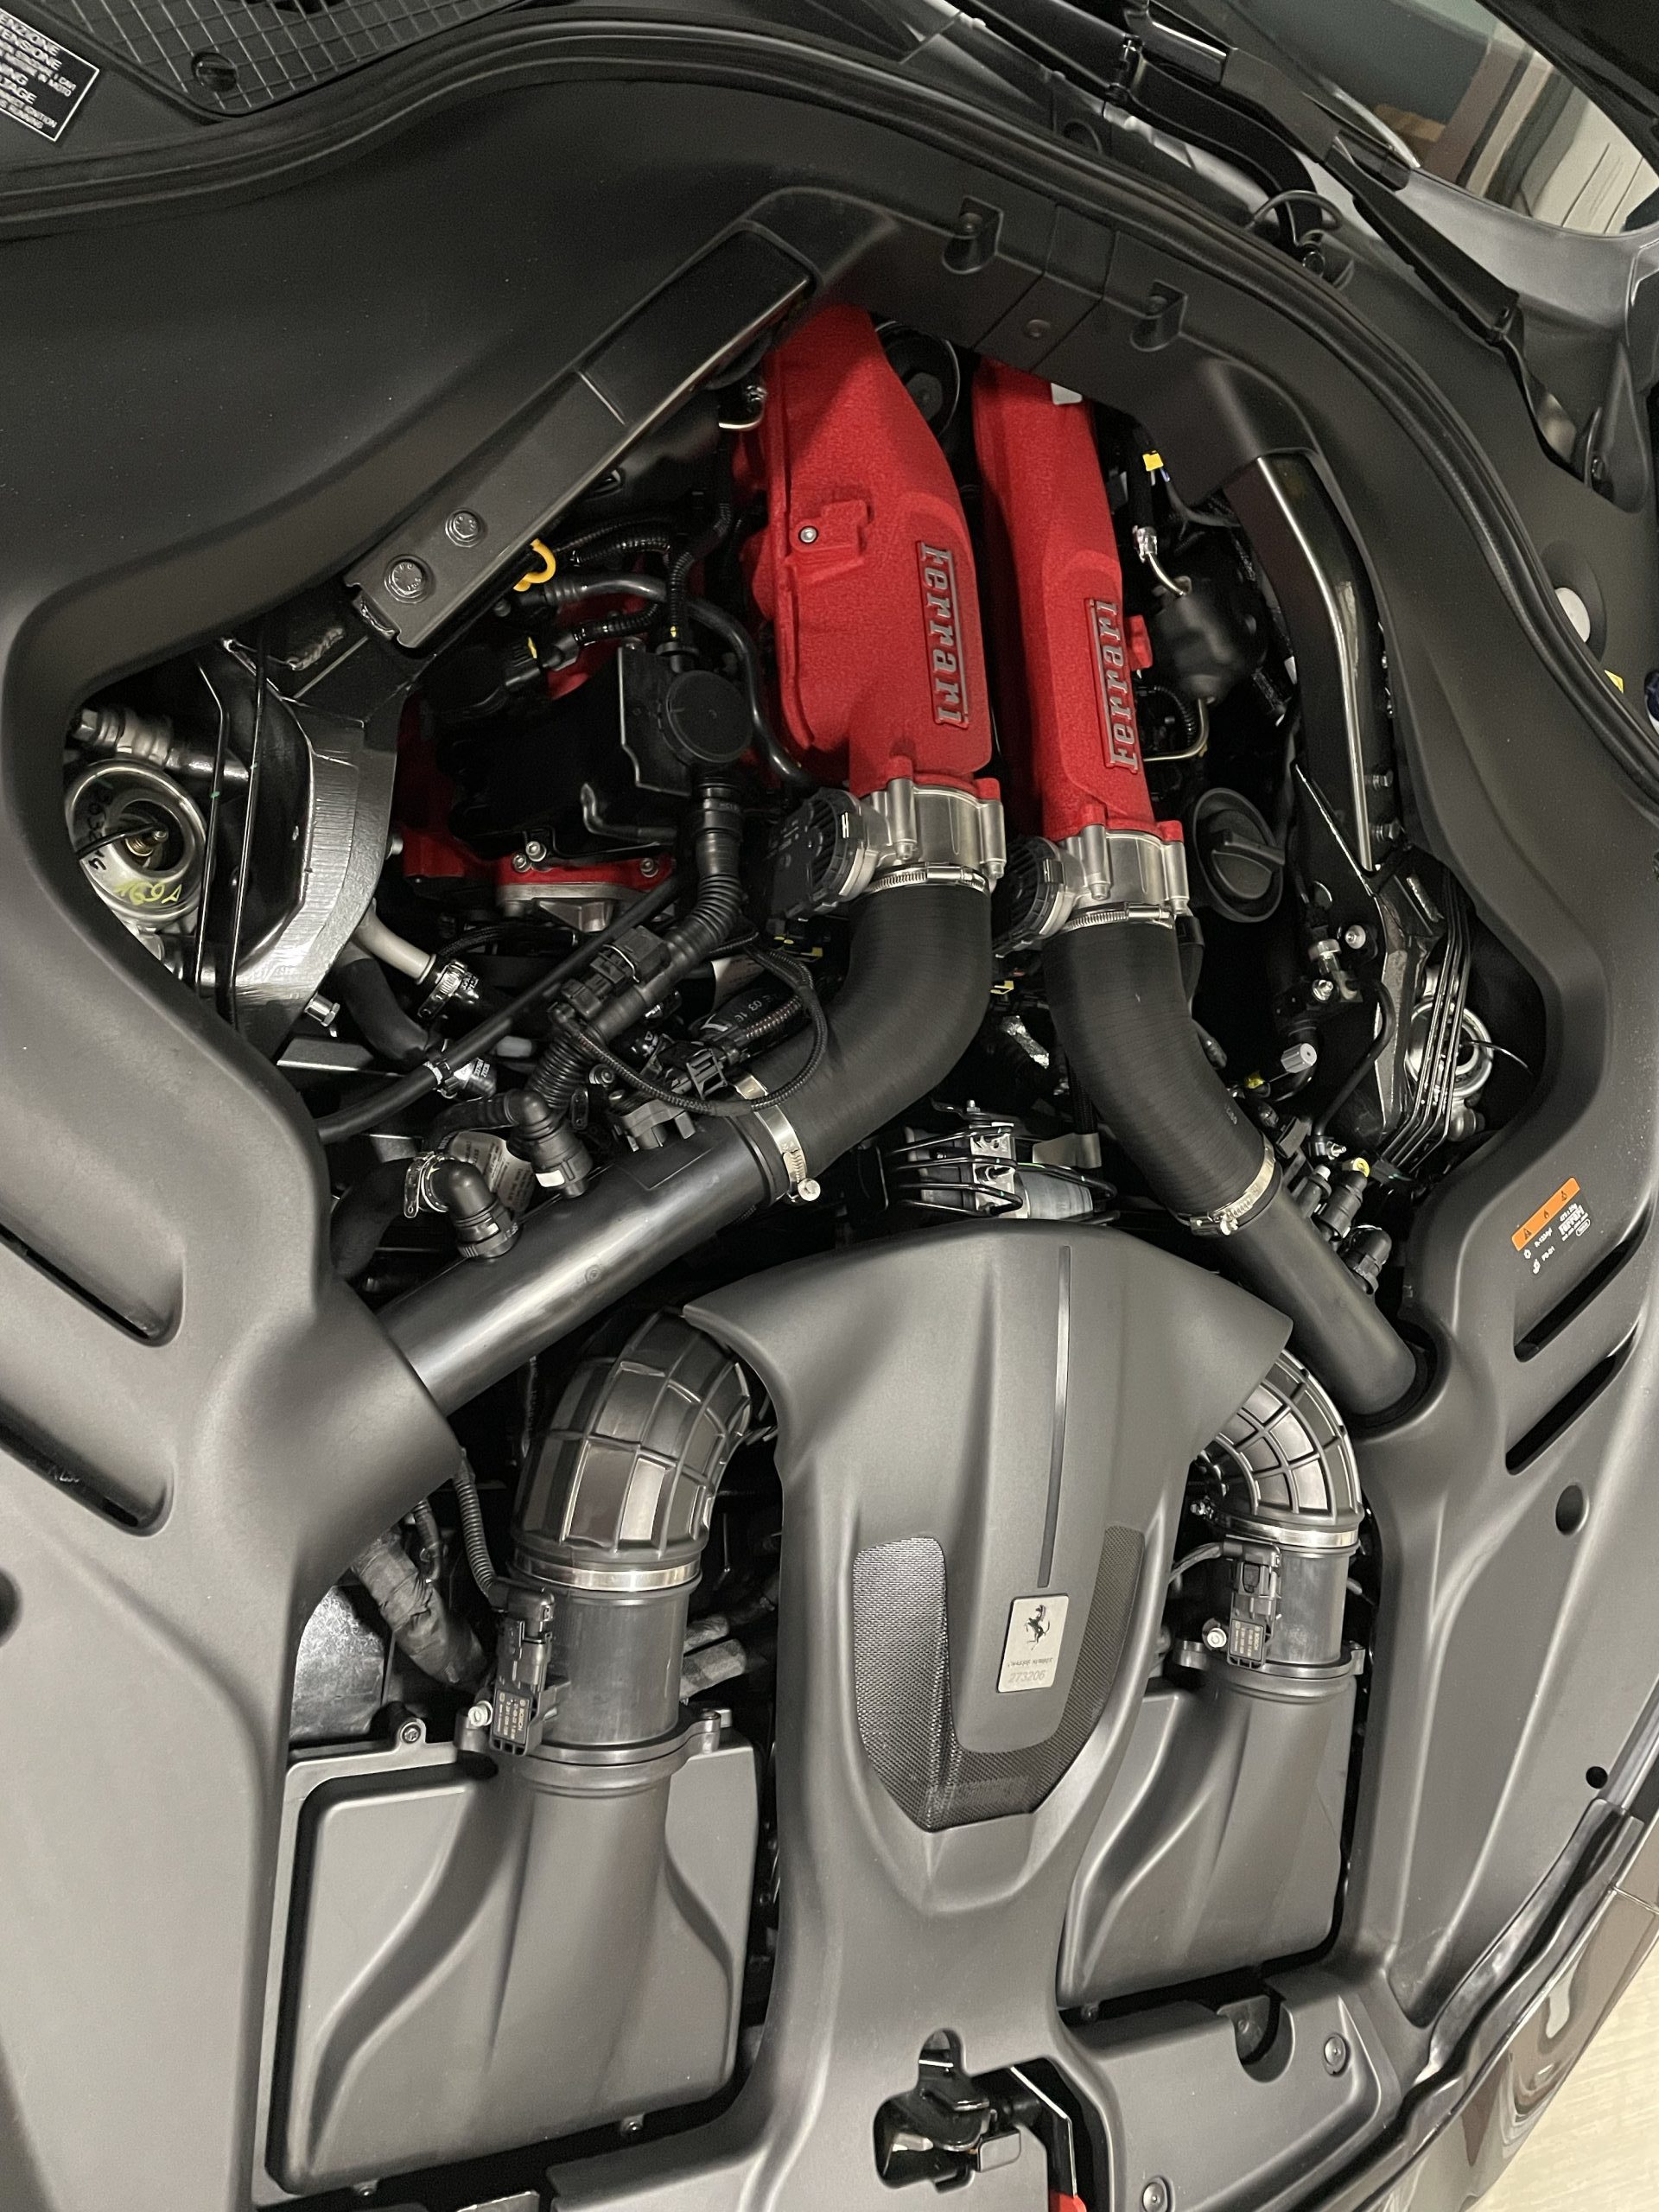
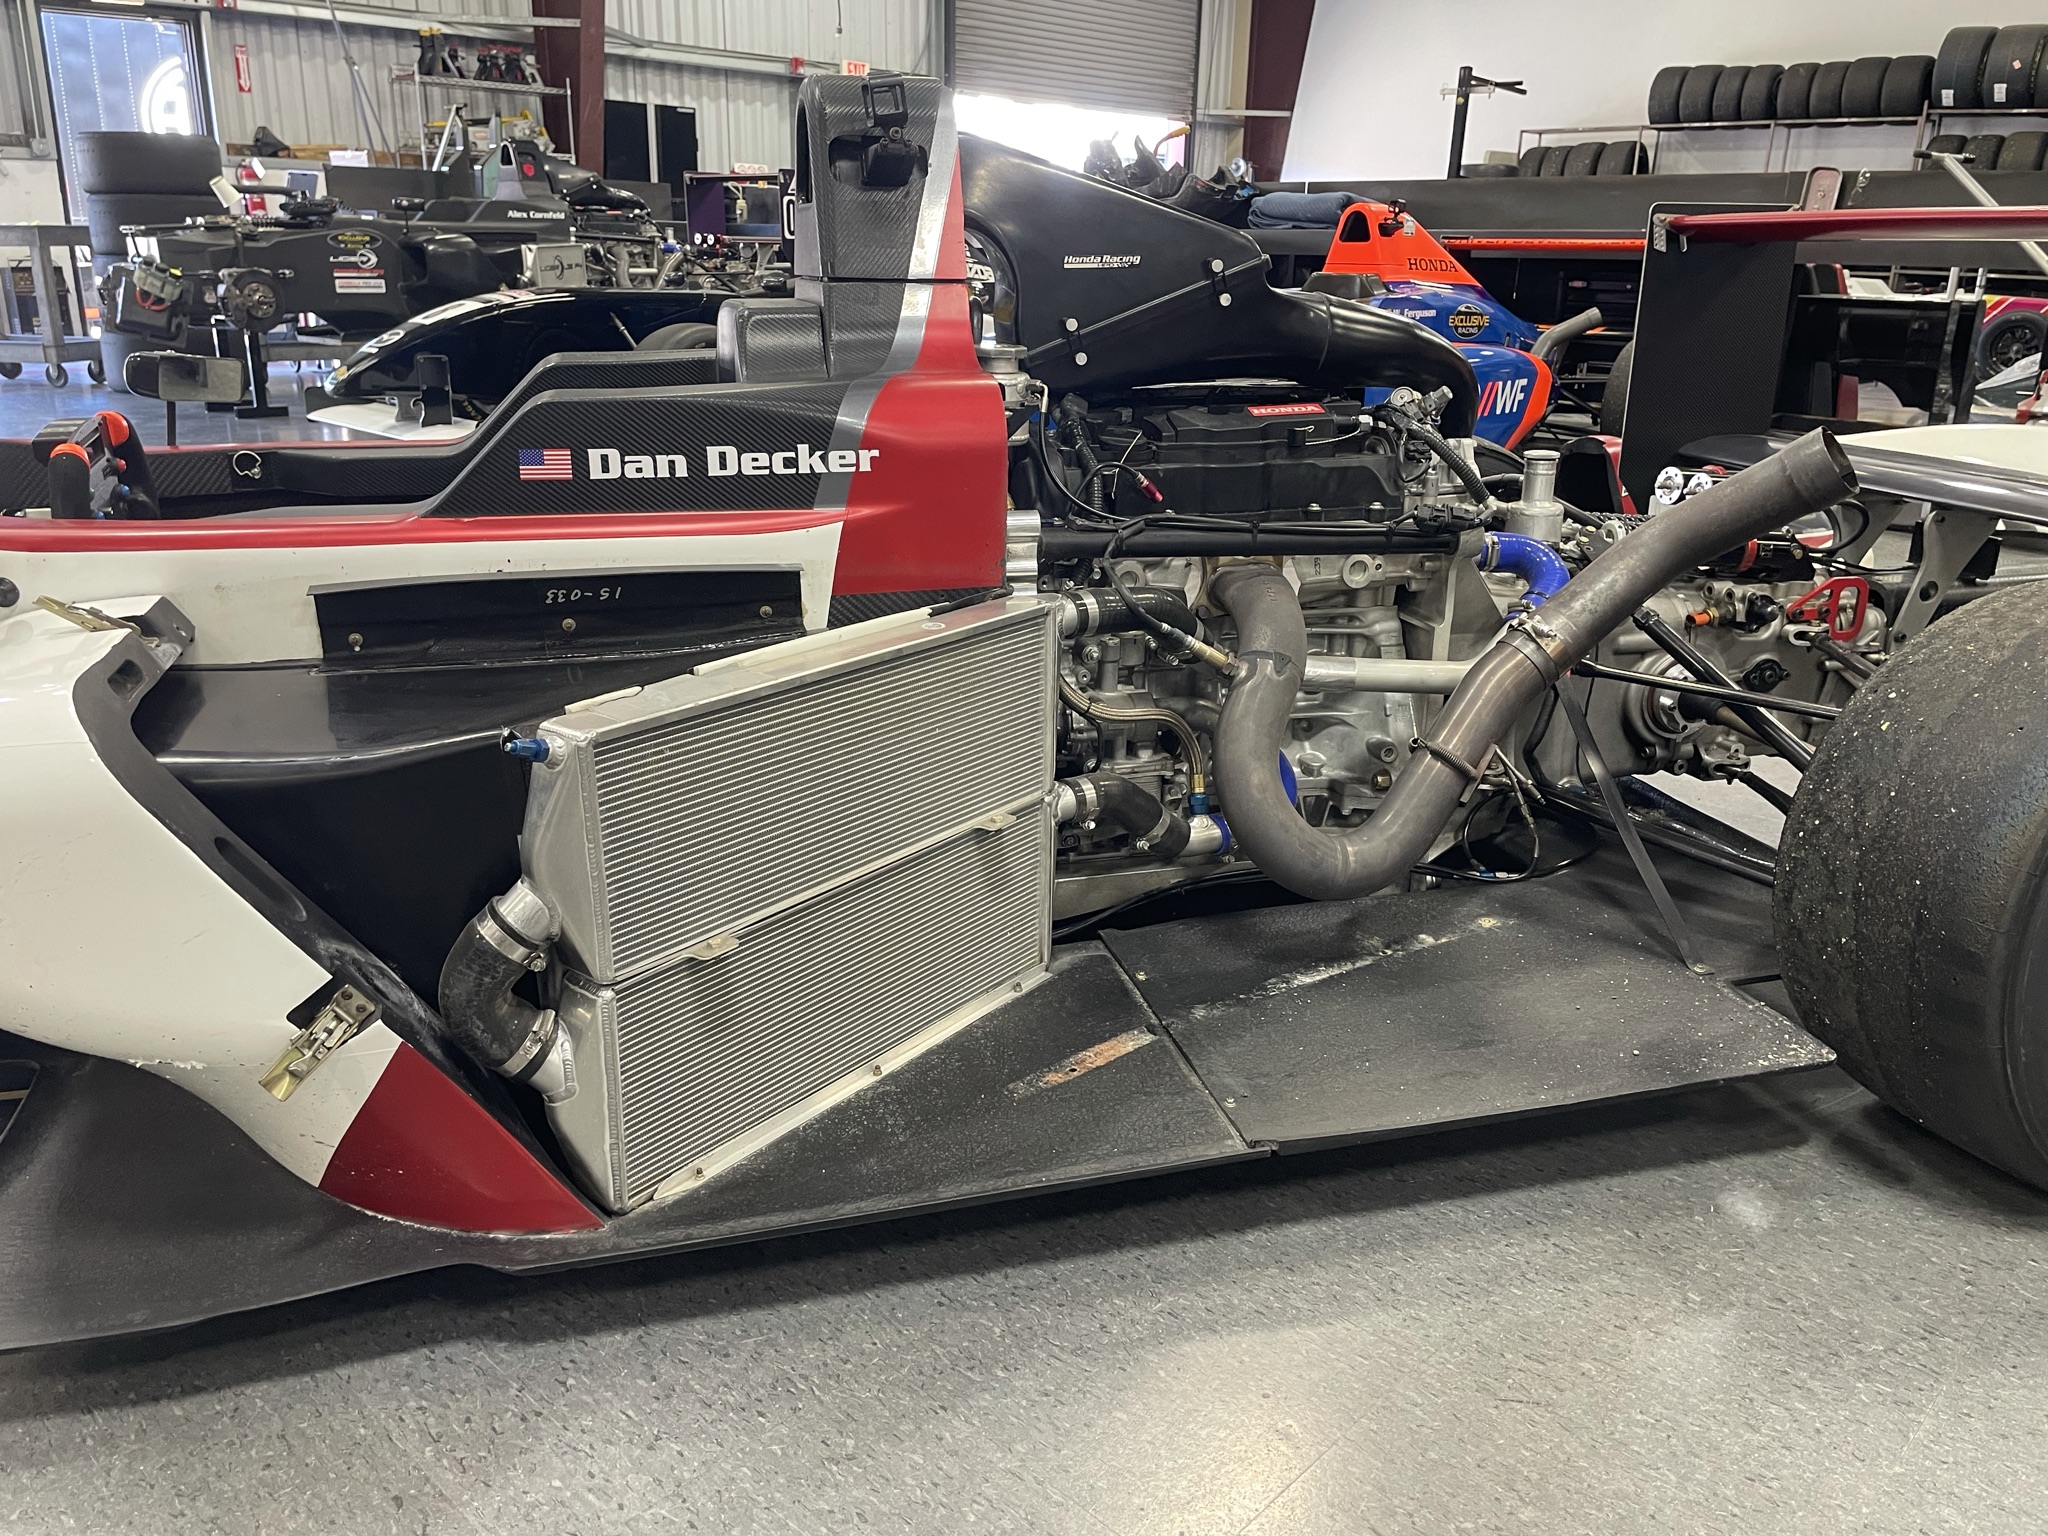
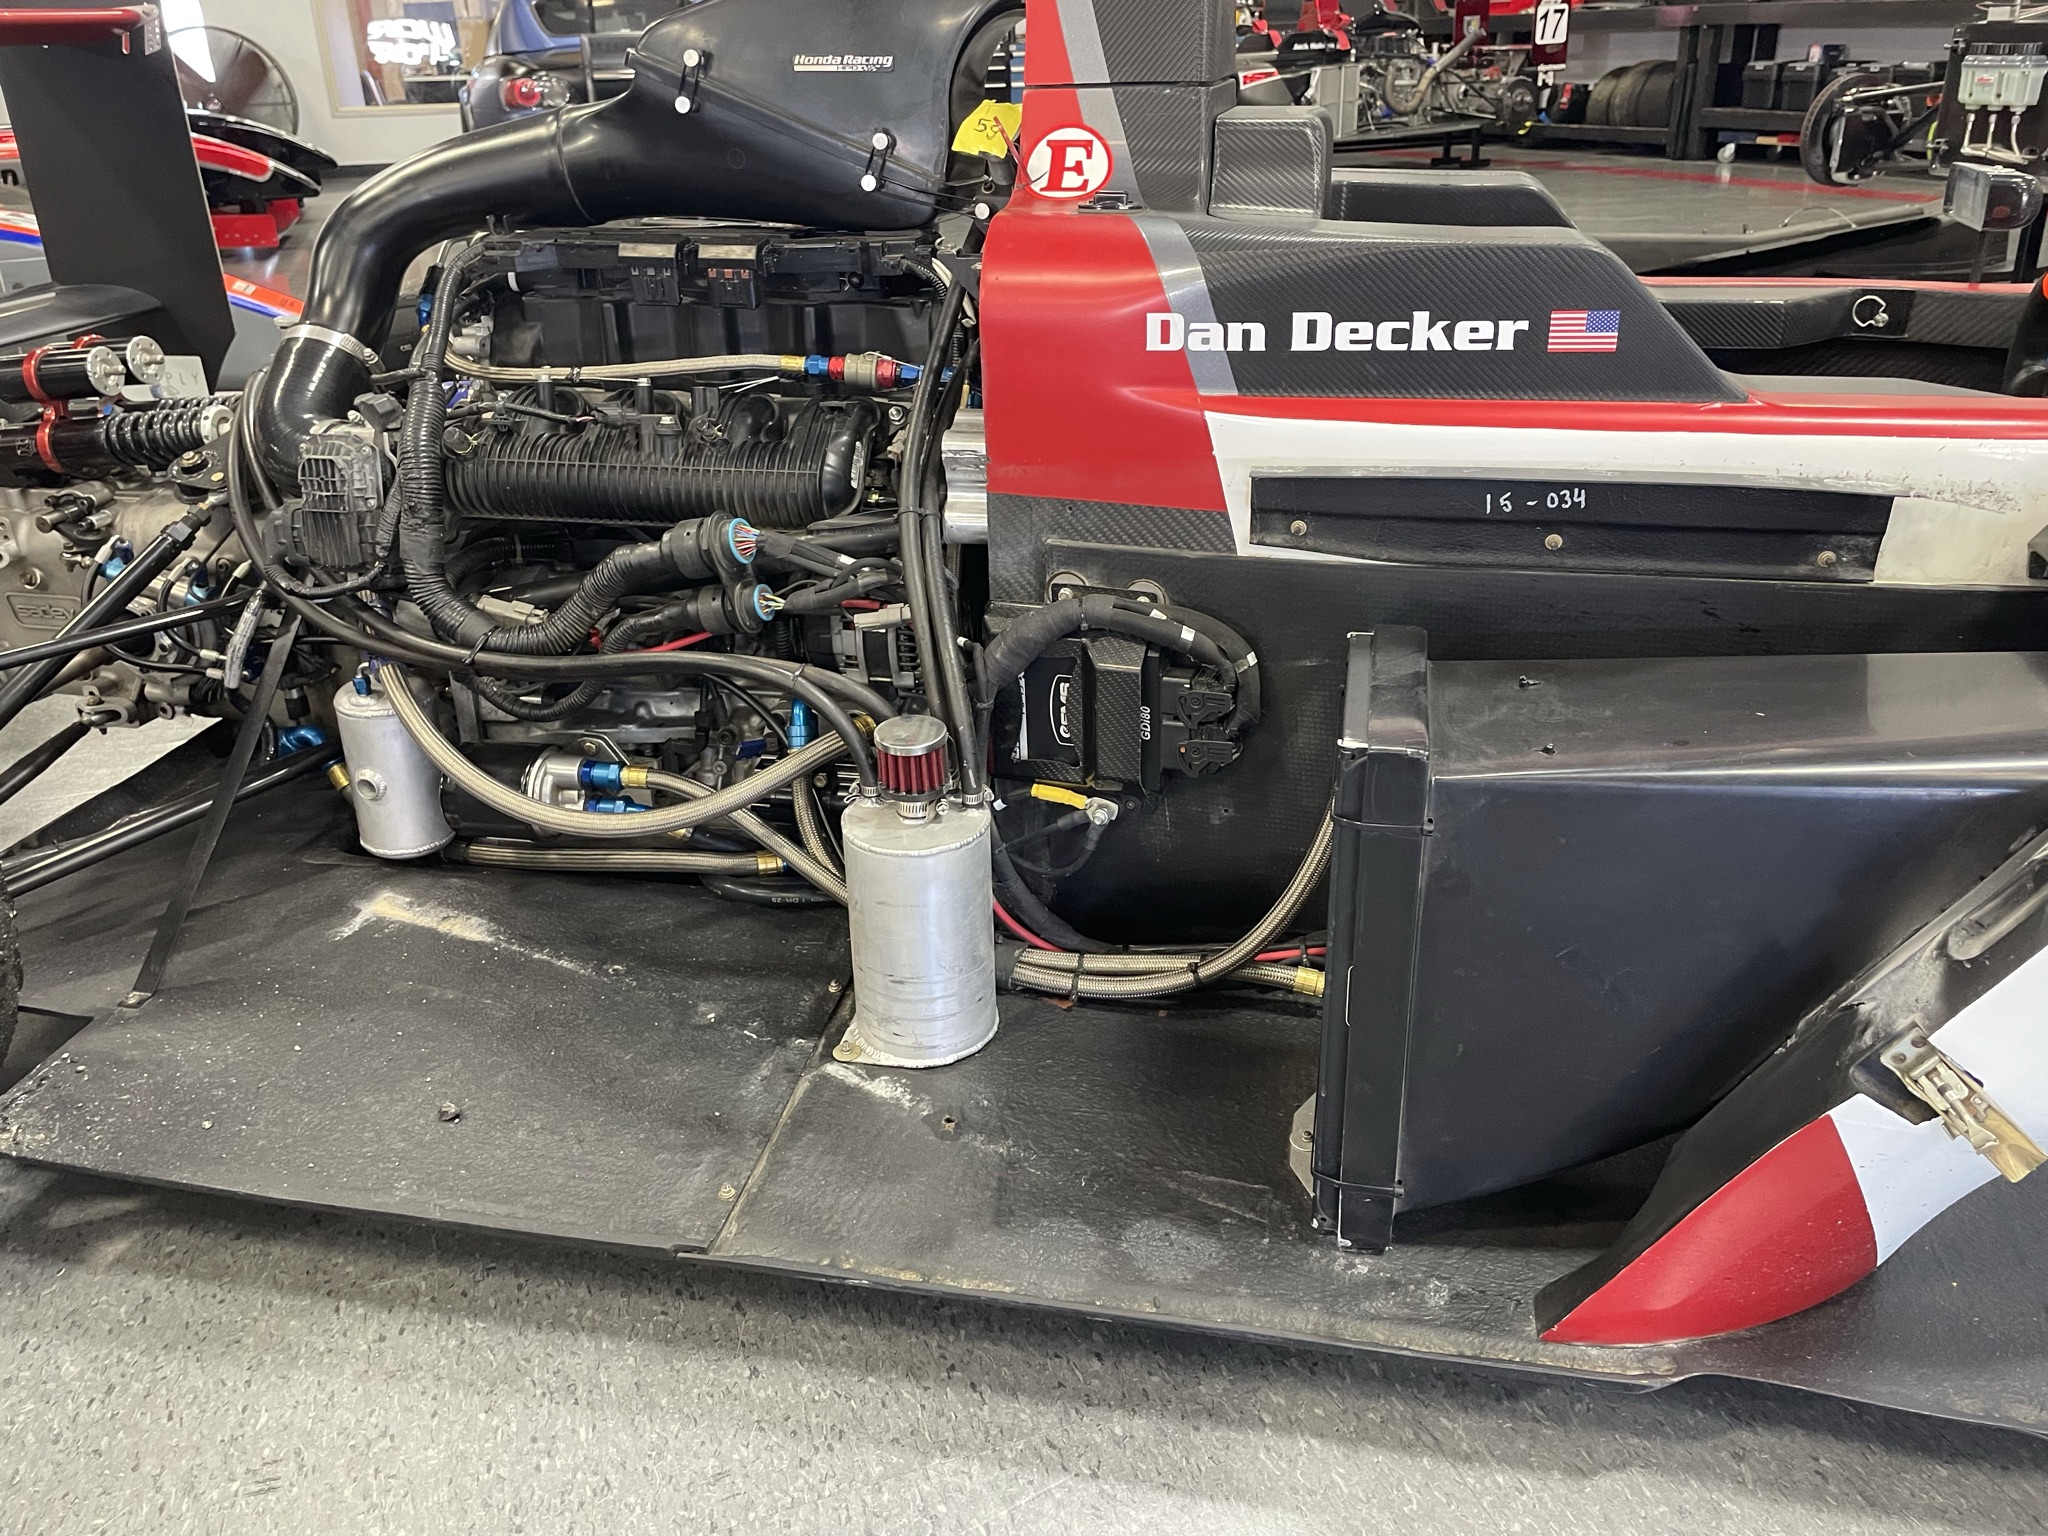
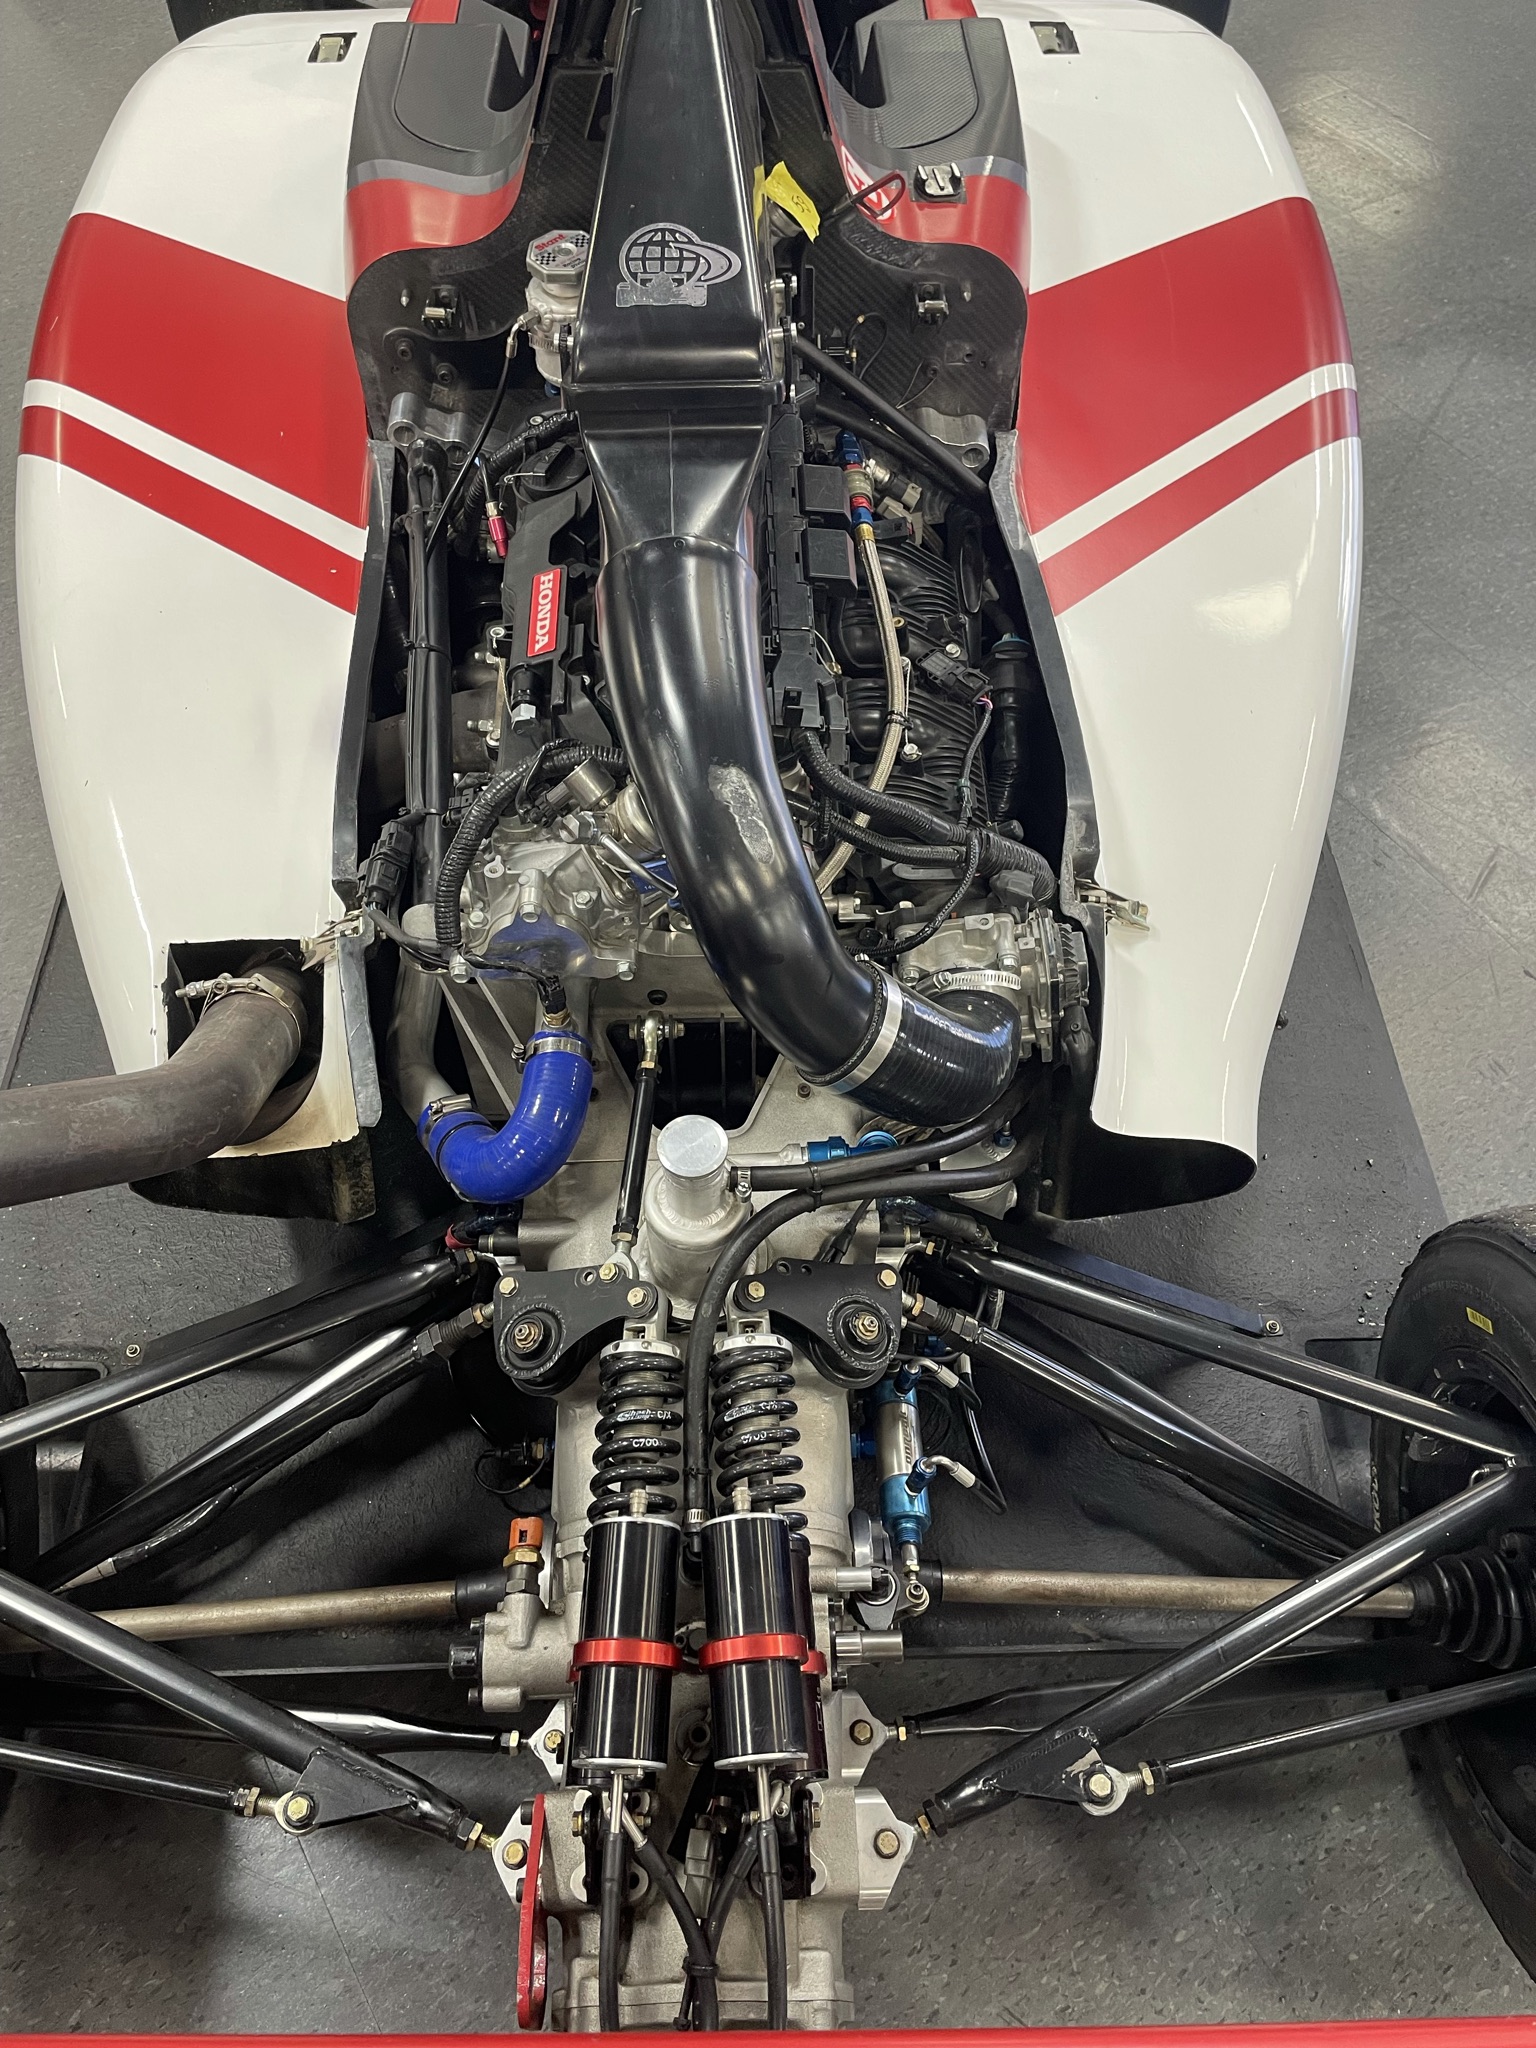
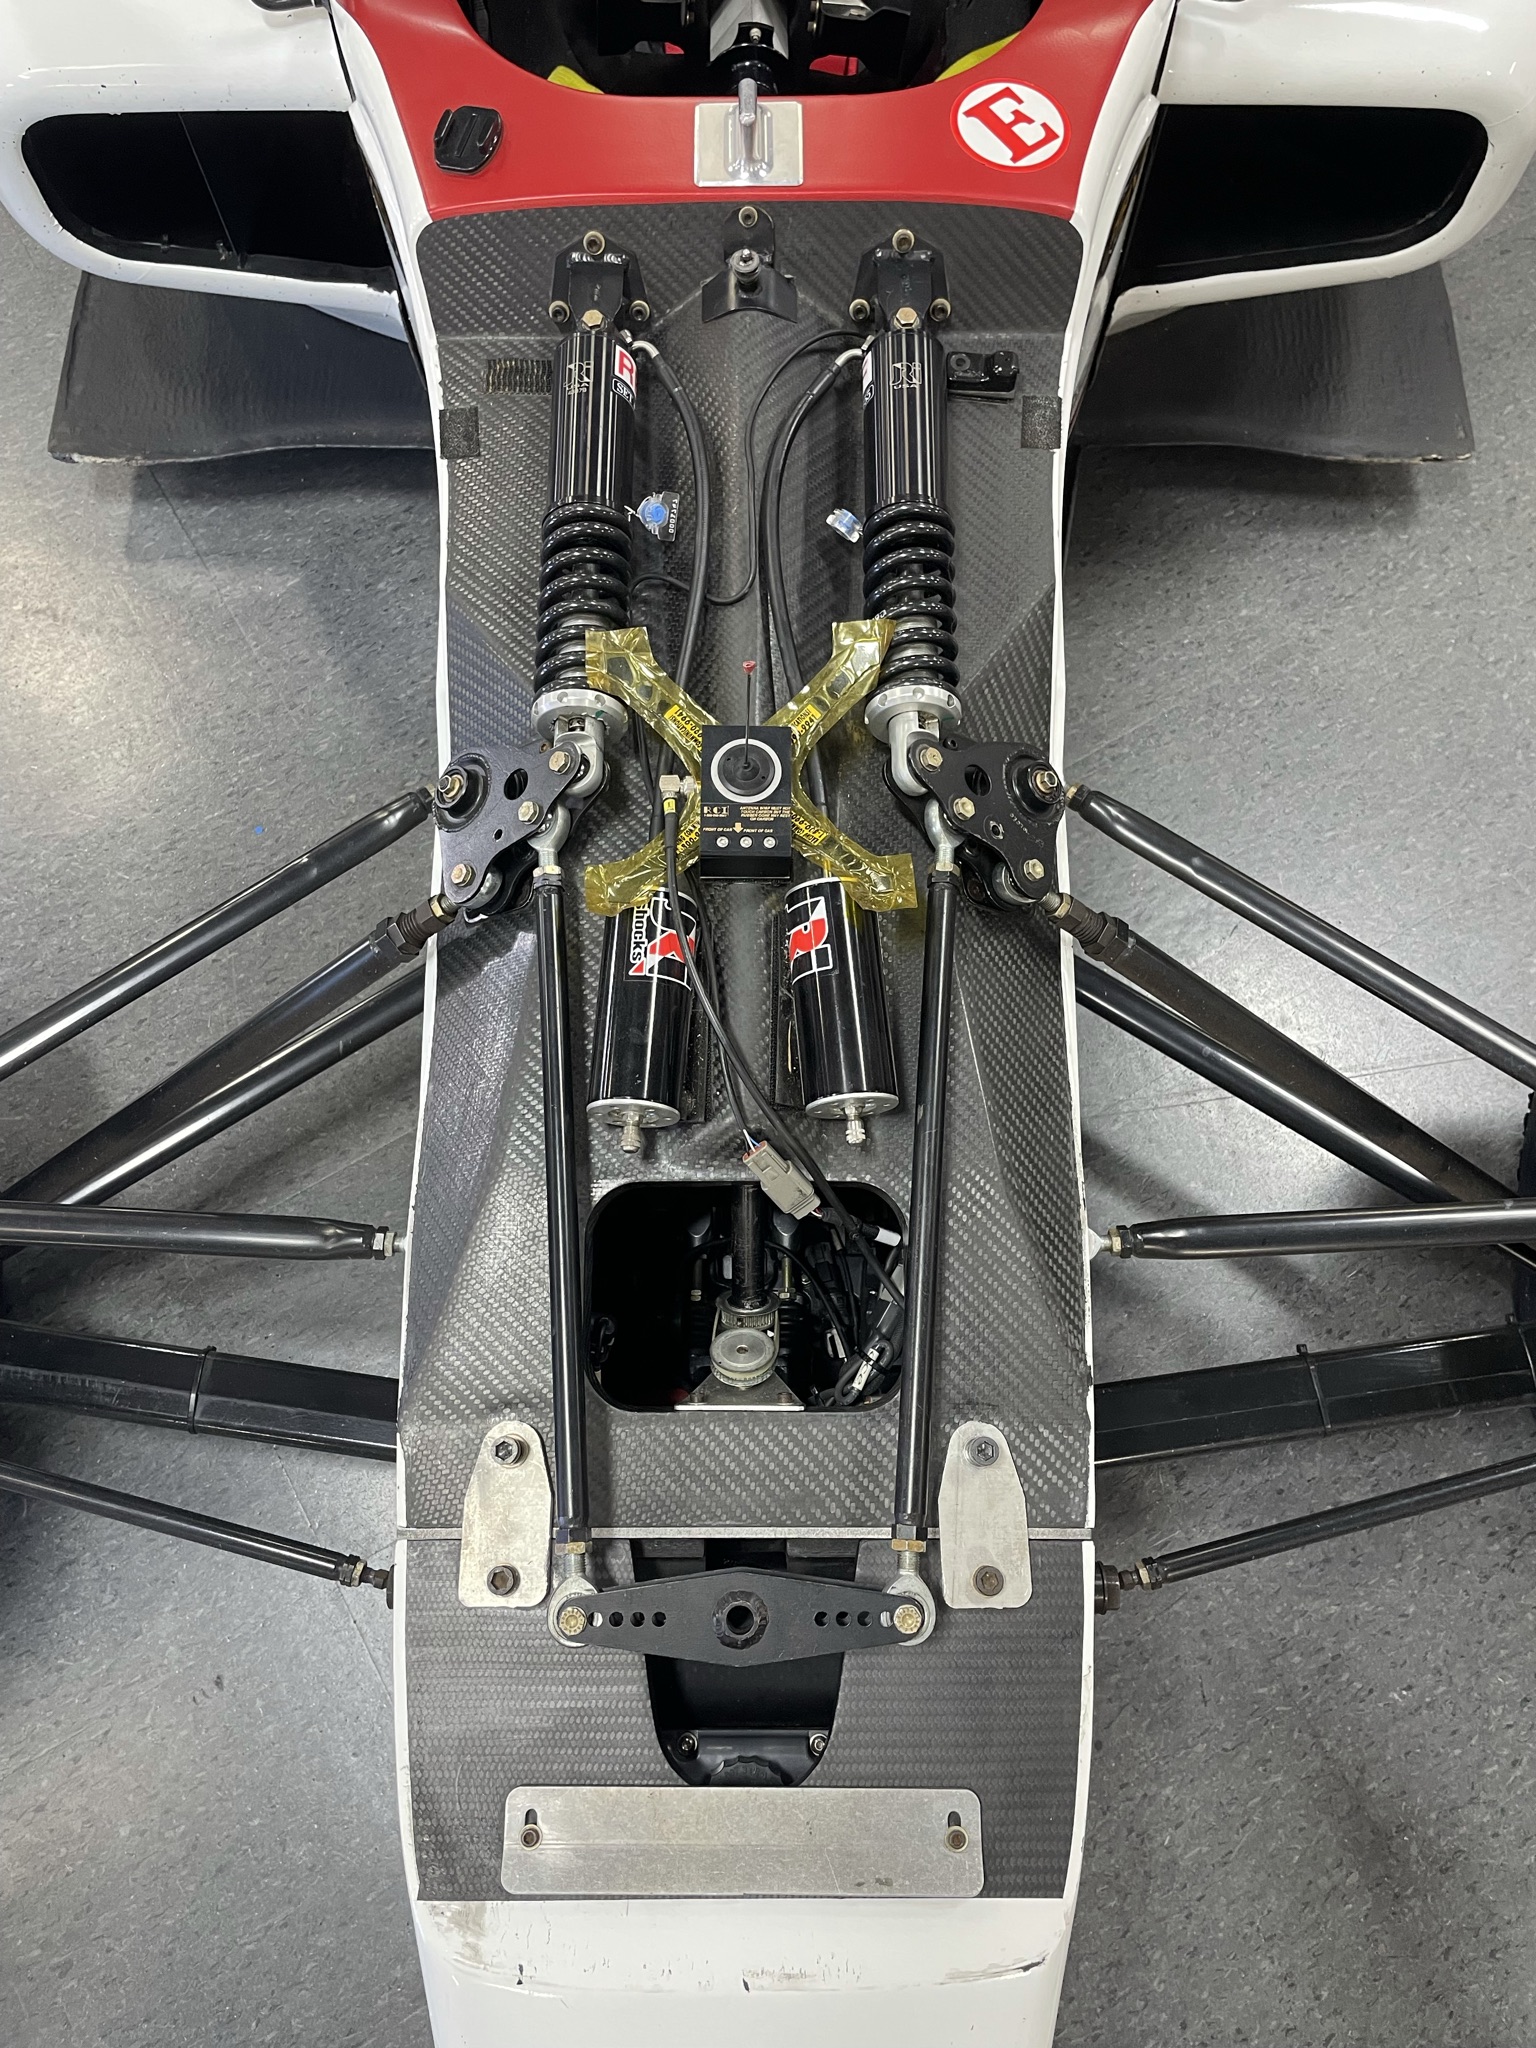
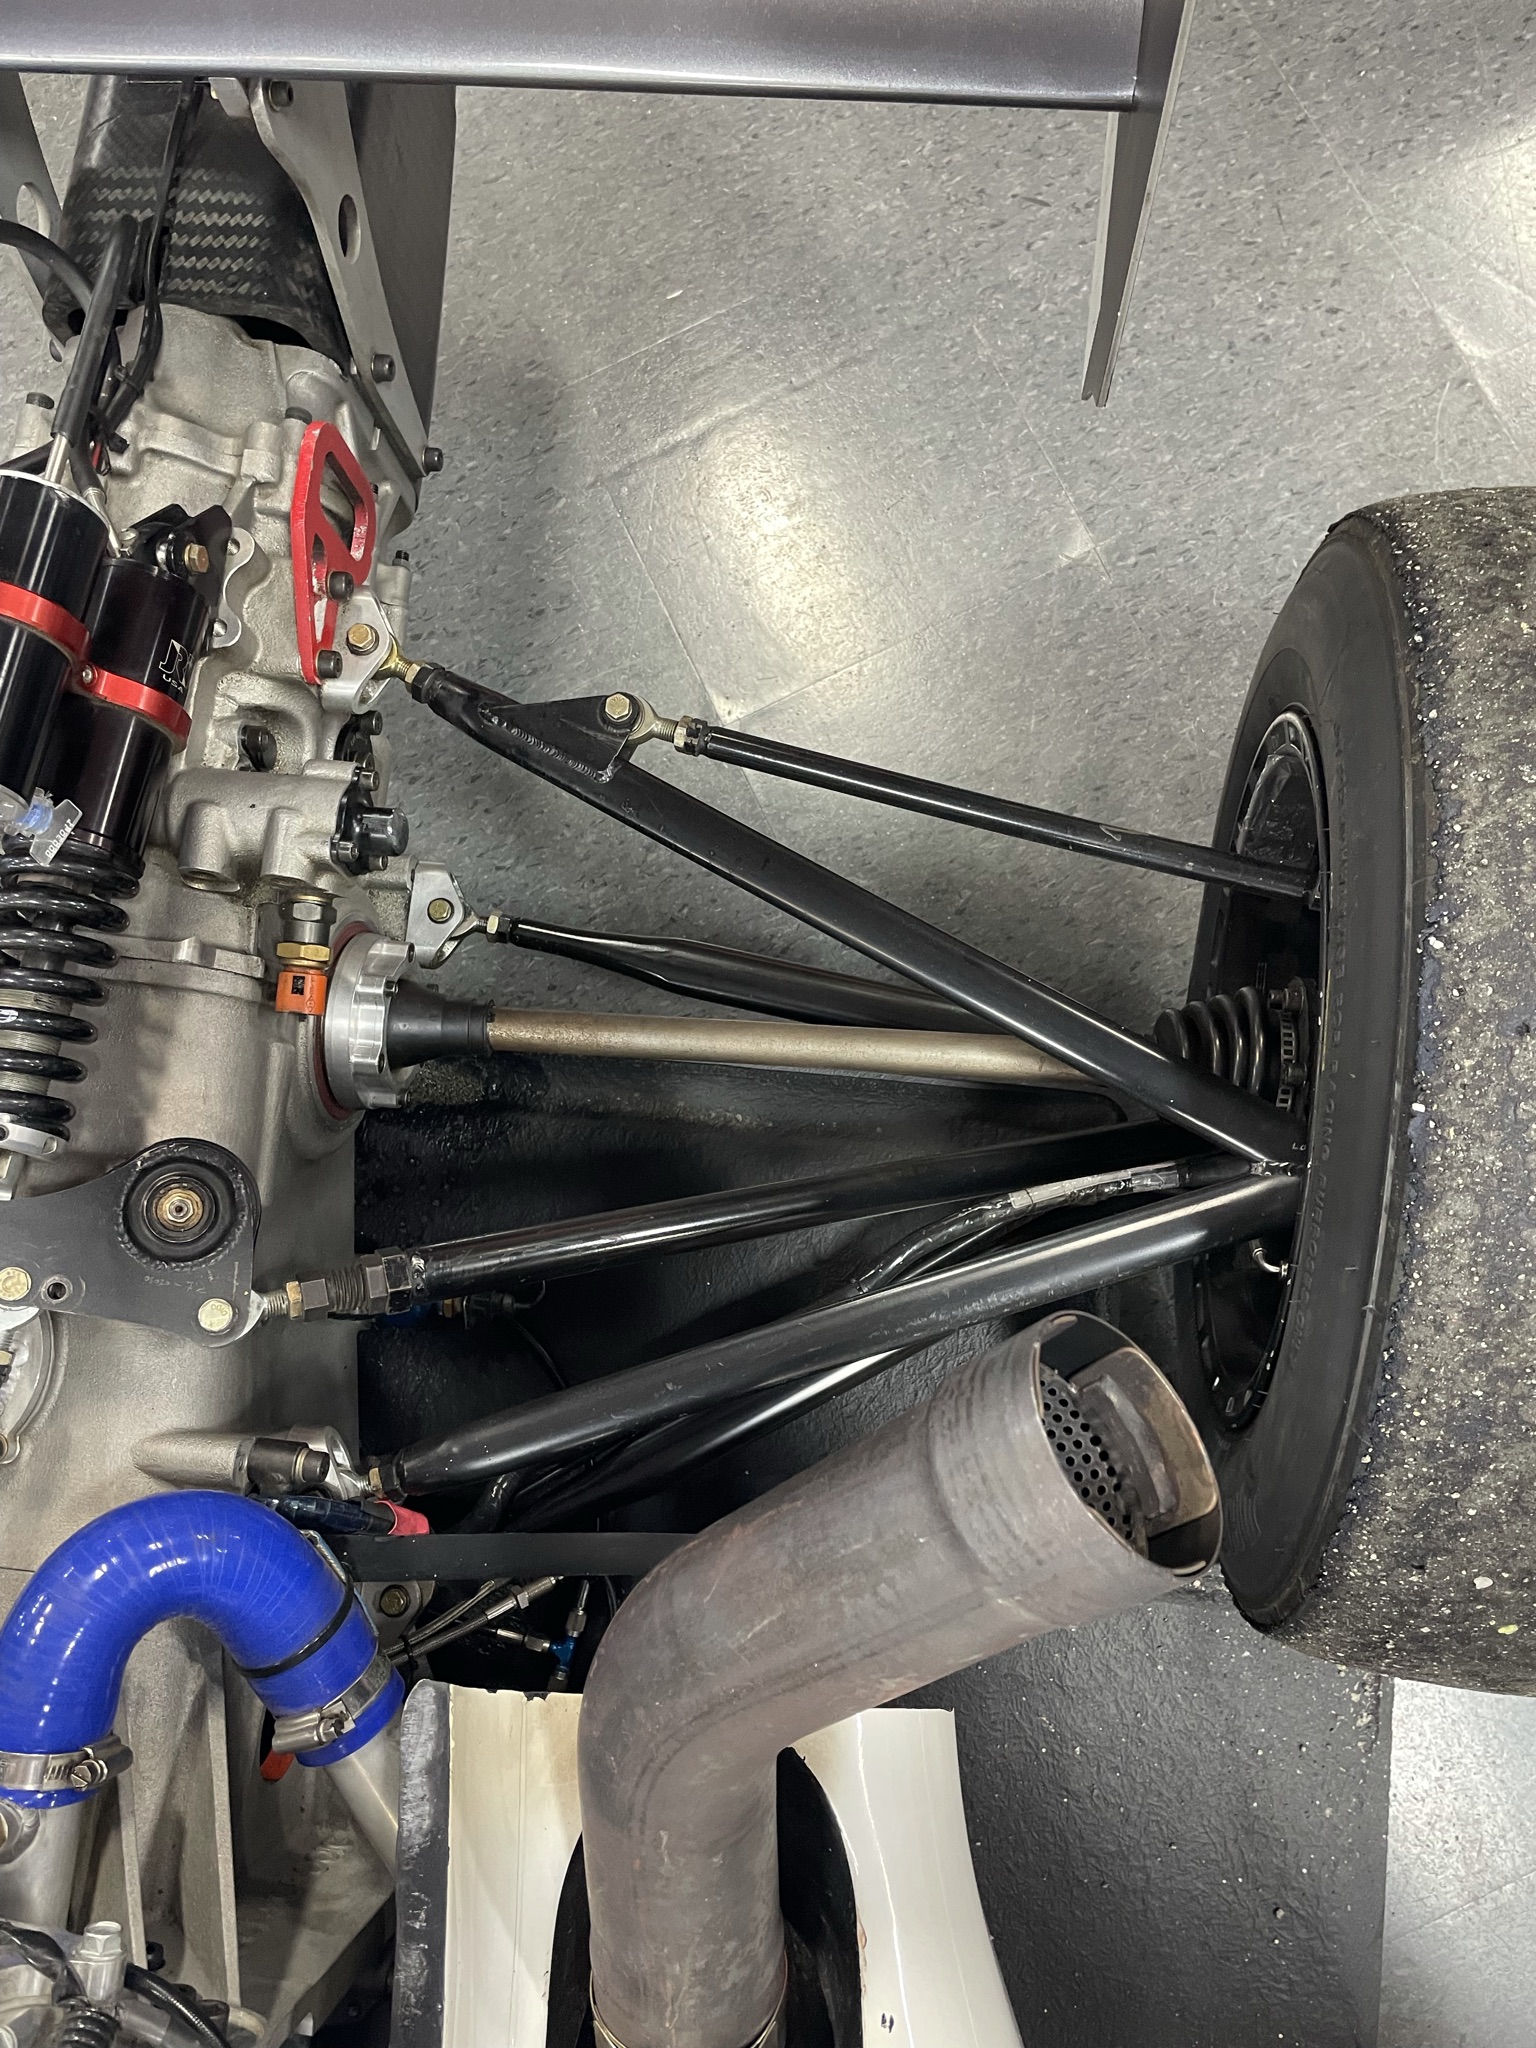
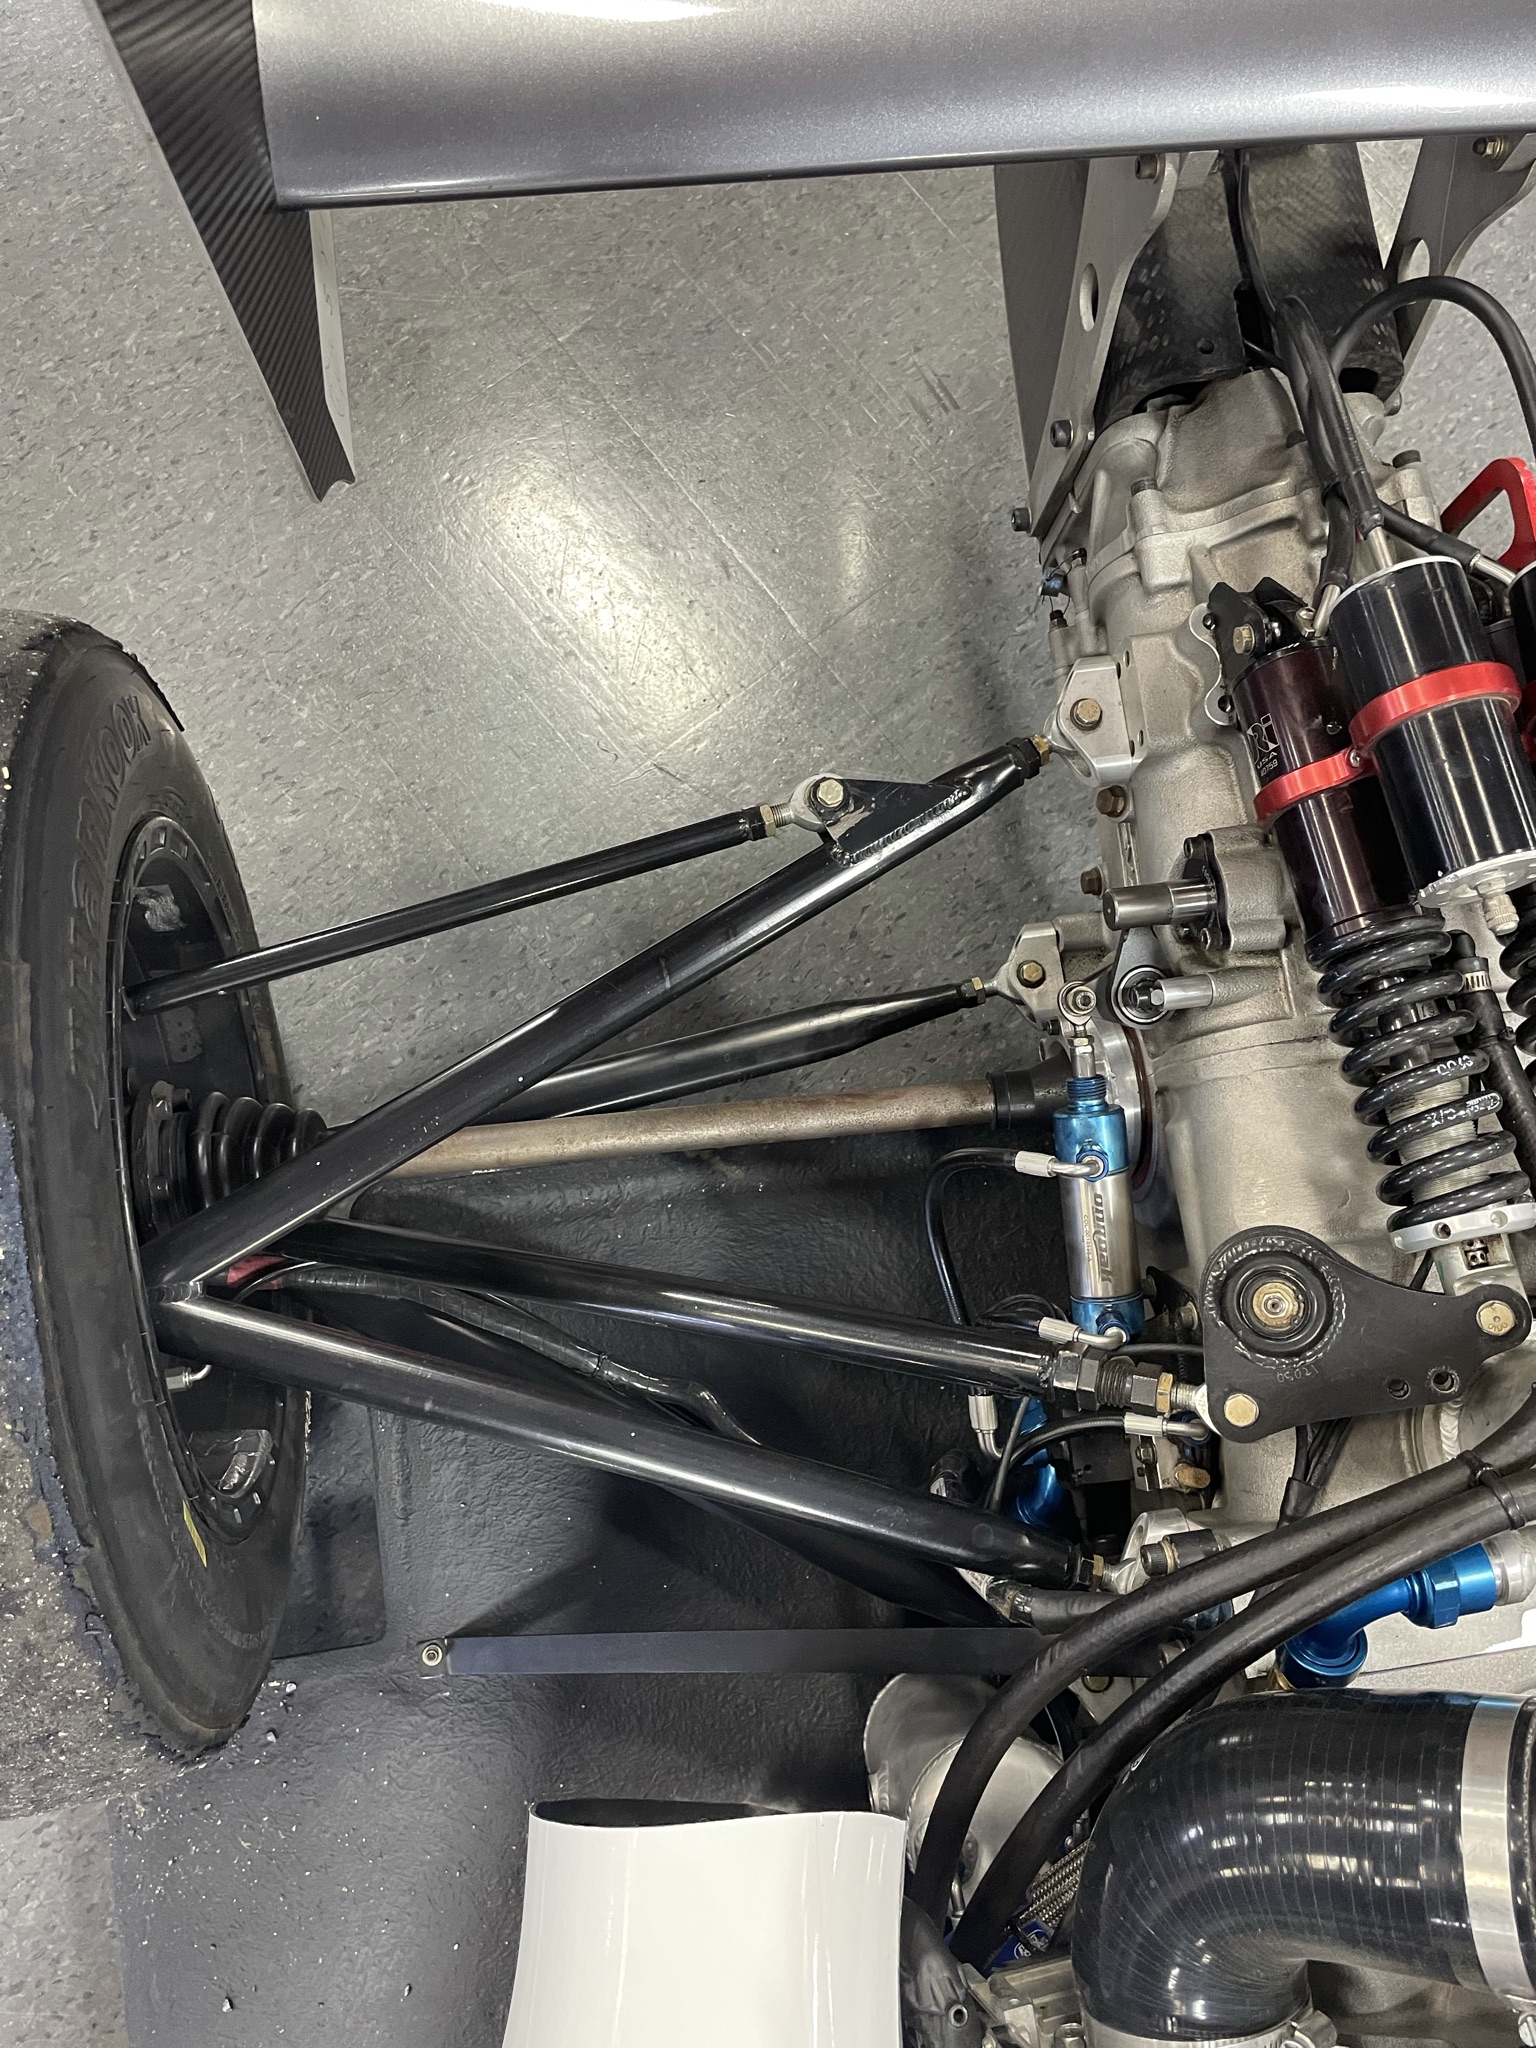
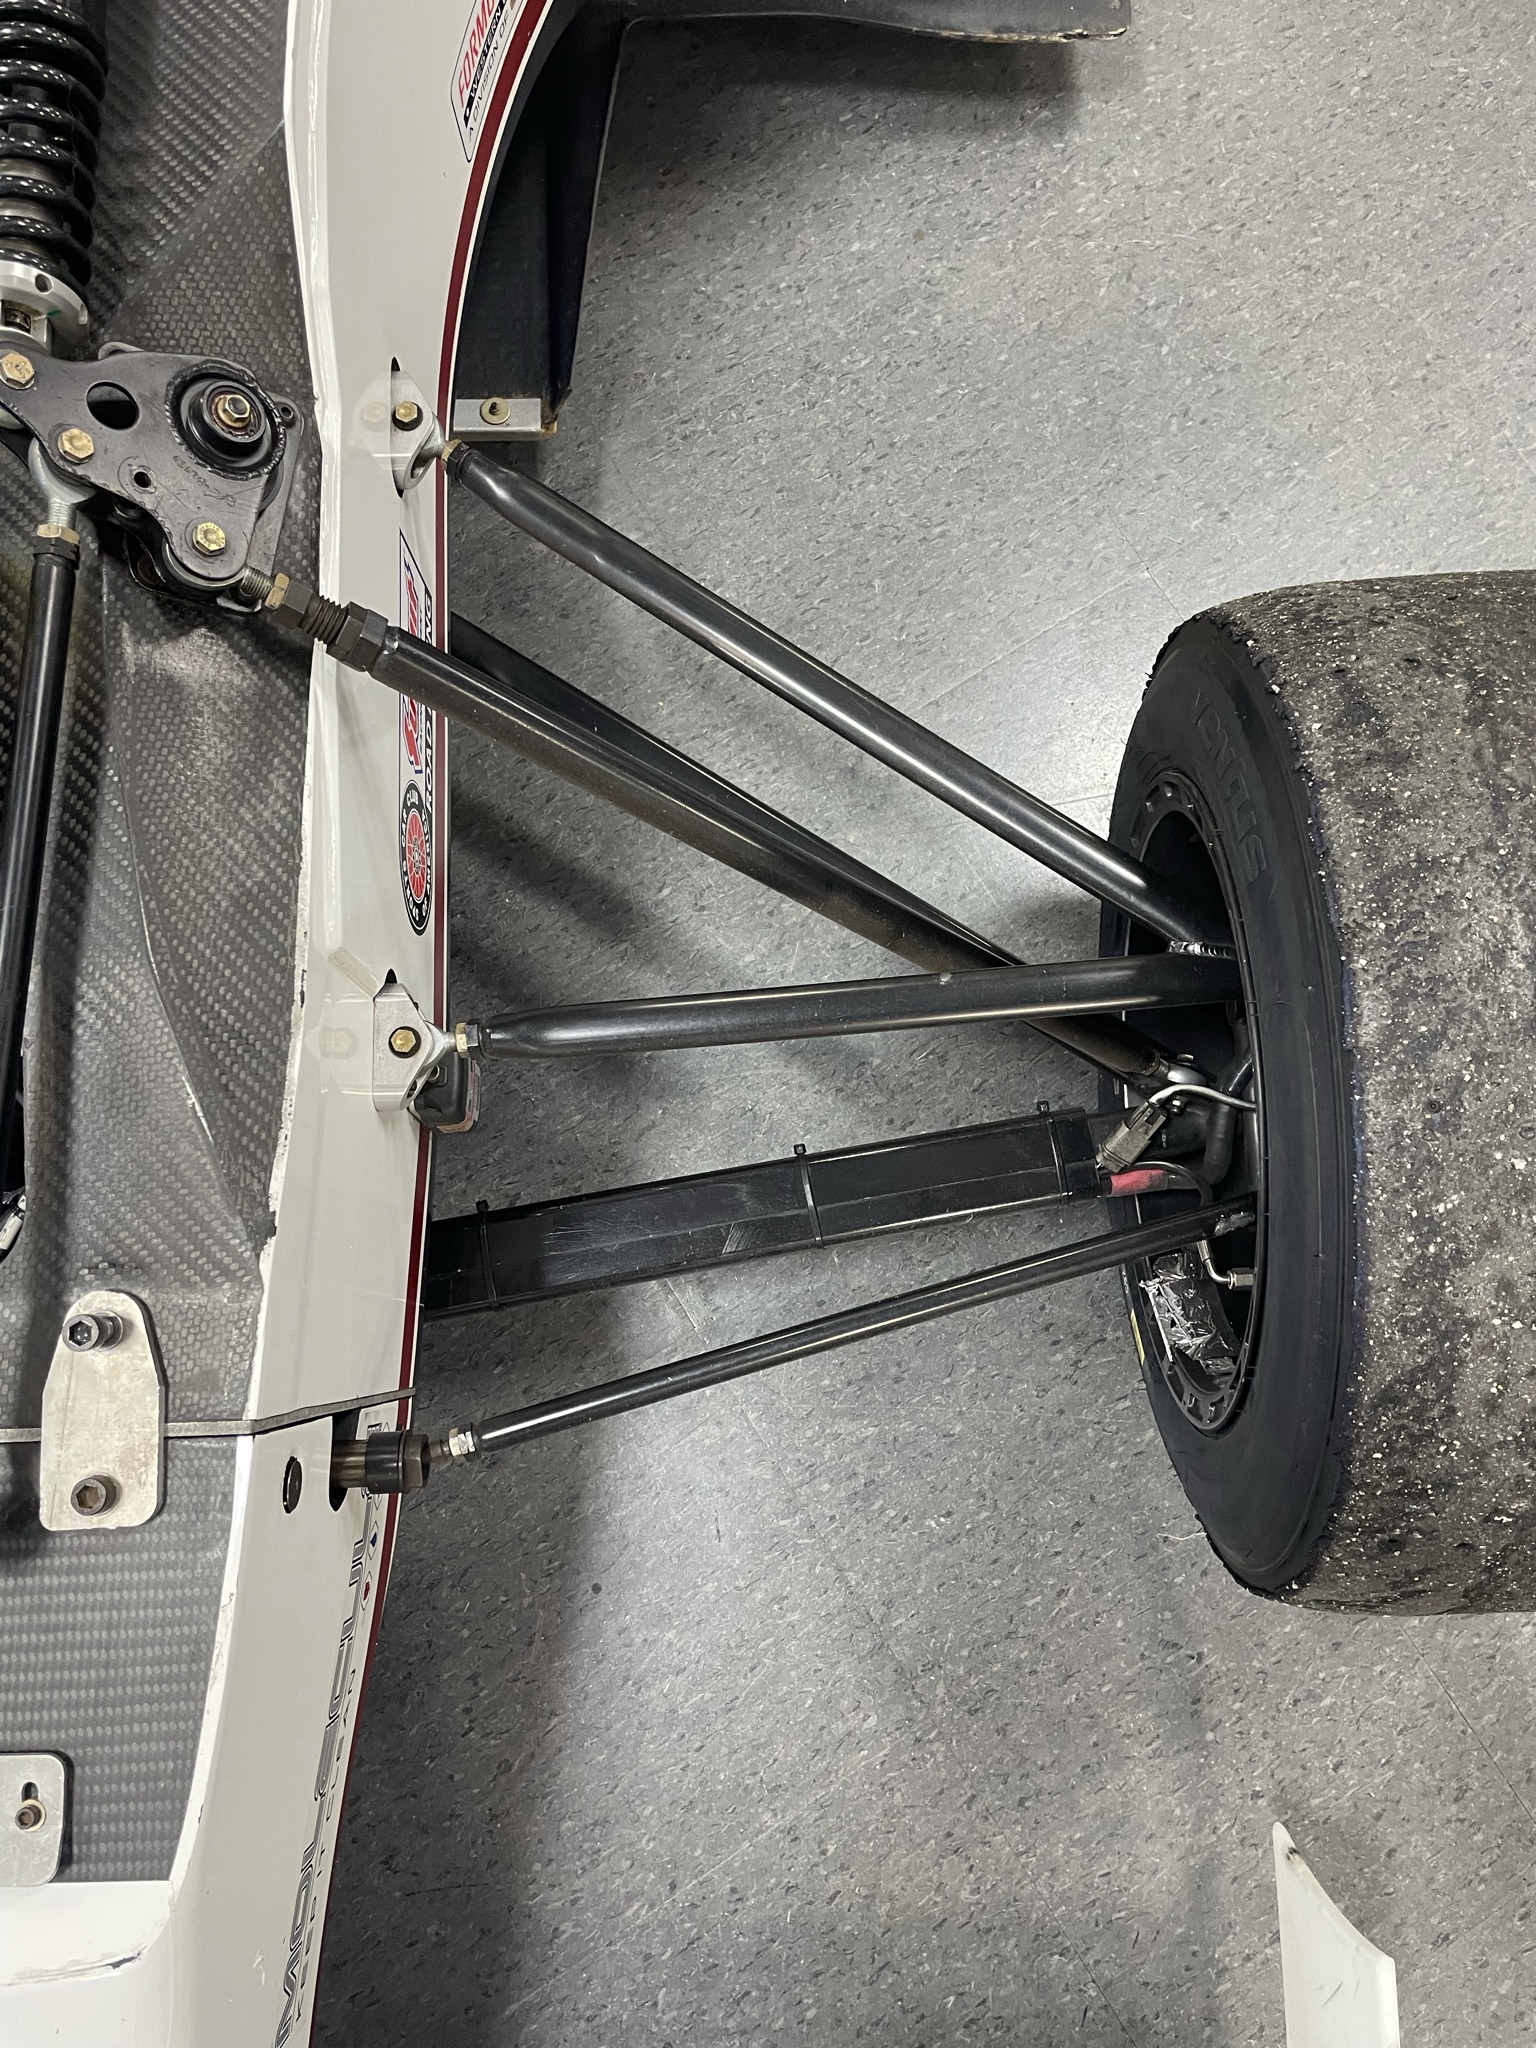
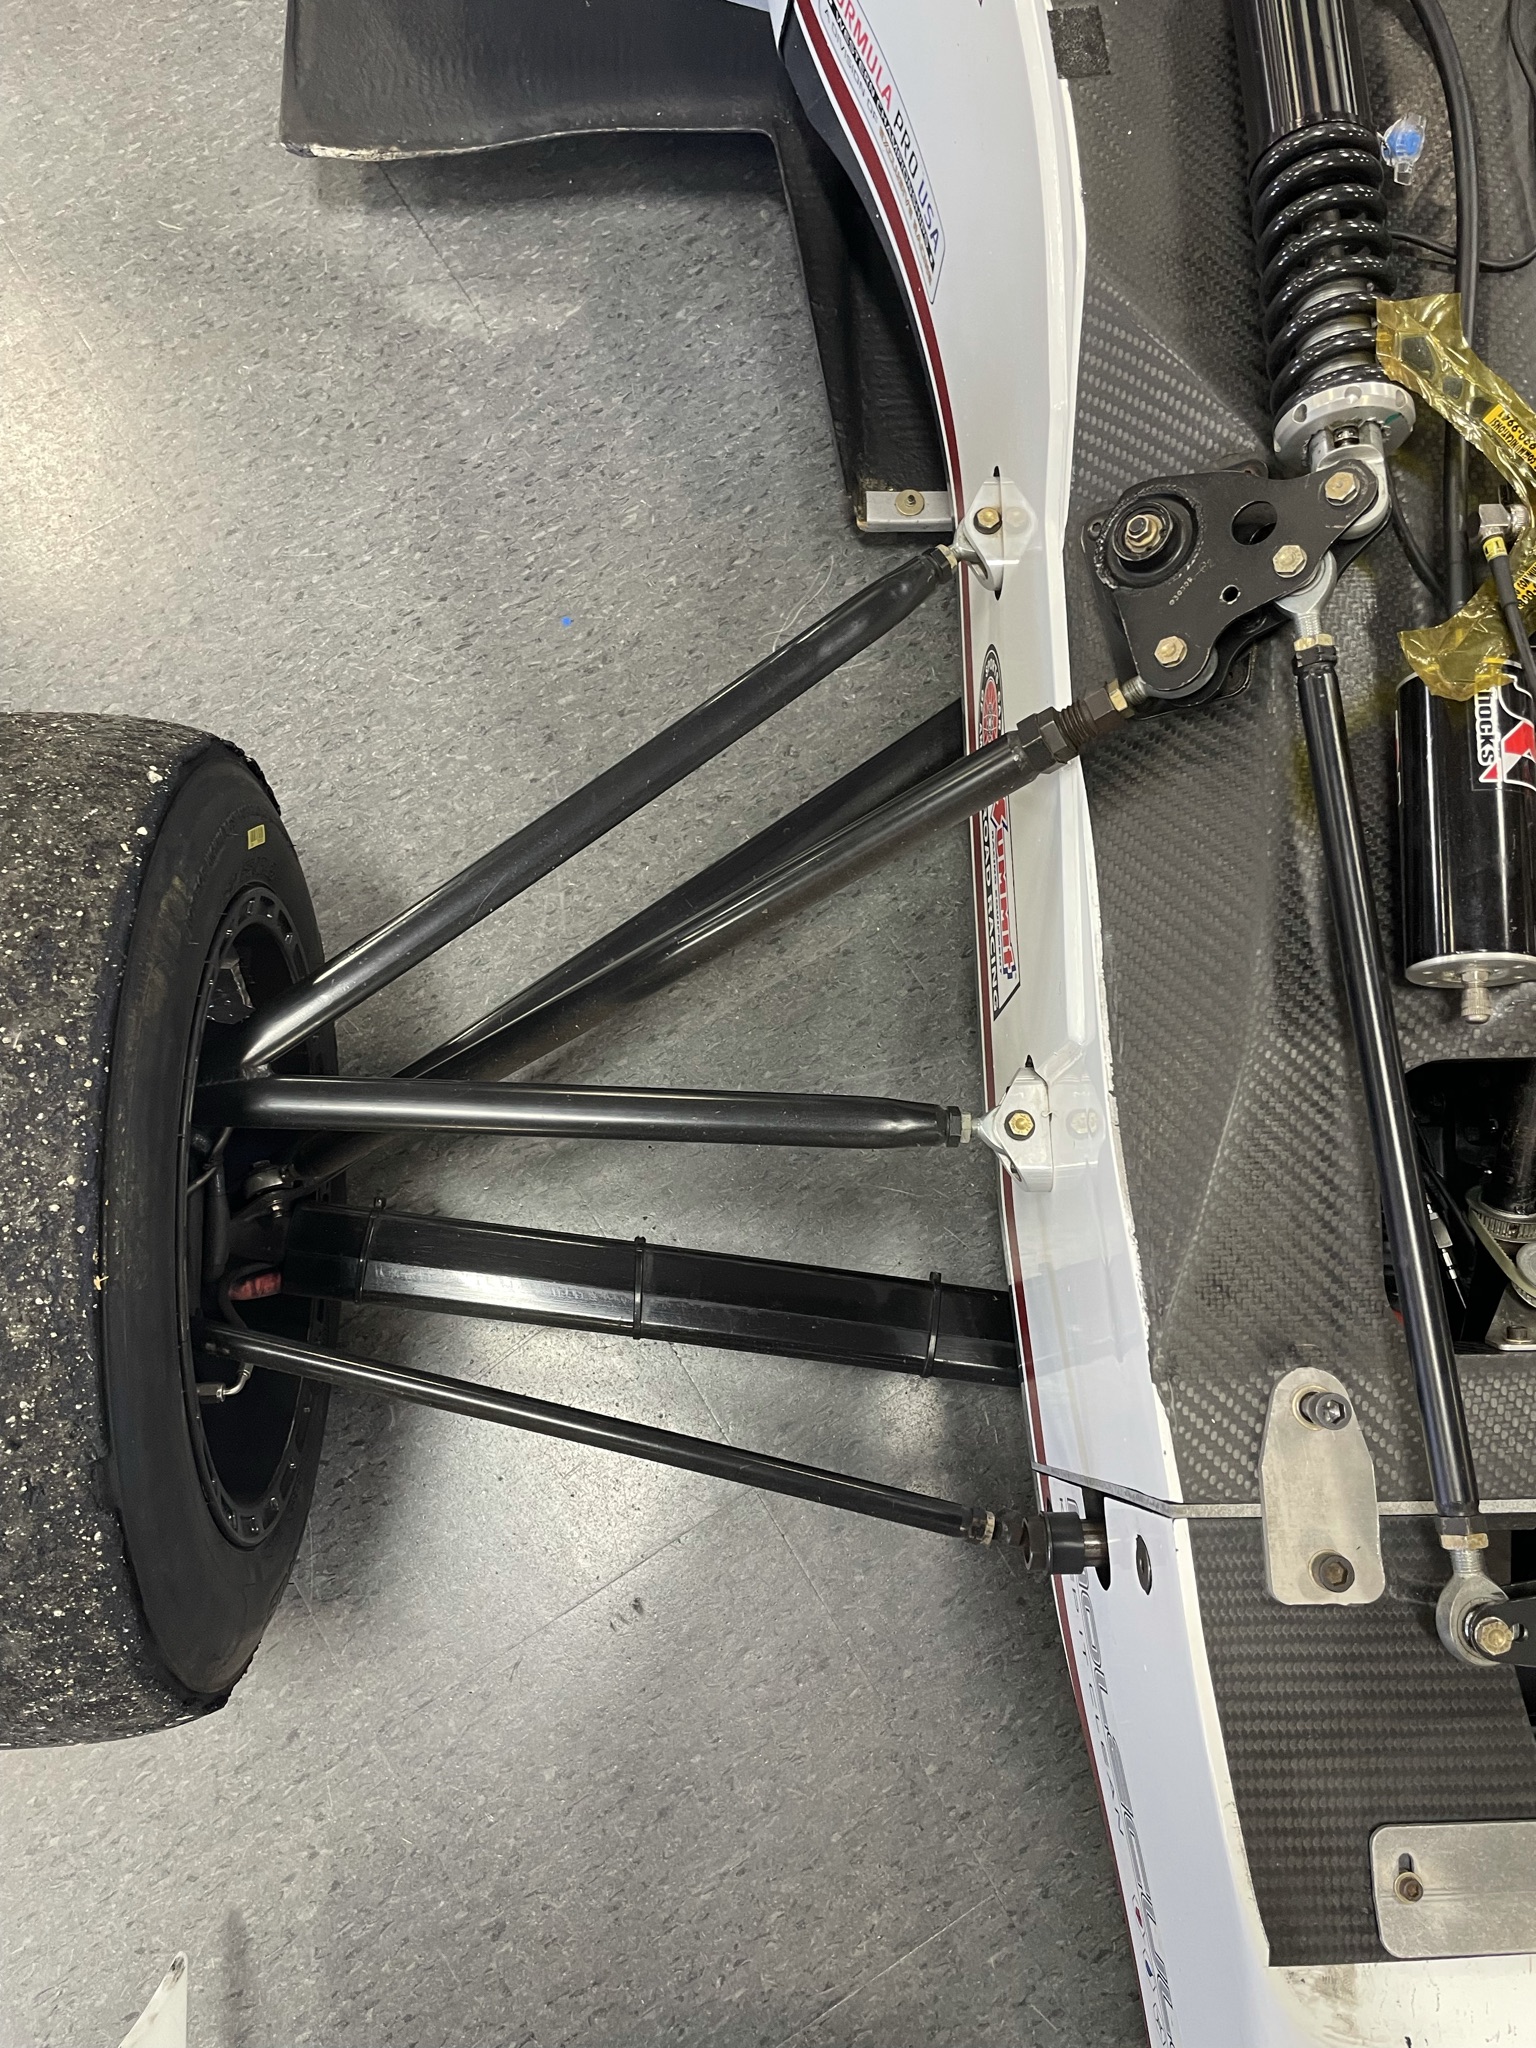
Take photos of the power unit, suspension system and any mechanical parts you can successfully access for the purpose of showing potential Buyers the mechanical aspects and condition of the mechanical systems of the Listing.
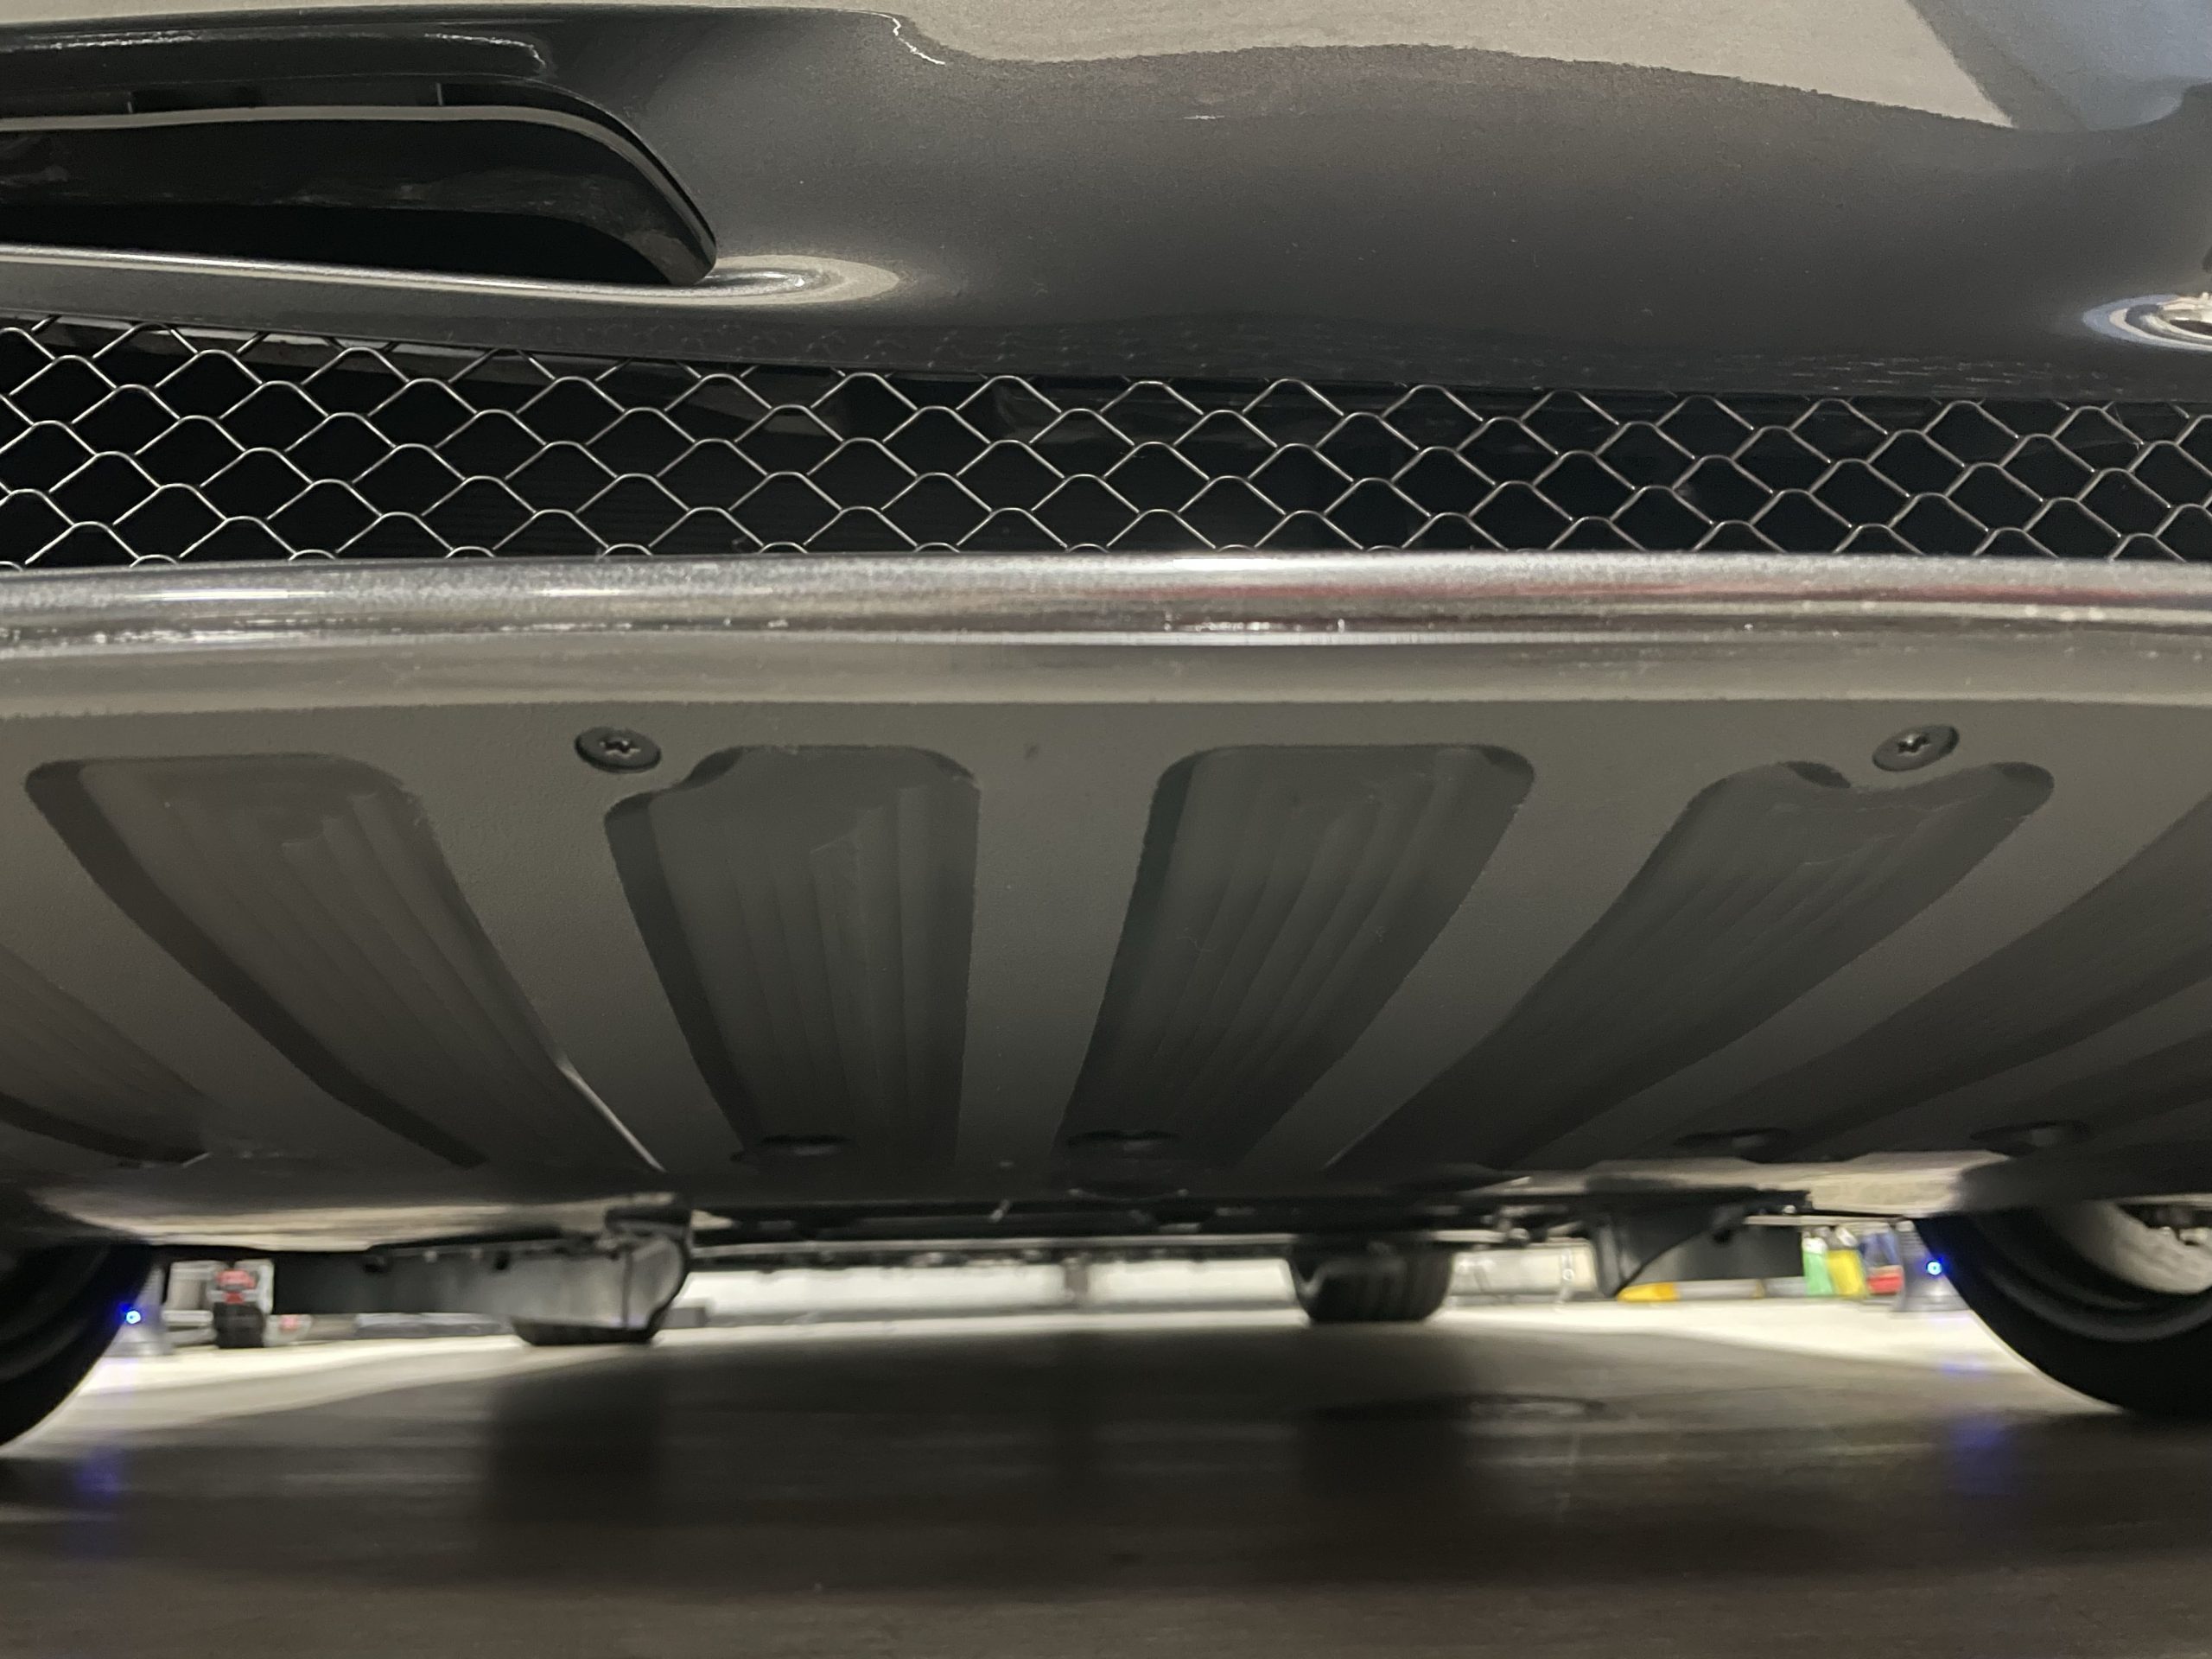
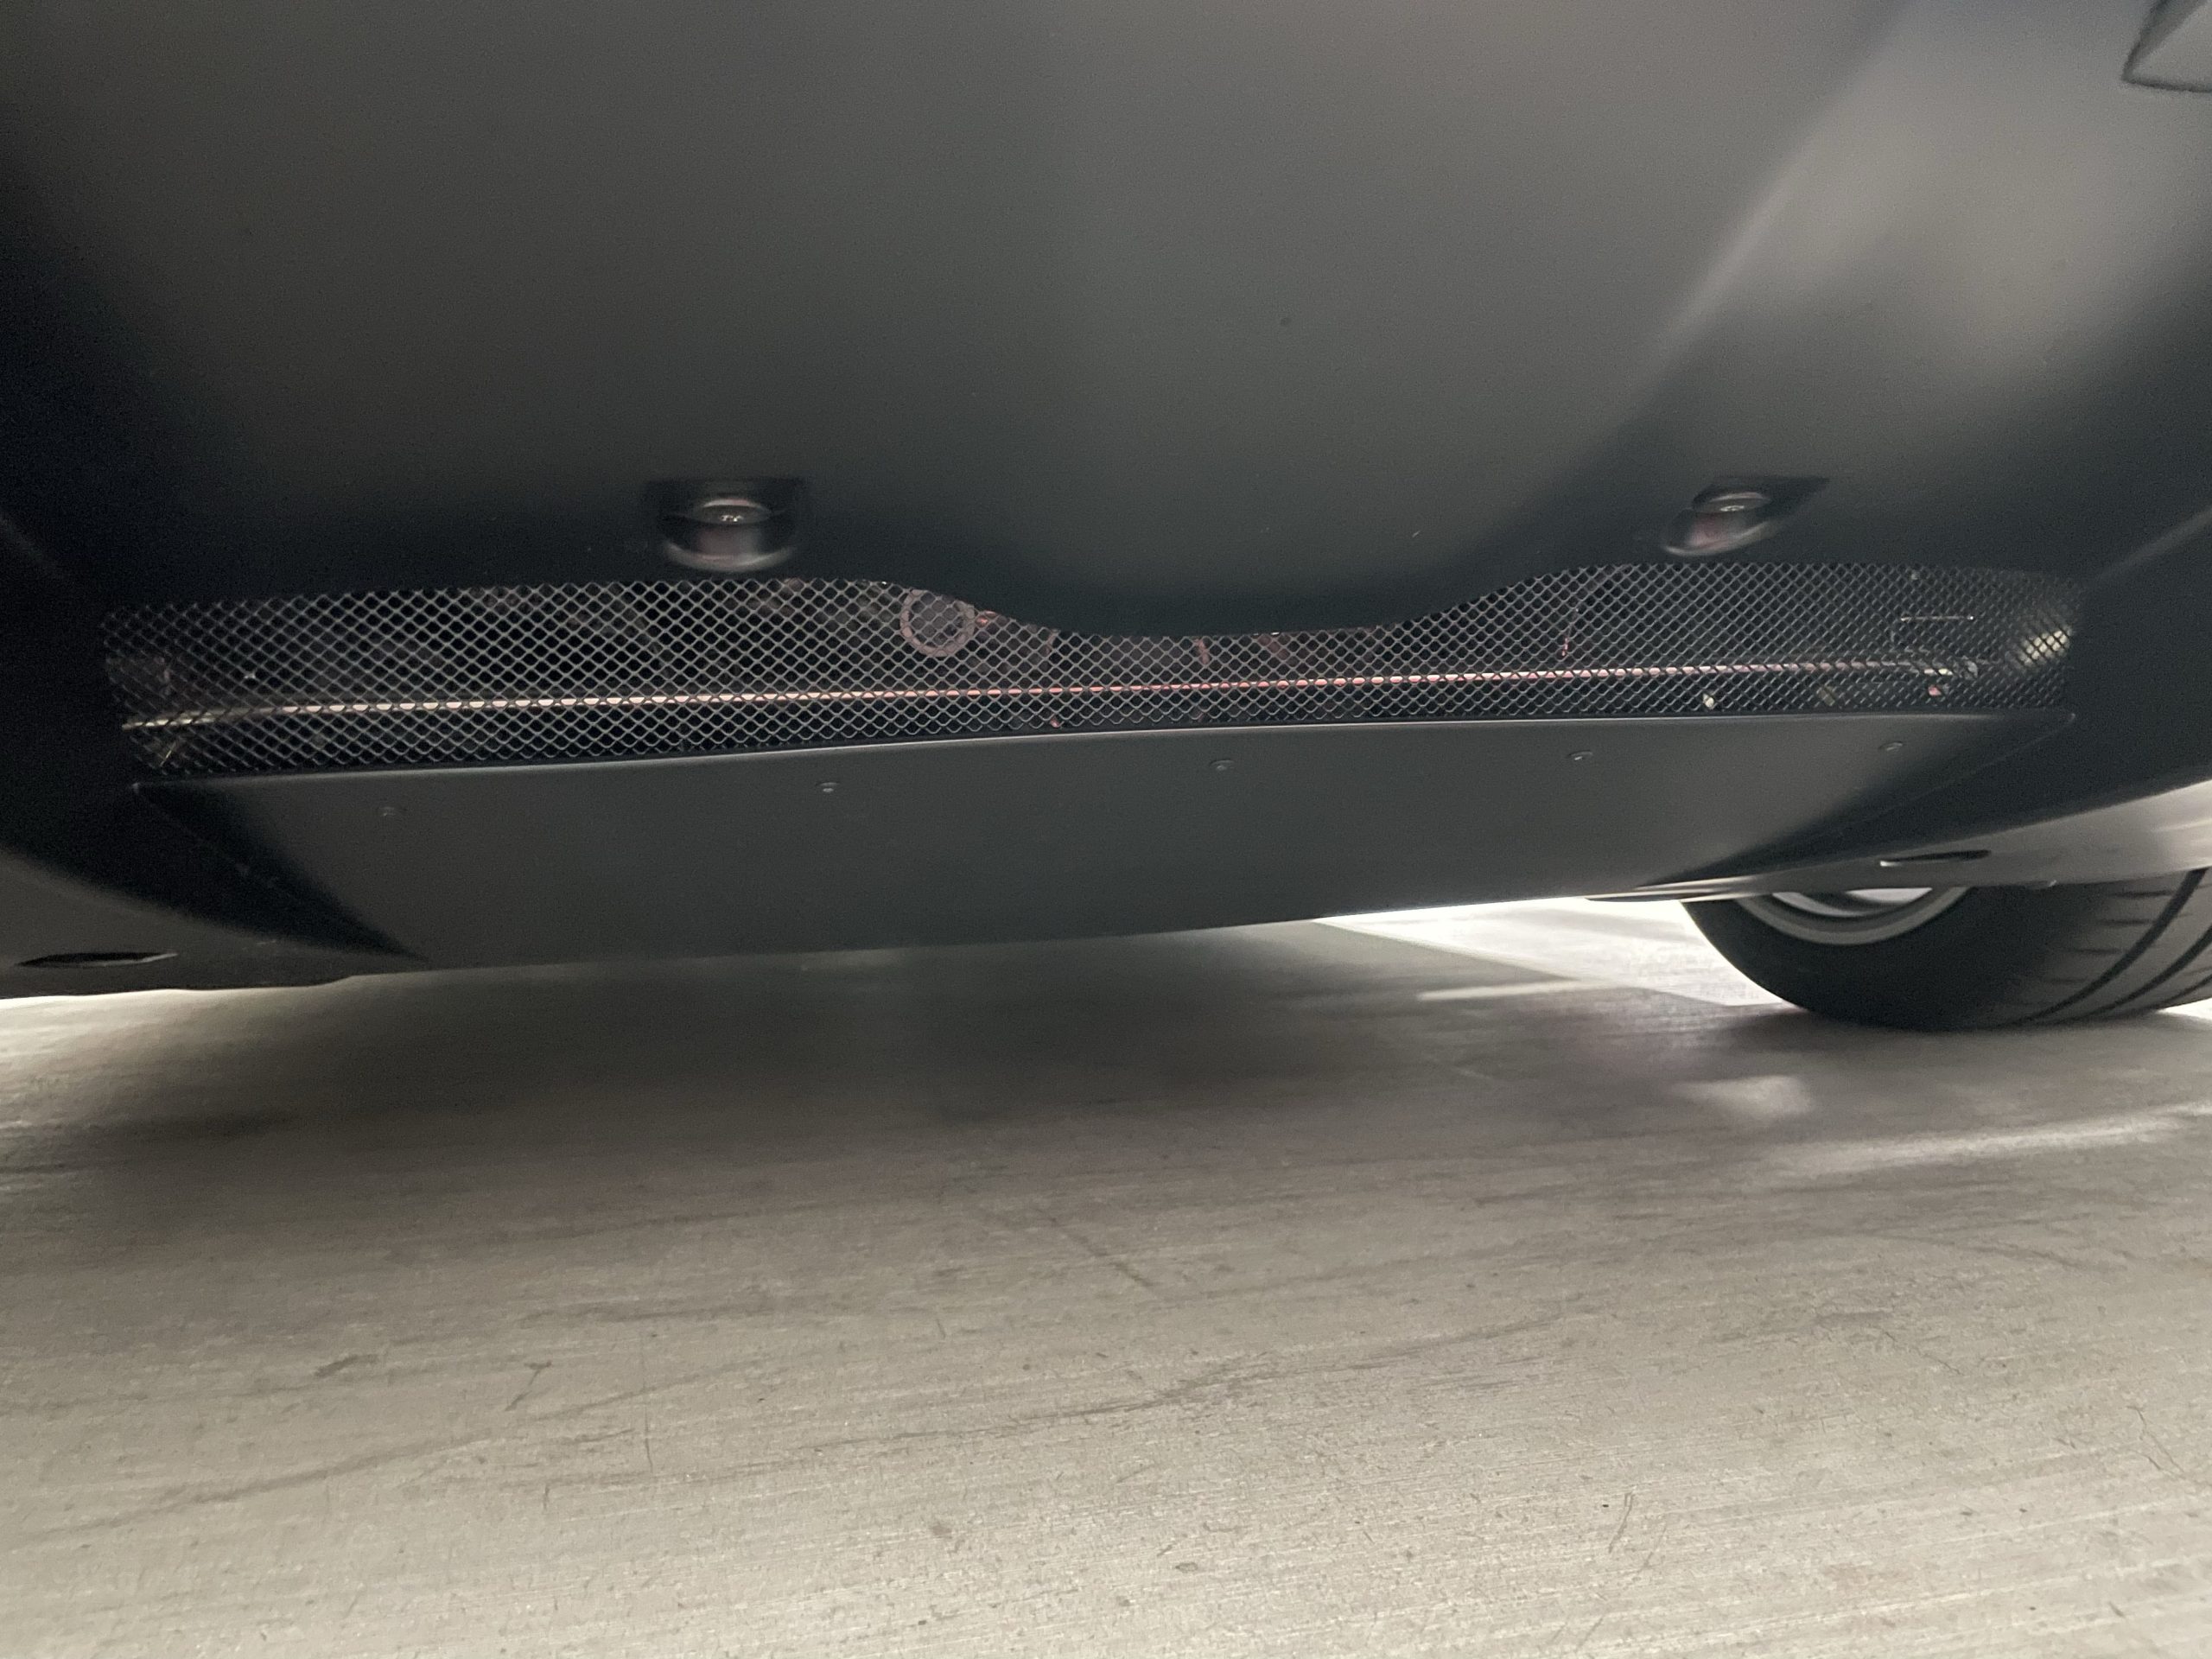
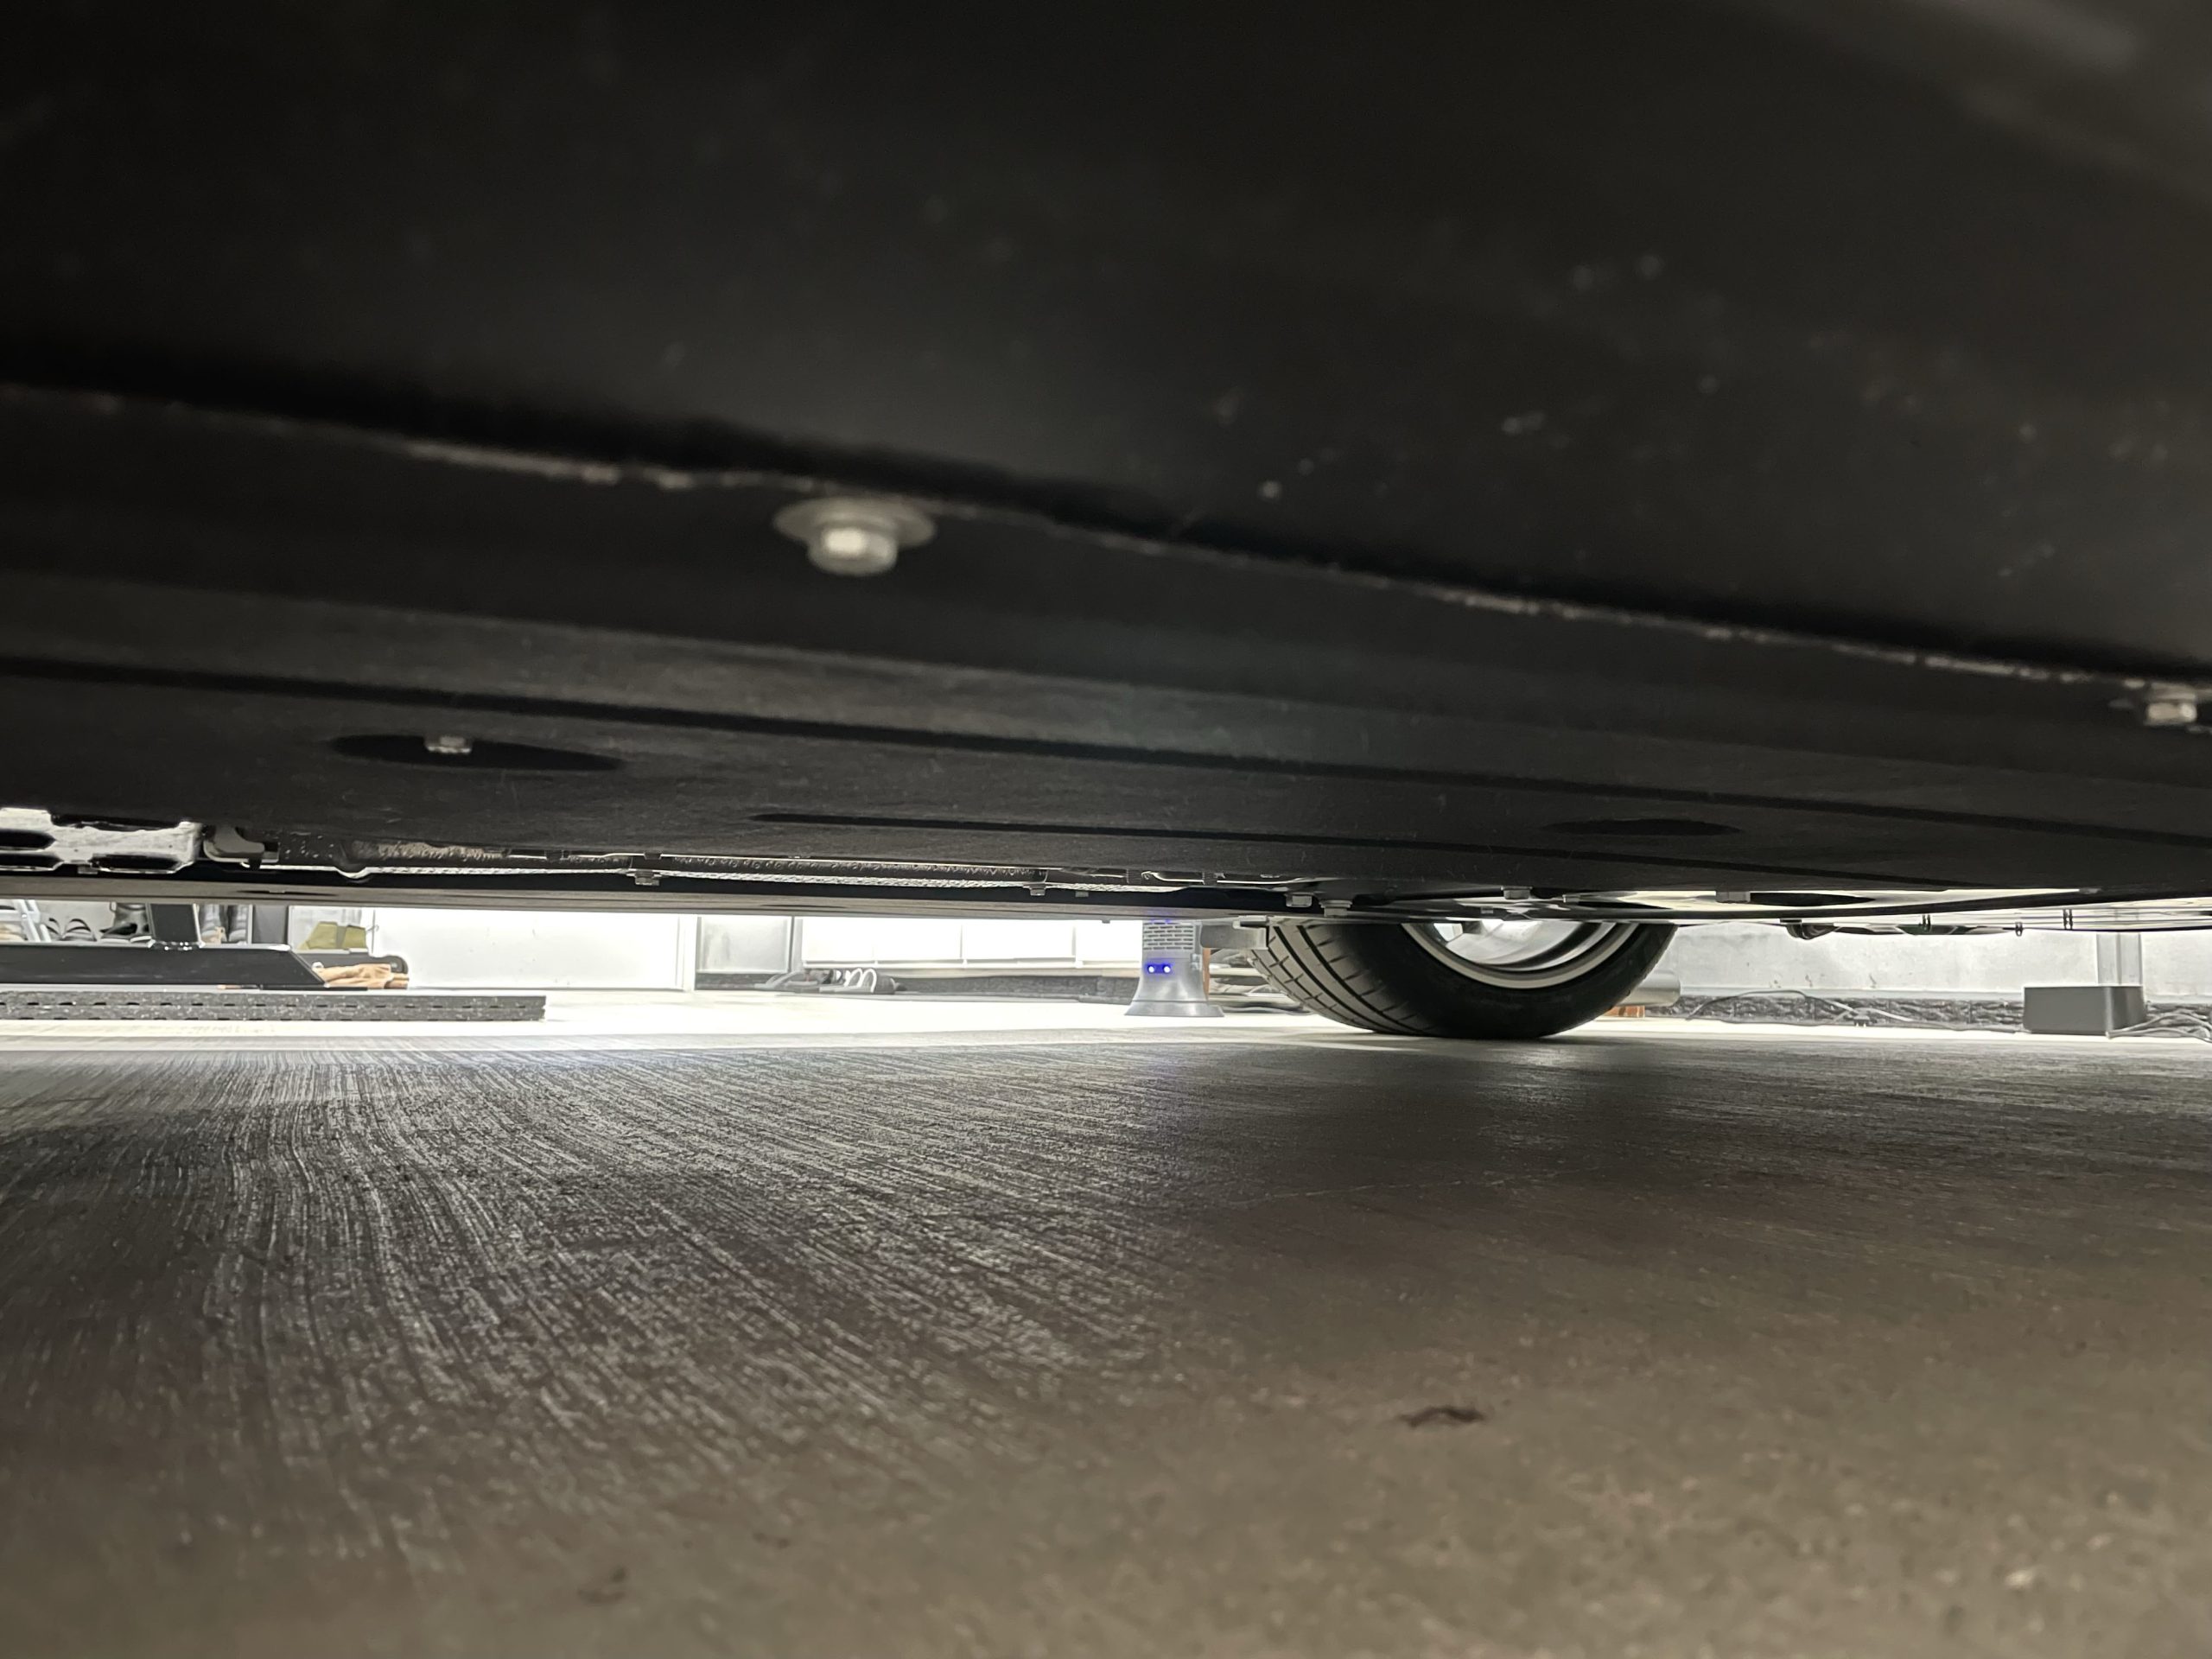
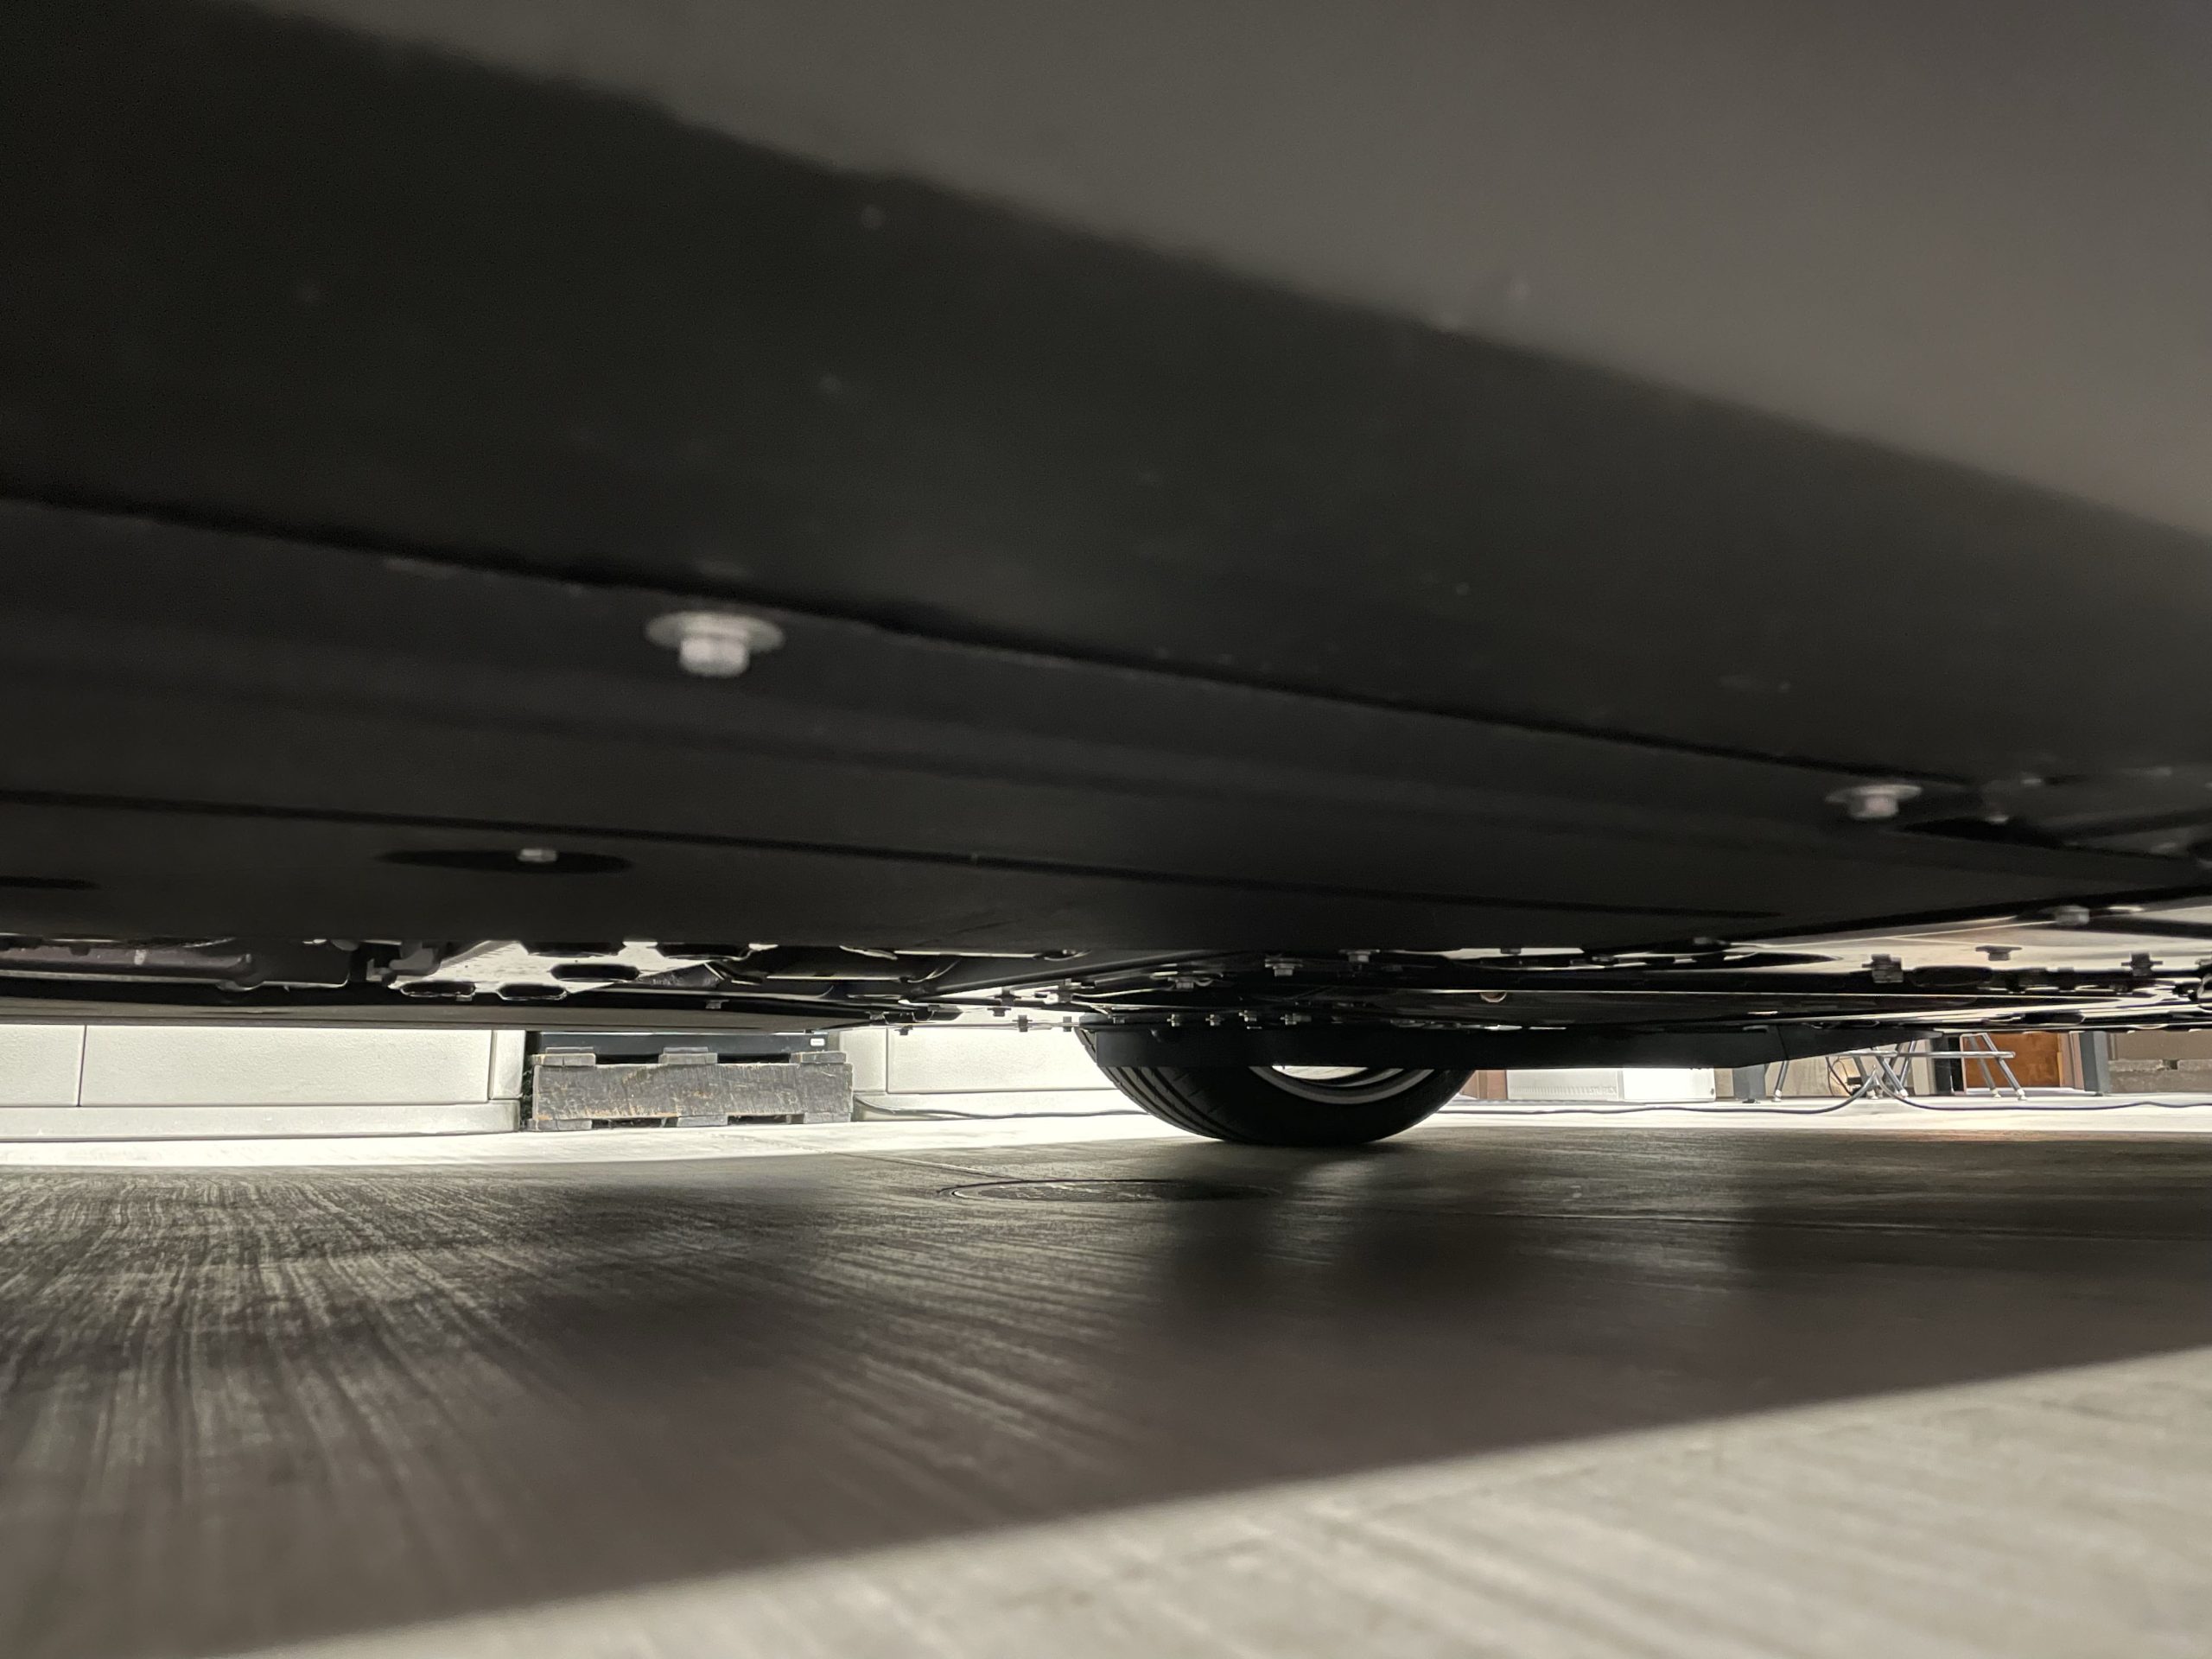
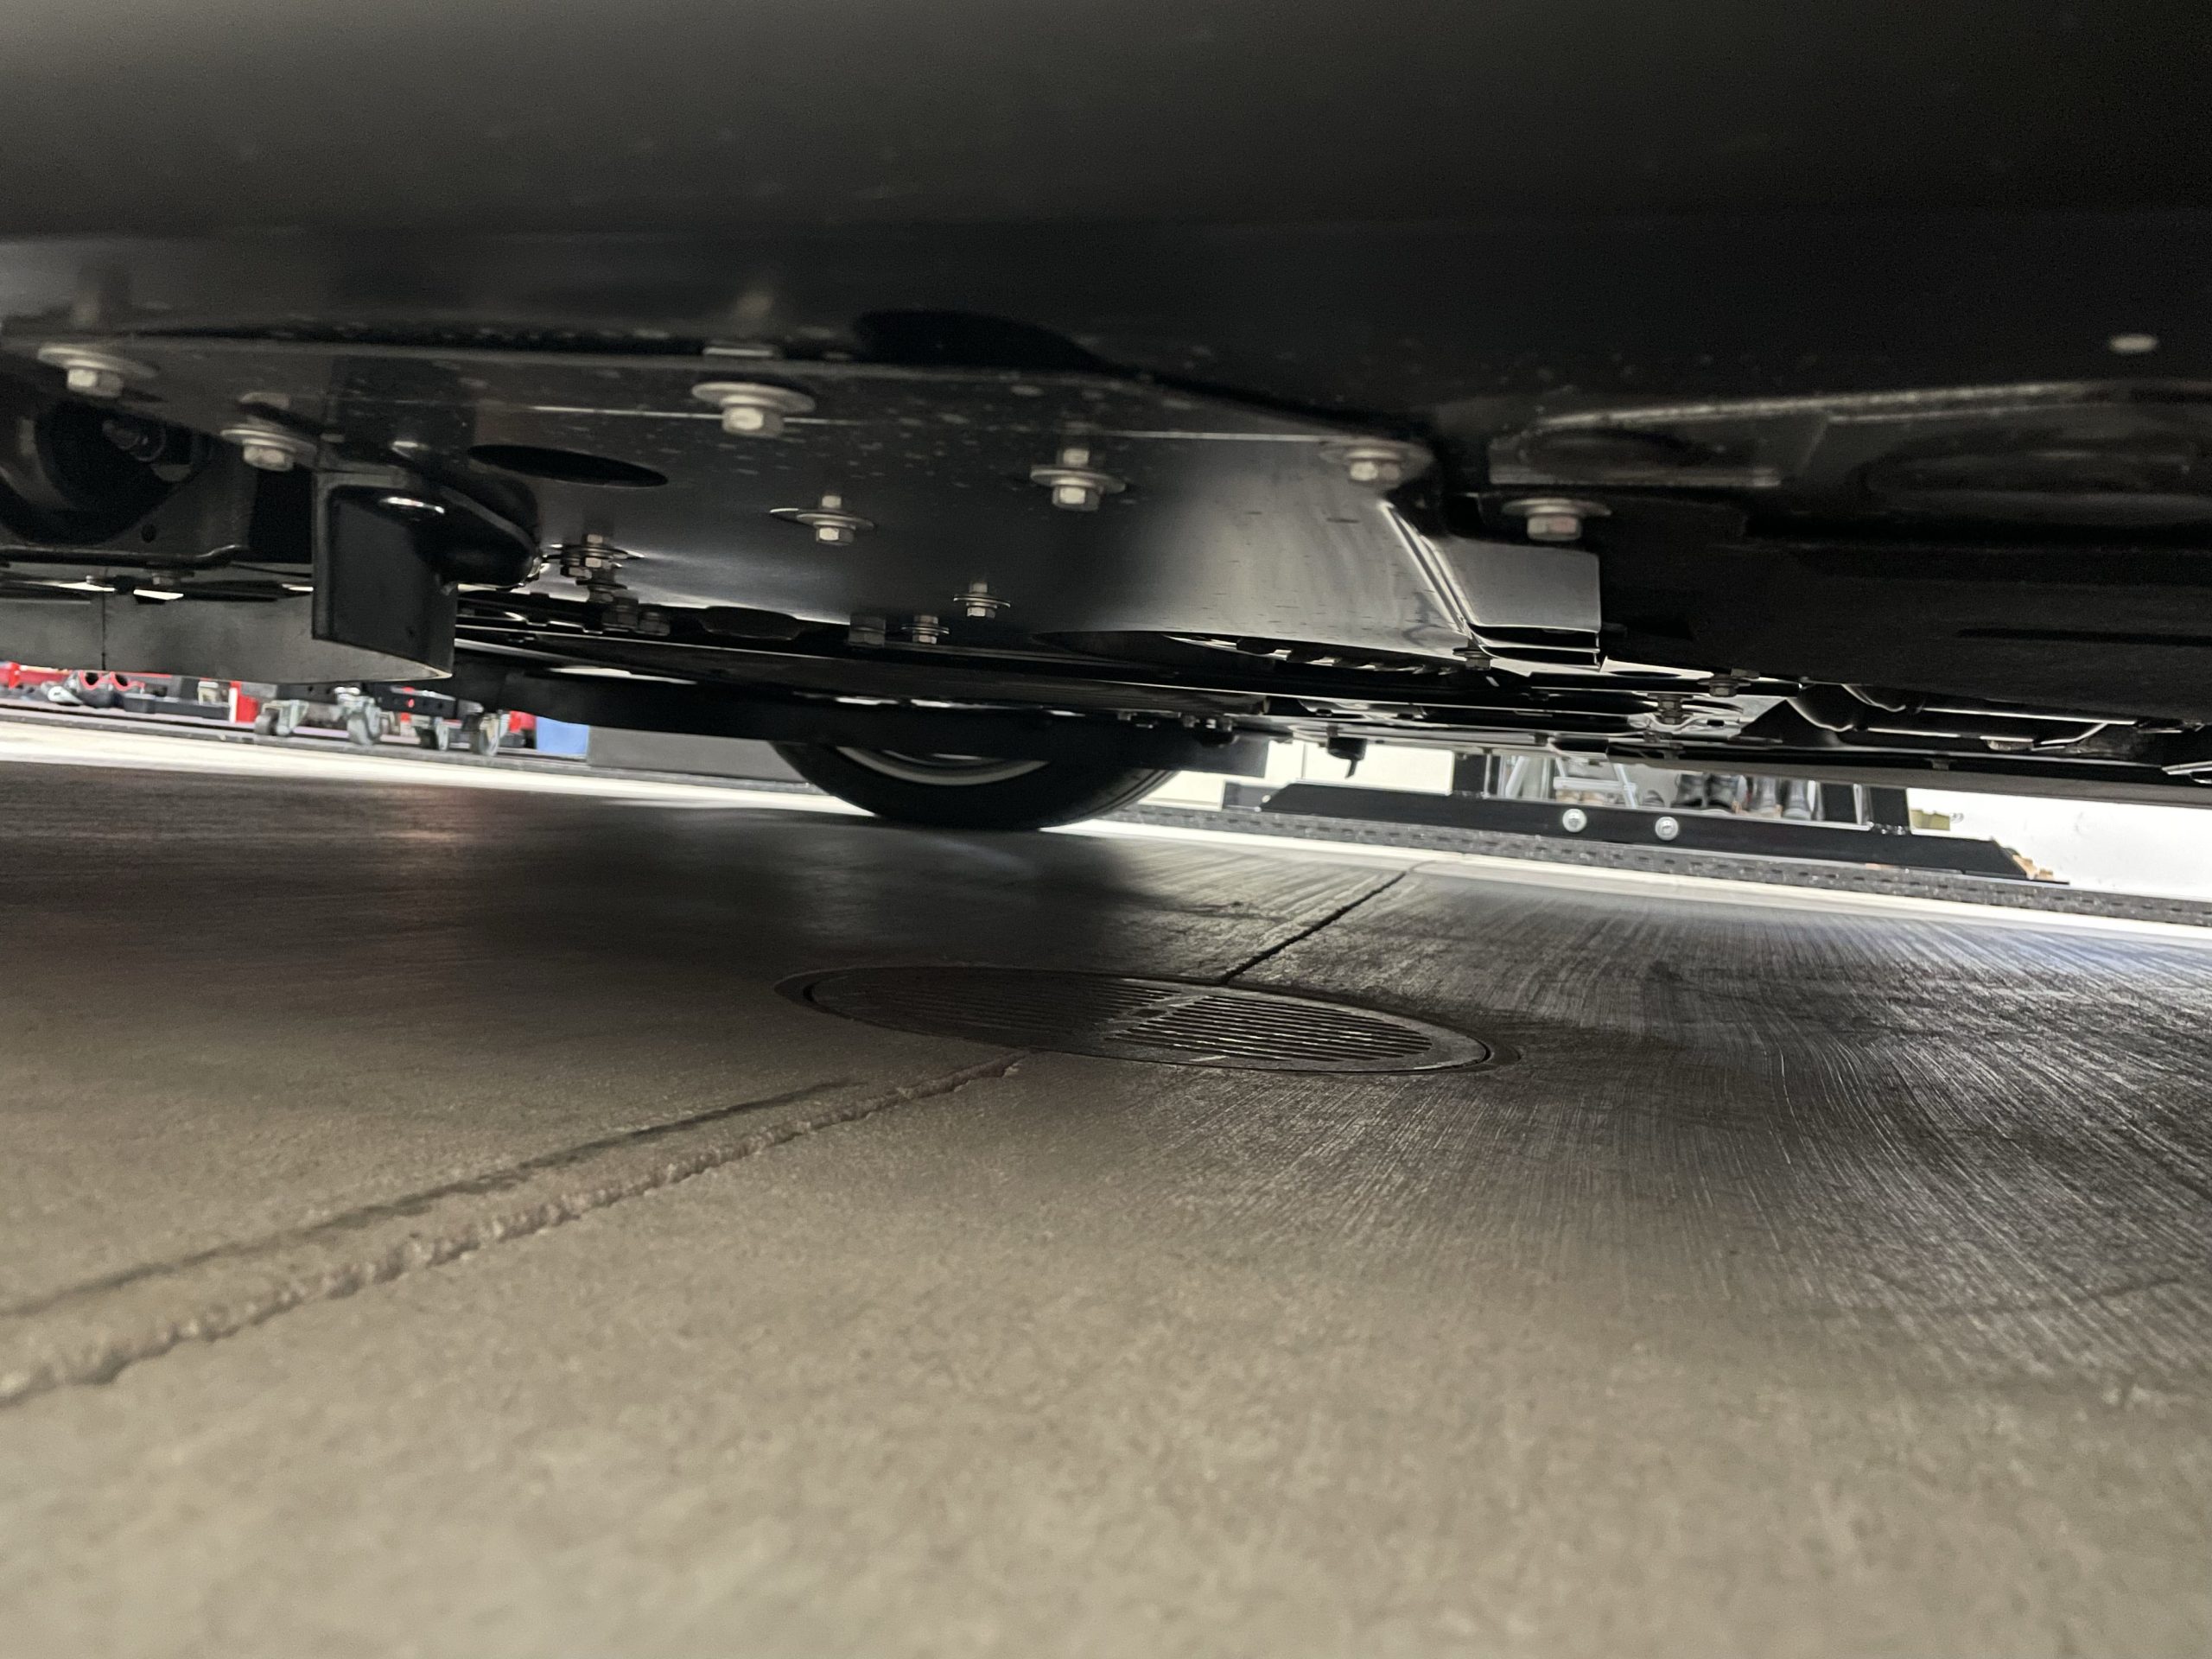
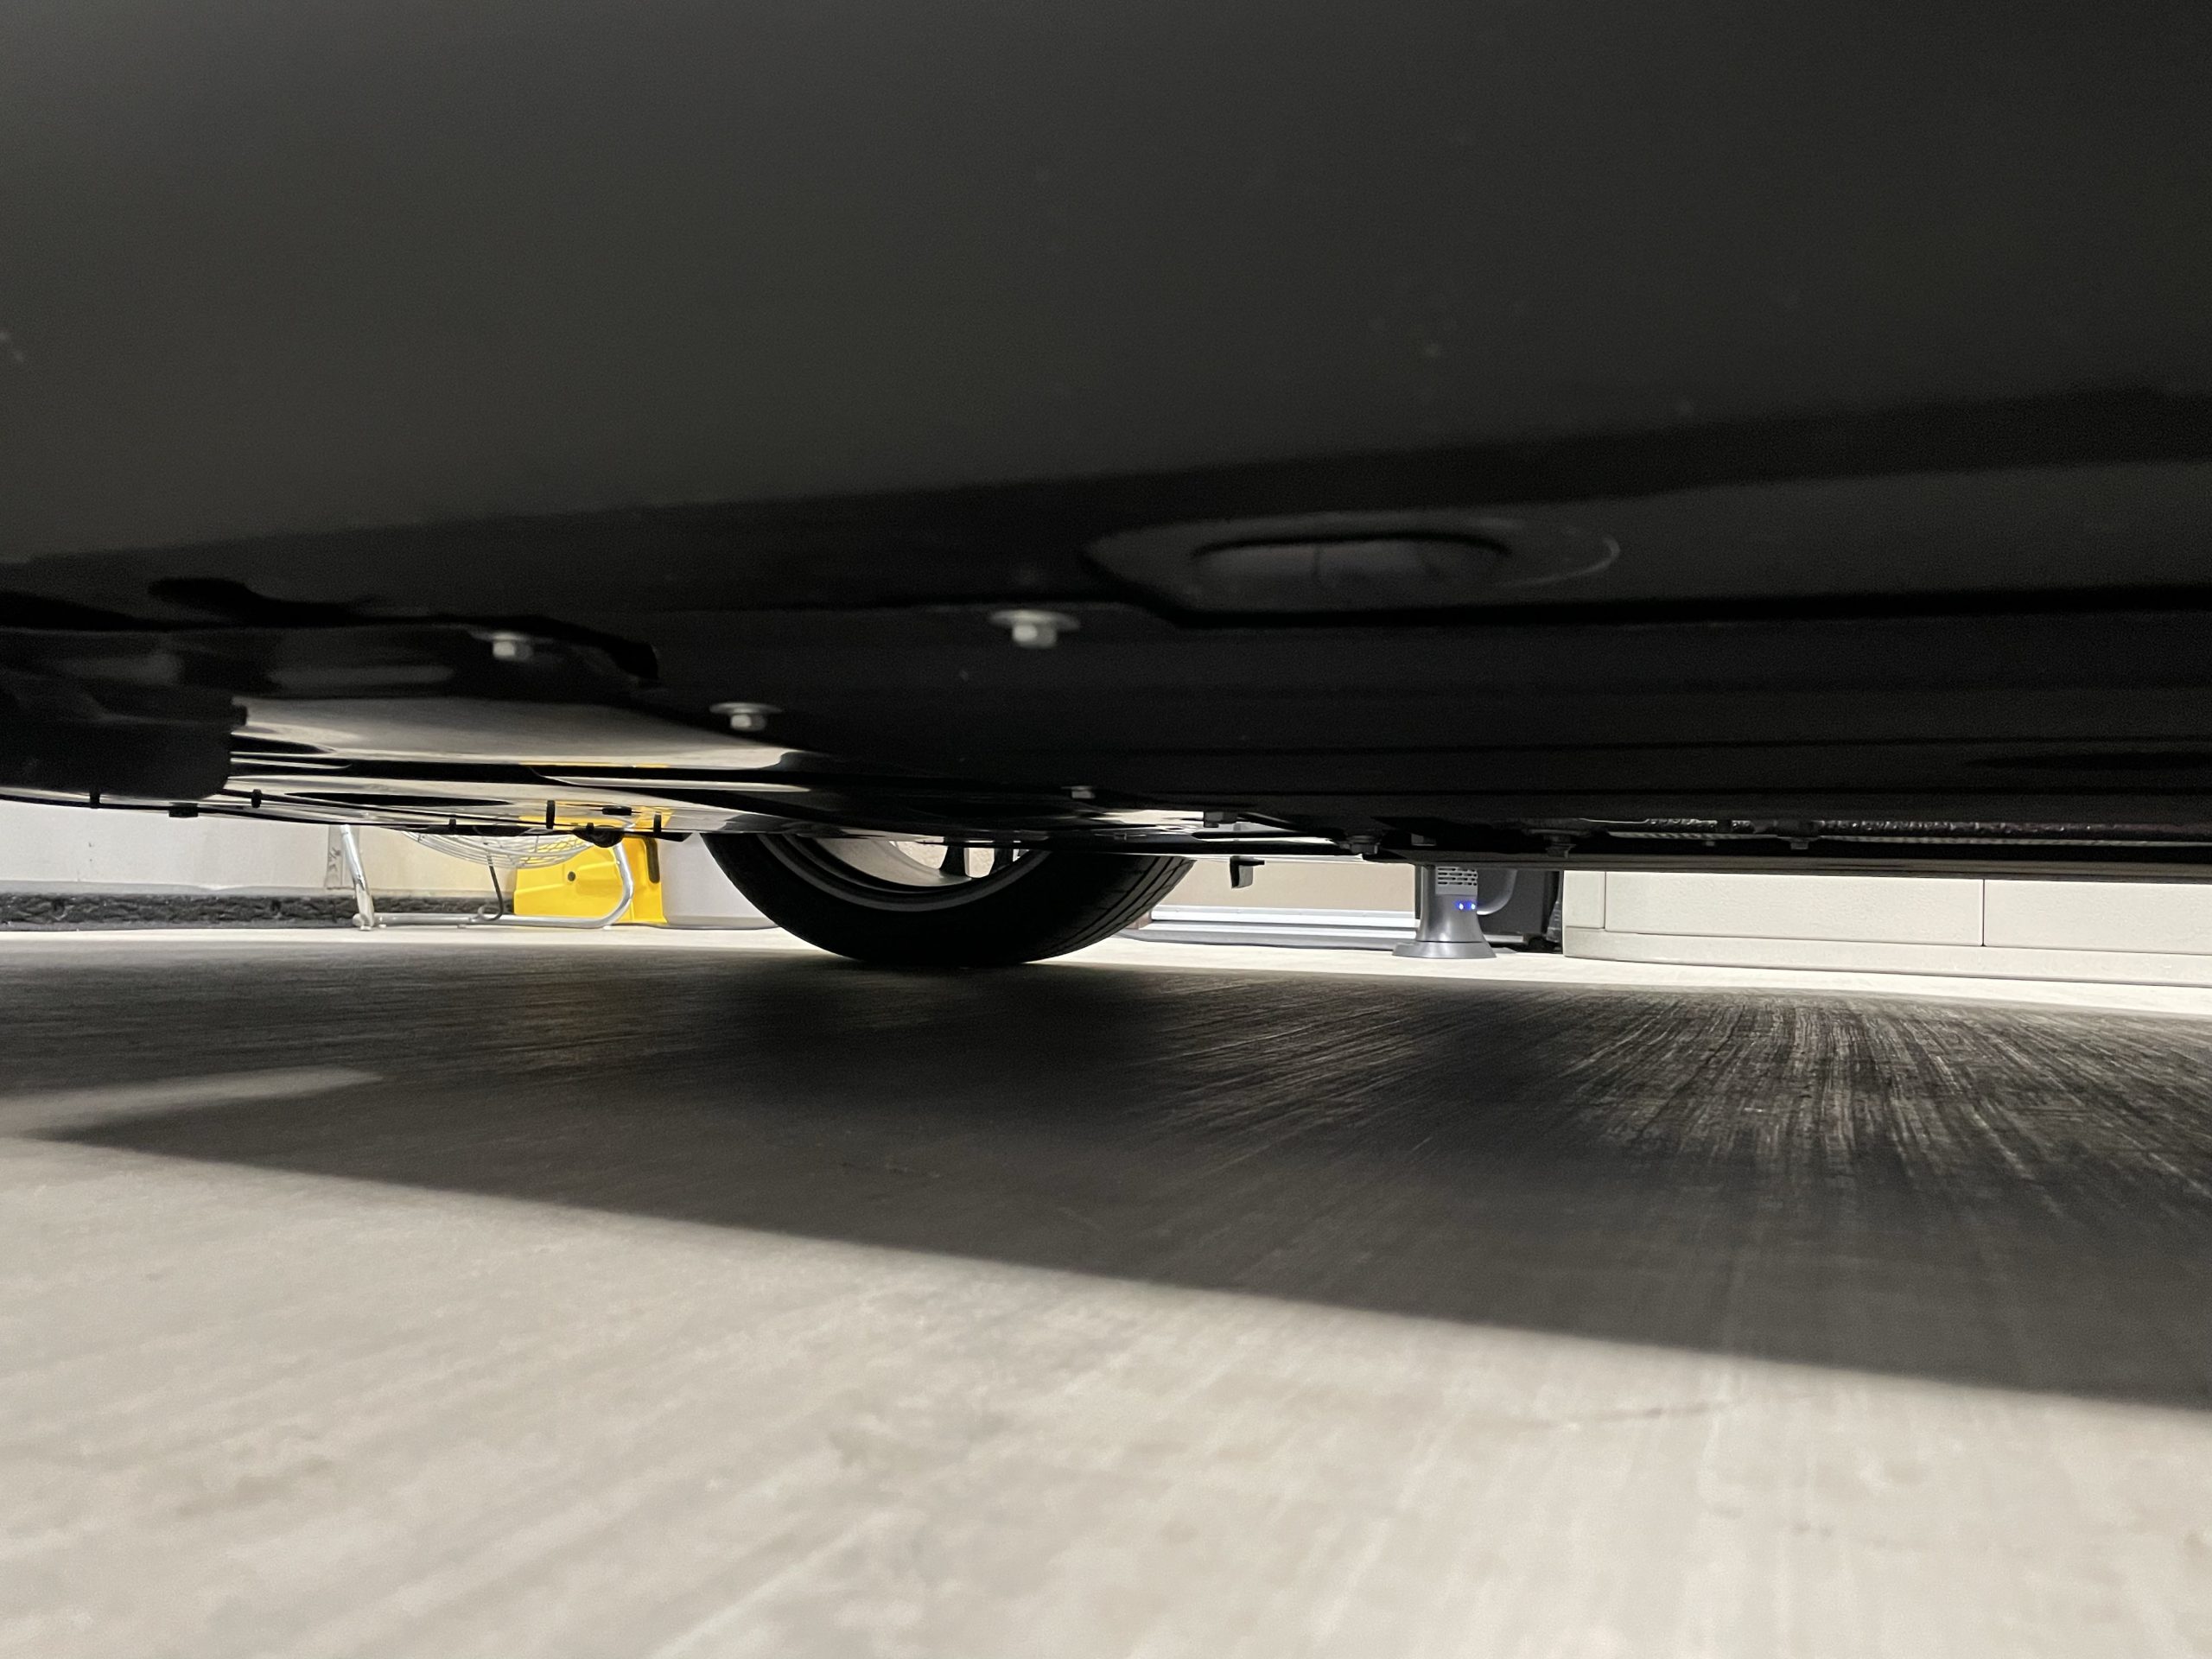
Underbody: Take photos of the vehicle’s underbody from each side and from beneath the front and rear bumpers. If you don’t have access to a lift and the vehicle is parked on the ground, use a flash for additional lighting. If you’re having difficulty getting a good shot from the ground, consider using a camera stick to extend your reach.
Damage
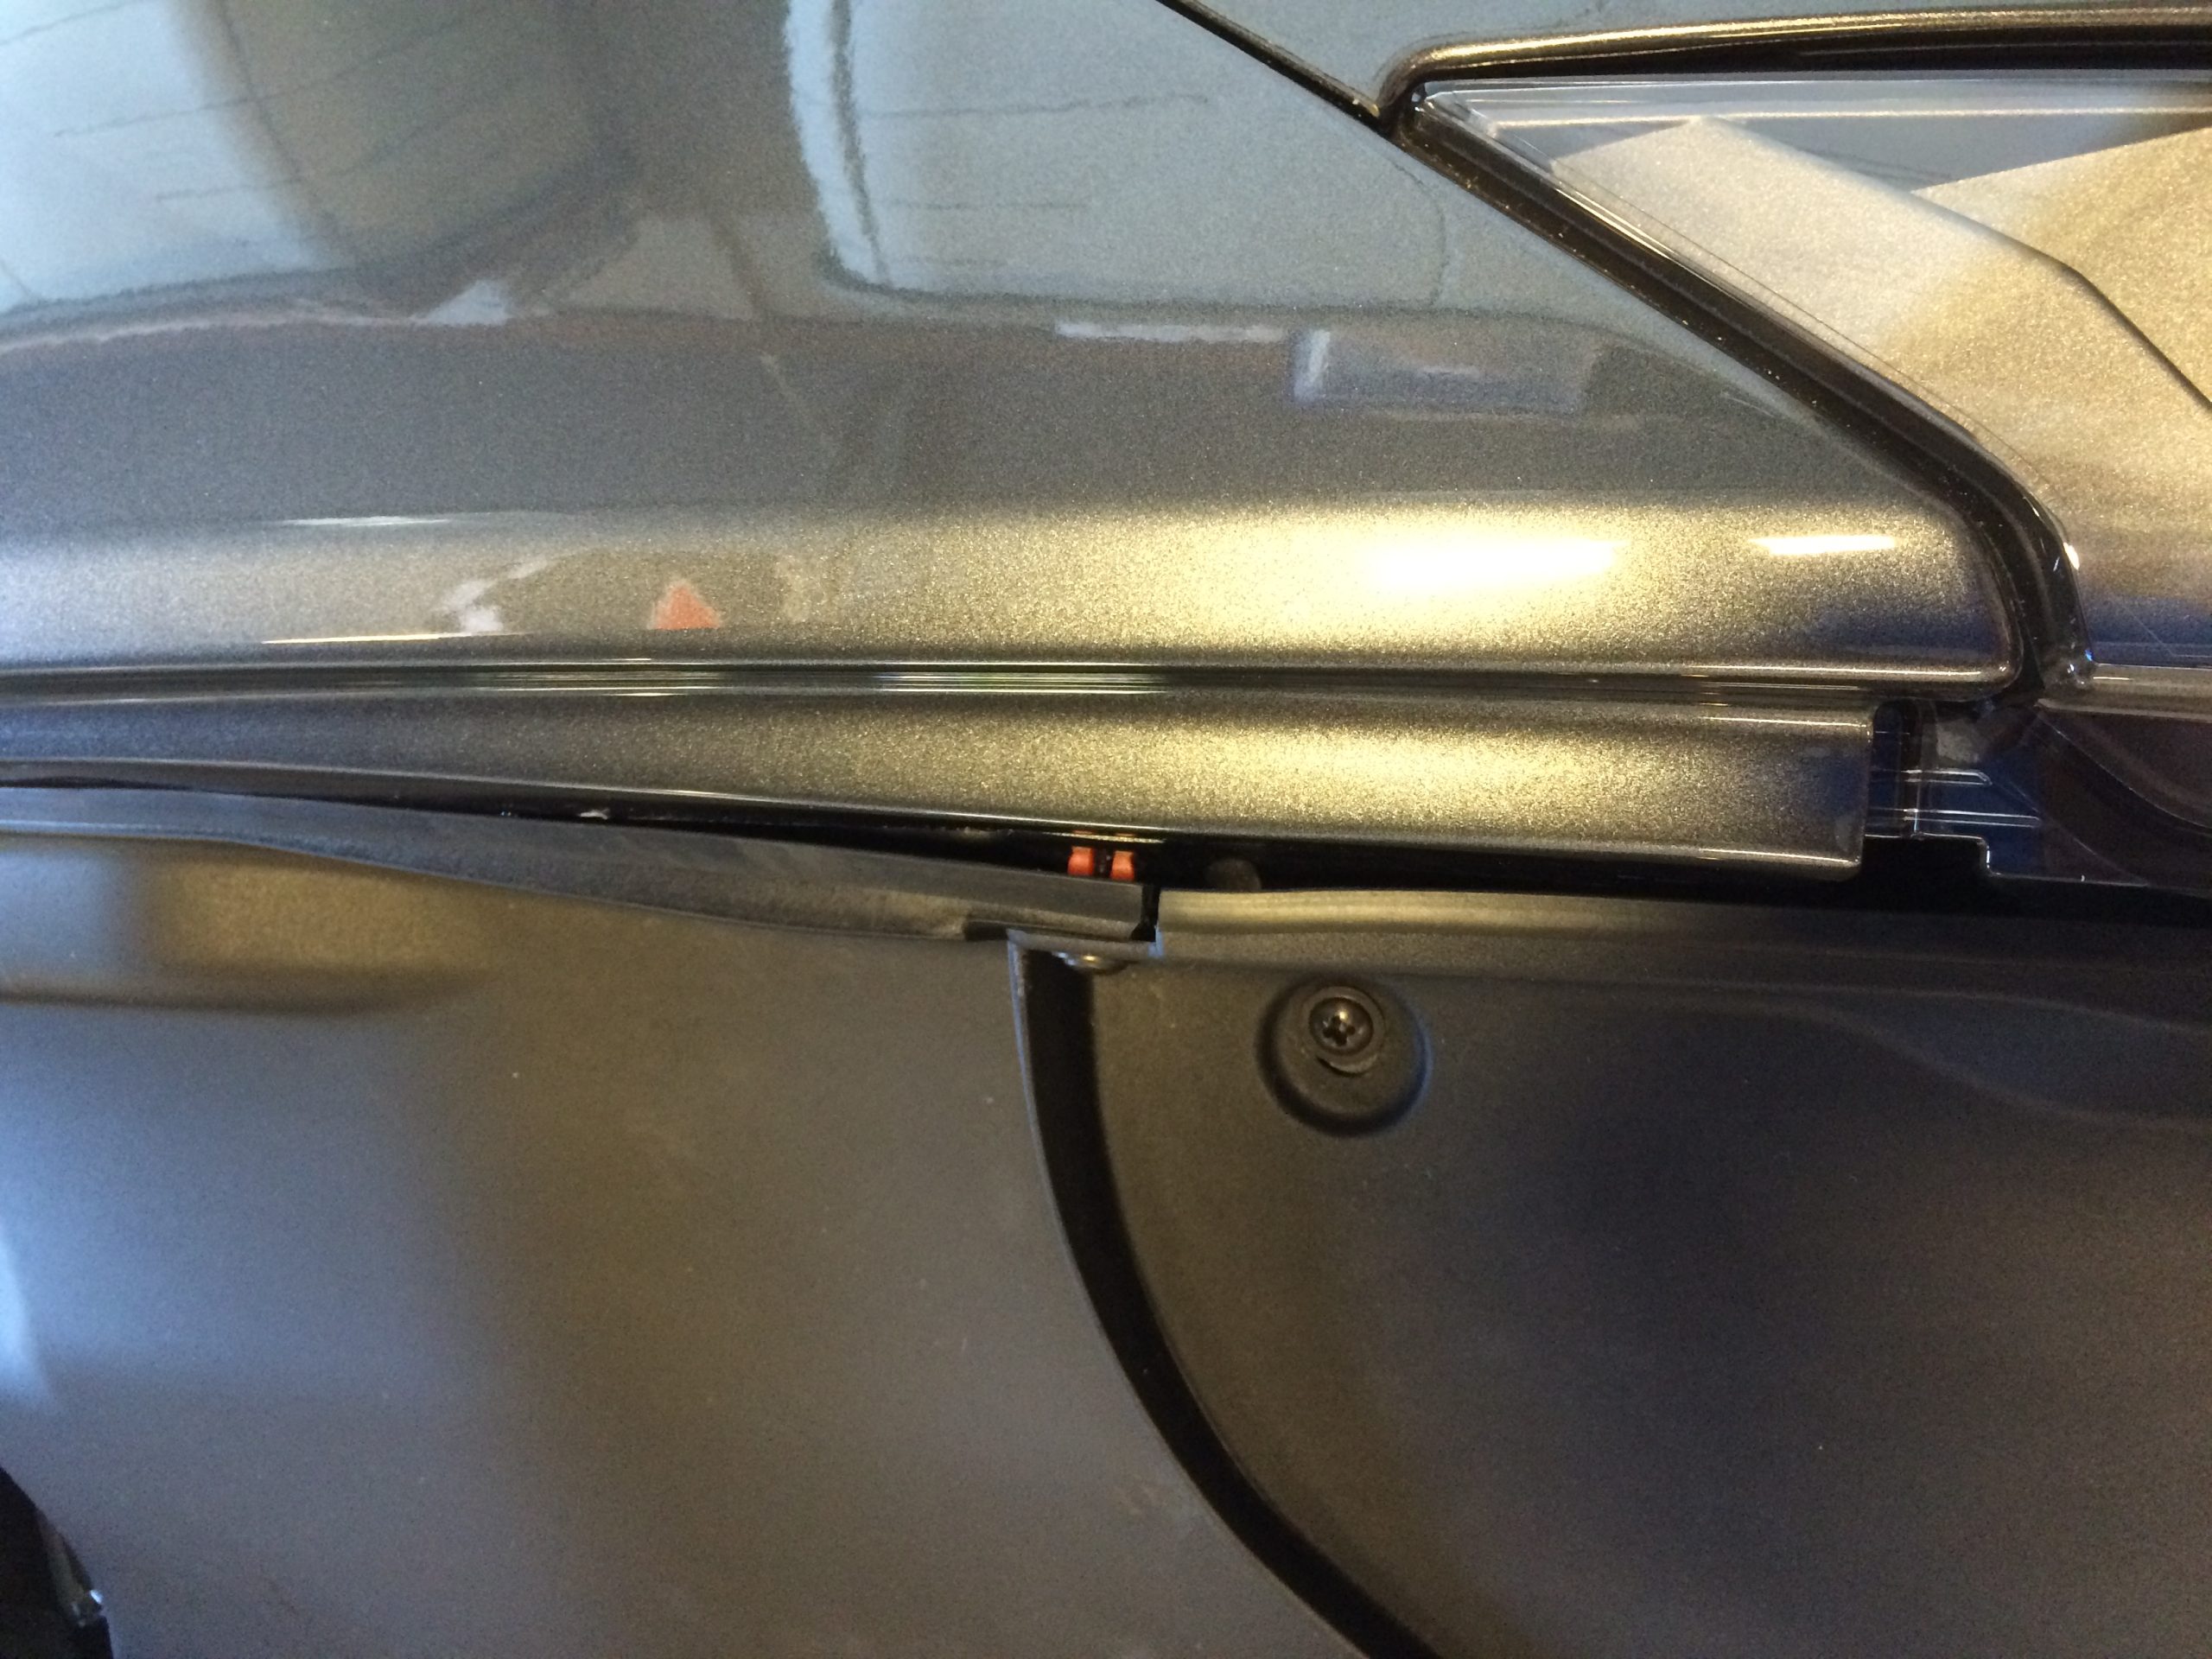
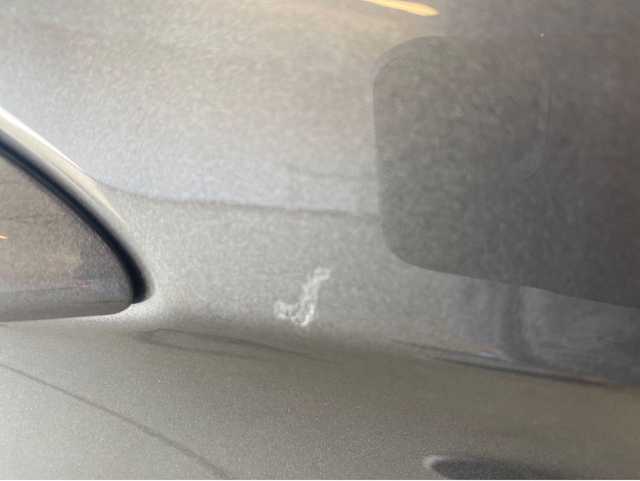
If your vehicle has noticeable flaws like scratches, dings and paint issues, take close-up photos for reference. It is a good idea to give bidders perspective by placing a ruler, pen, finger or hand next to the flaw.
Documents
Ensure proper lighting and camera orientation when taking photos of documents such as the PPI reports, CARFAX report, registration or proof of ownership. Avoid glare and ensure that the text is readable.
A free app like PhotoScanner available for both Apple and Android can easily take a clear photo of any document and automatically crop it too.
Miscellaneous
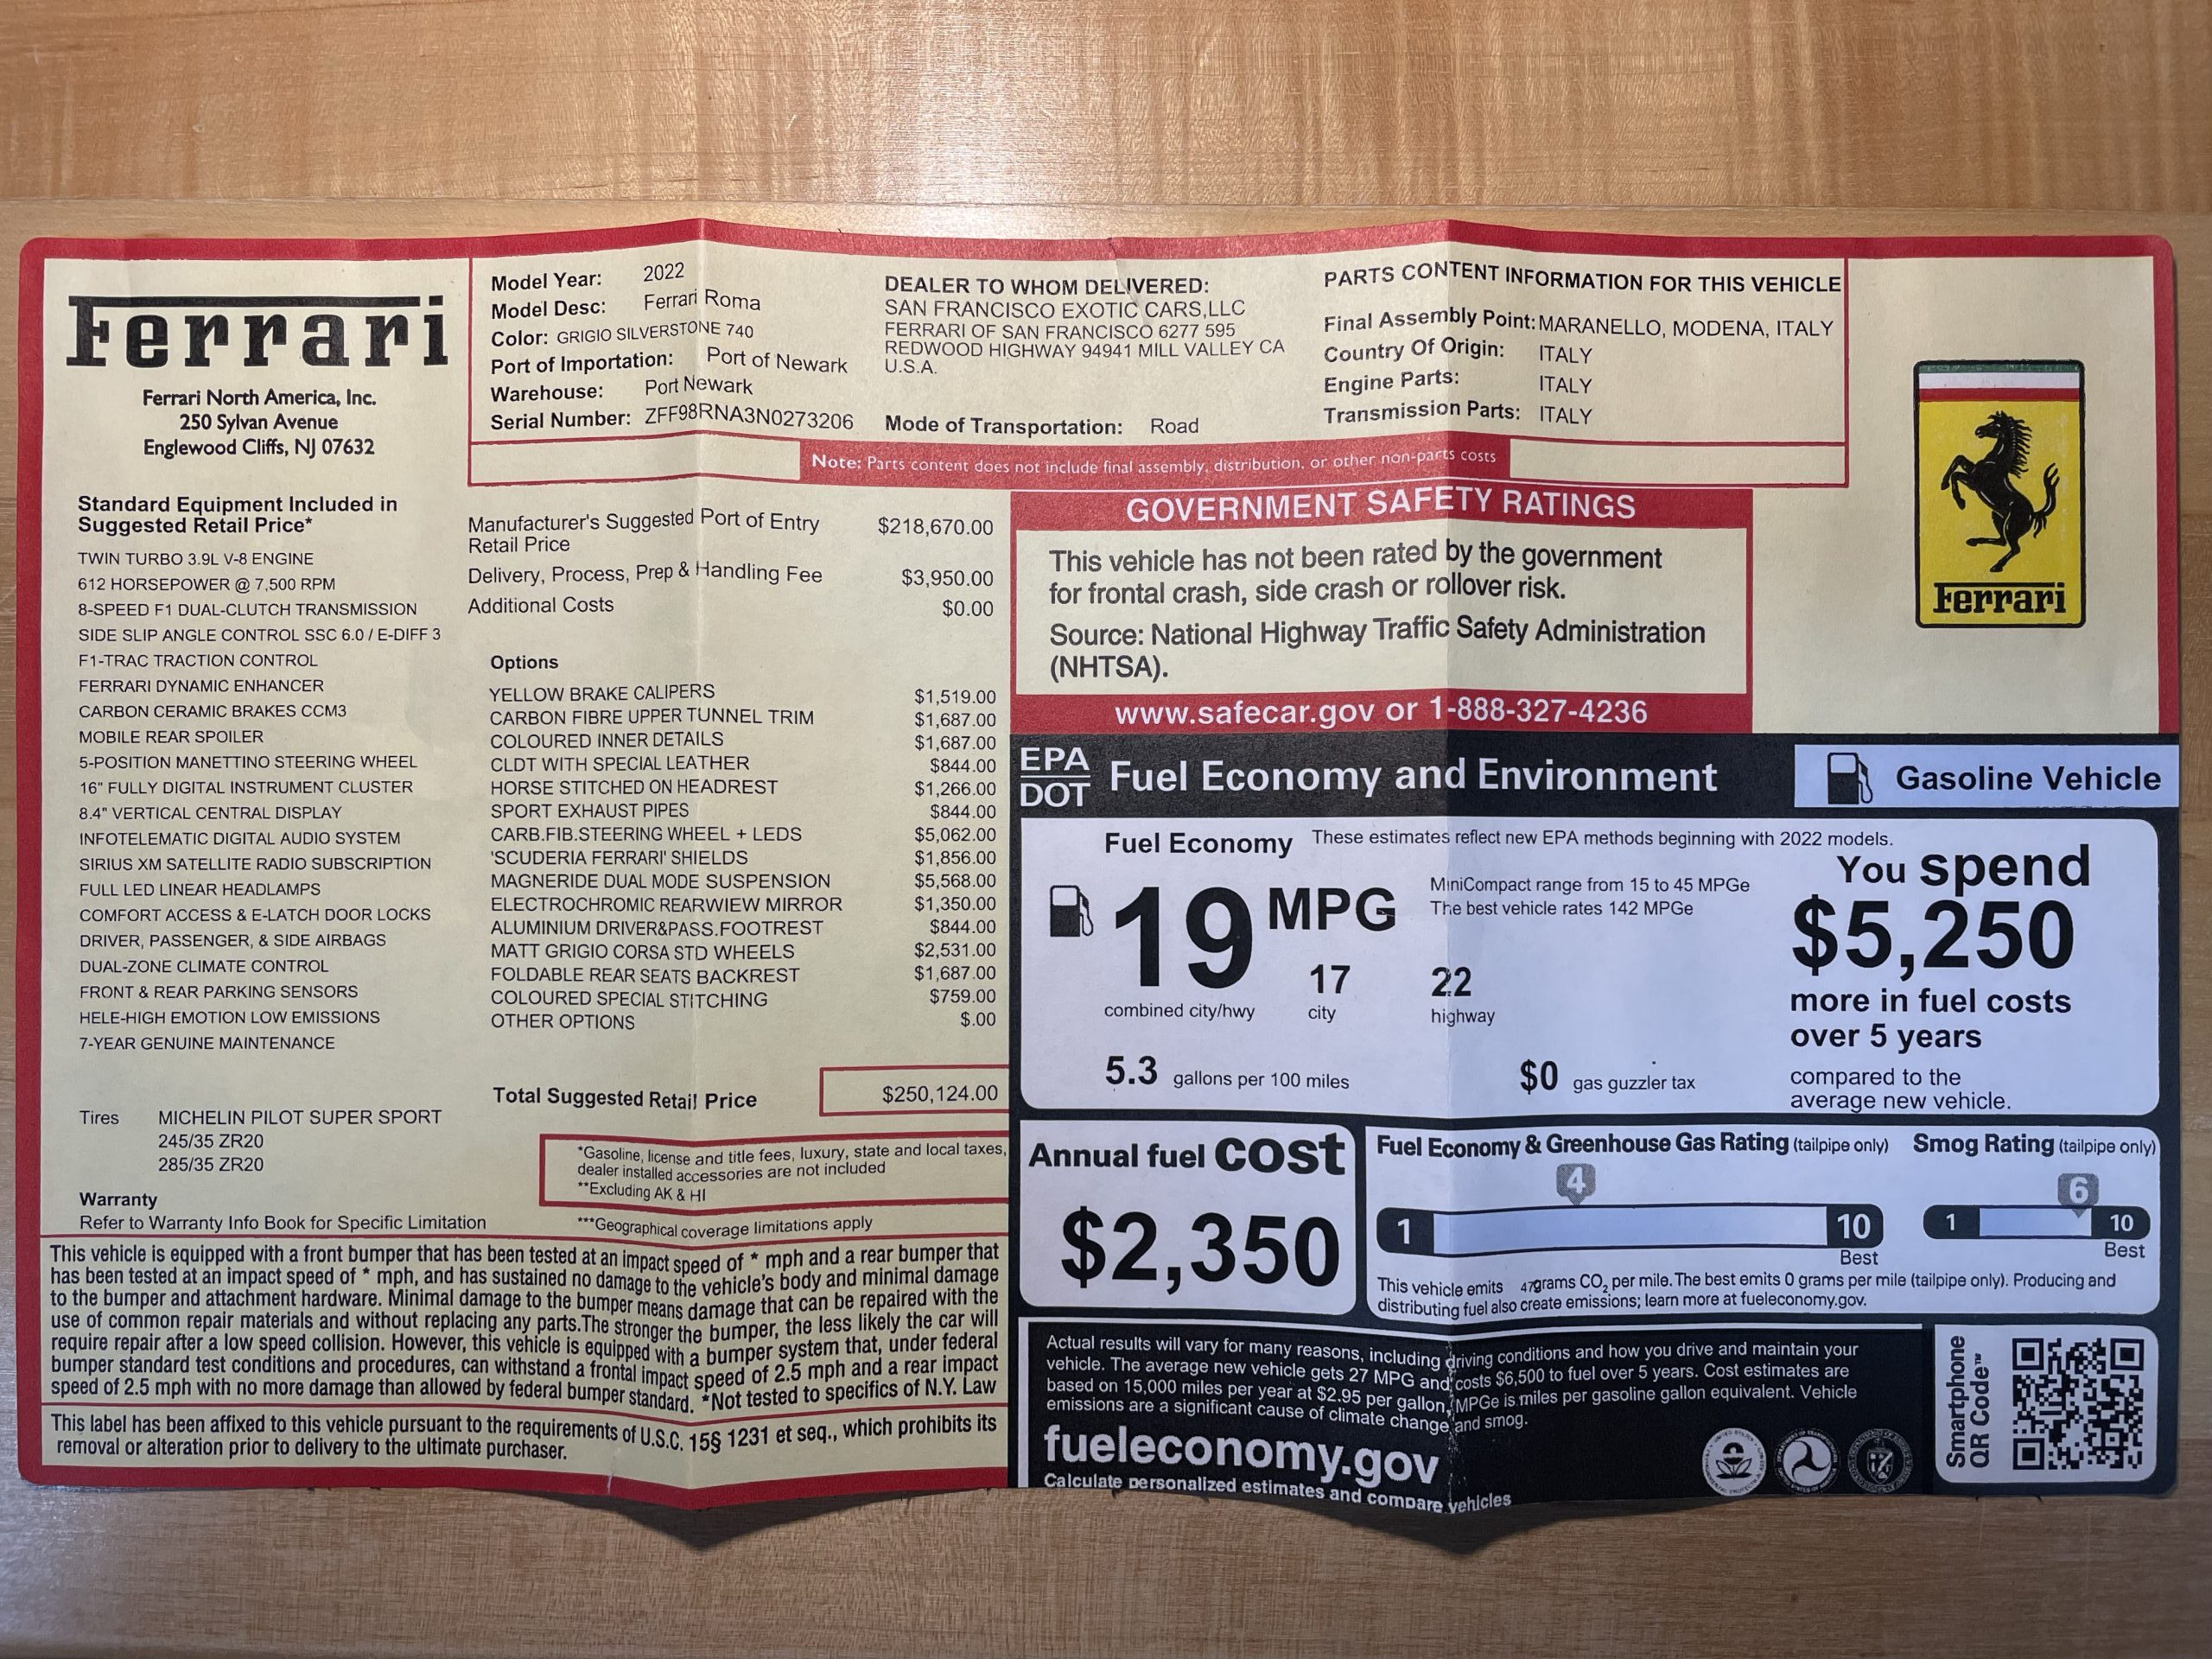
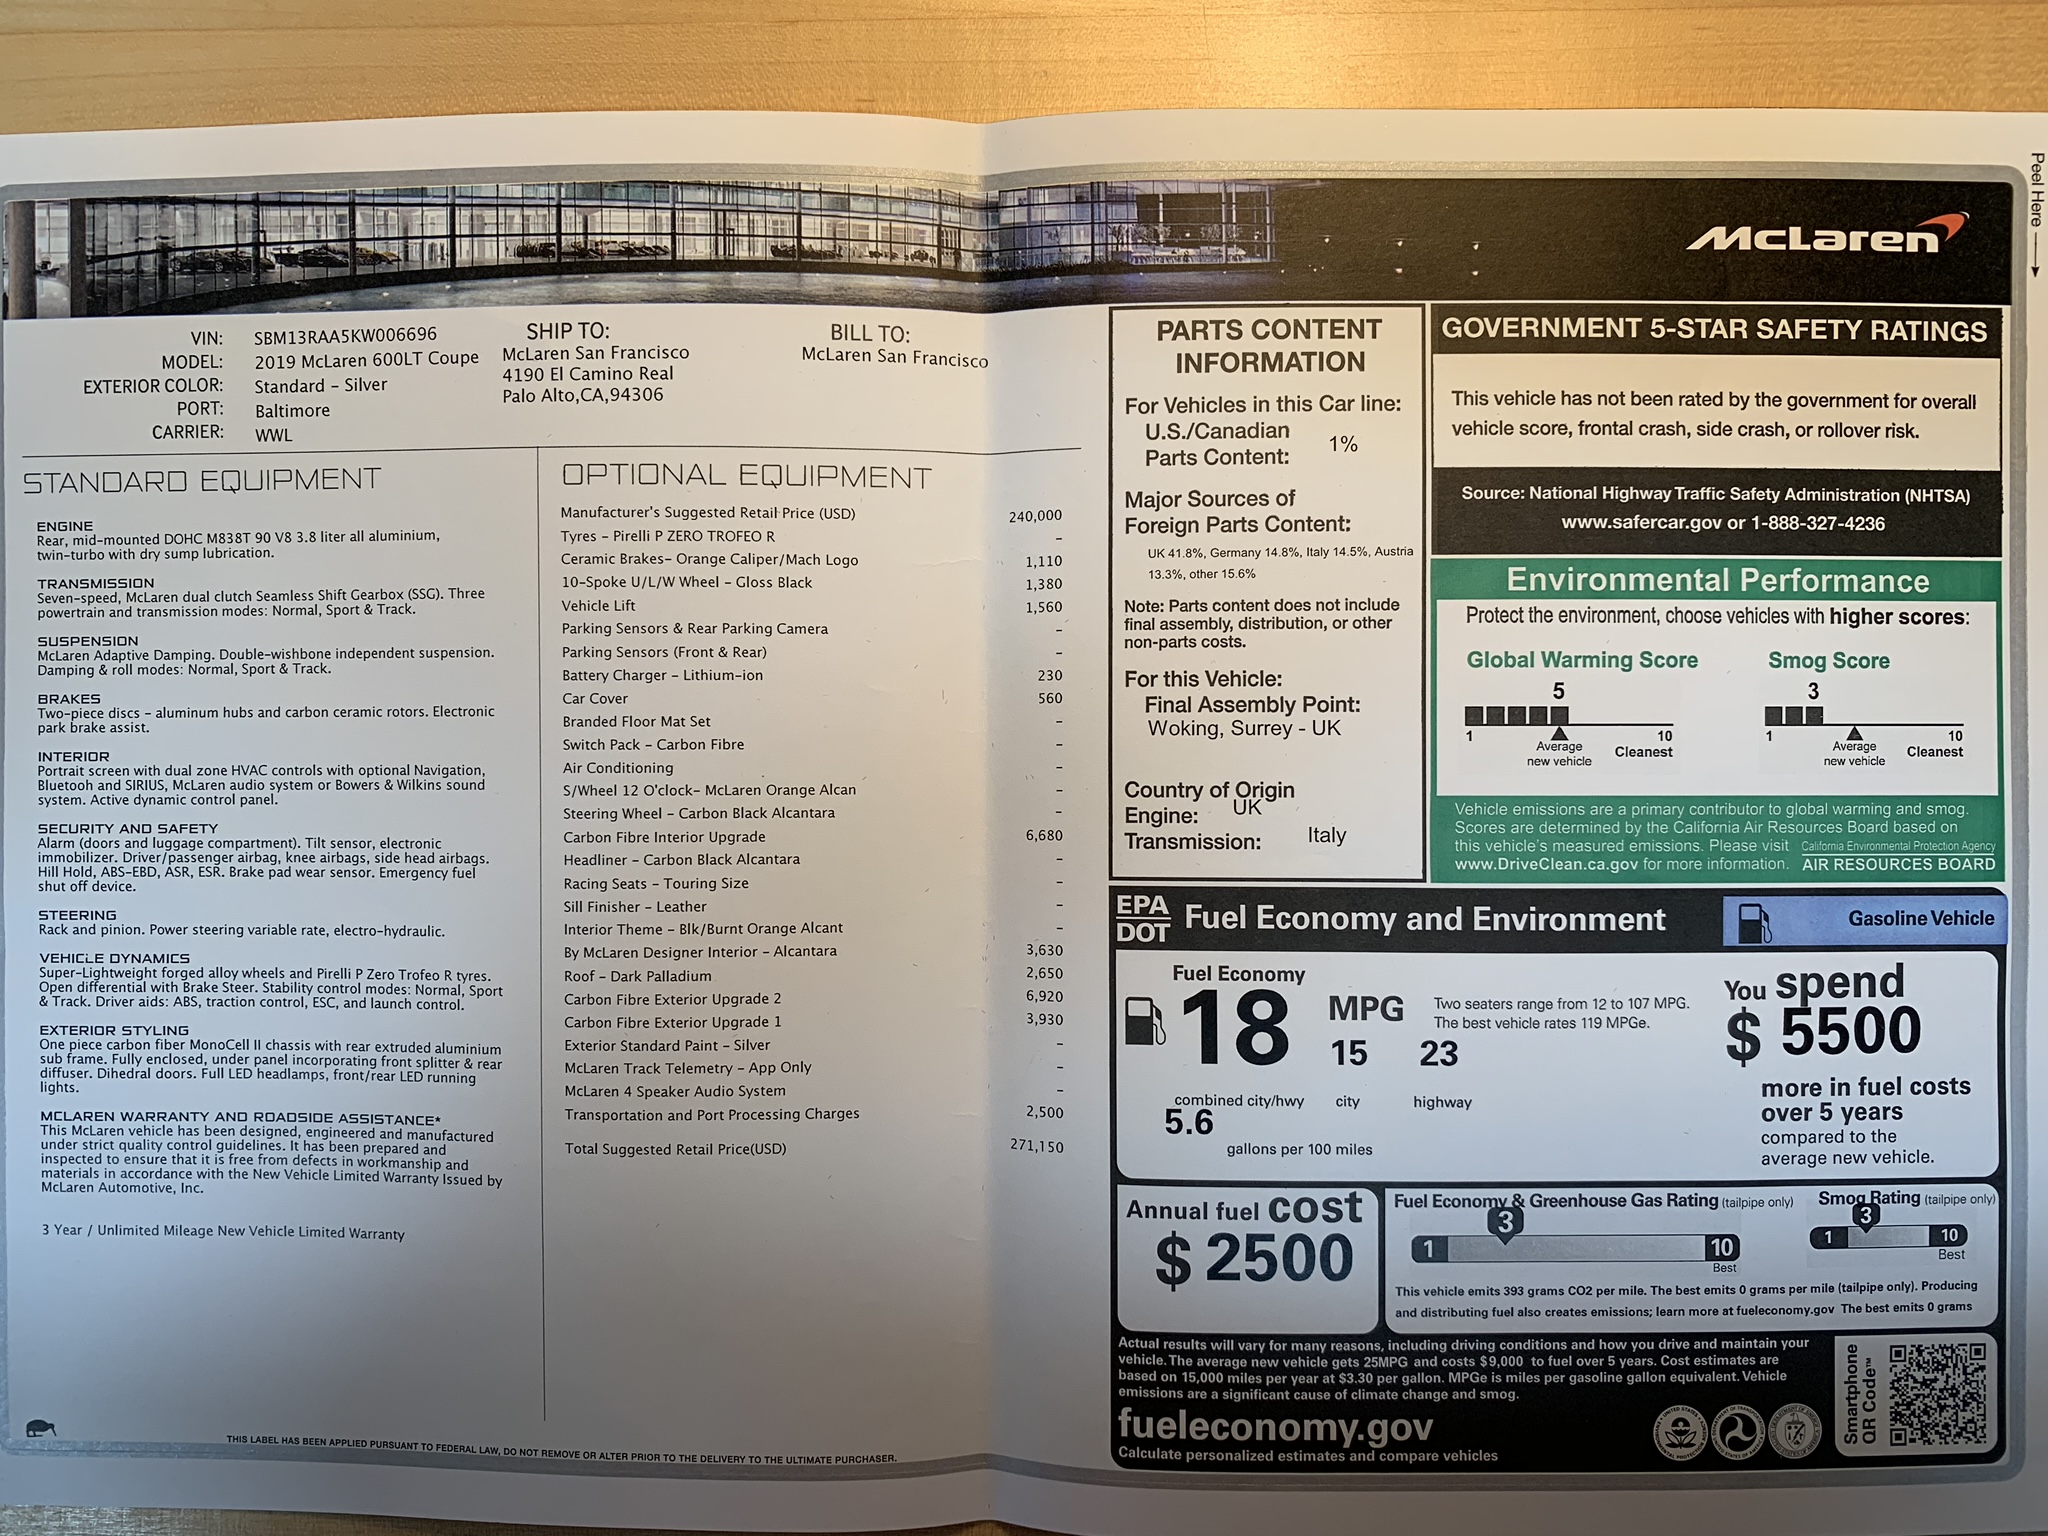
Take photos of items that are included in the sale, such as the keys, extra parts and spare tire. Take clear photos of the build sheet, factory window sticker and service records (but with personal information crossed out). Include photos of individual pages for manuals, documentation and recent service work.
You may use the license plate blockers below.
Videos
A walk-around video is a 360 video recording in which the seller shows the color, design and features of a Listing for sale. It is an excellent tool for showcasing your Listing and providing an easy reference of its main features and any notable flaws. It also gives bidders the opportunity to assess the overall condition of the Listing with the benefit of sound and movement. Here are some tips for recording a great walk-around video.
When recording footage of the exterior, it would be helpful to include:
- A 360 perspective of the body of the vehicle as you walk around it. This includes shots of the vehicle doors, windows, tires, and front and back of the vehicle.
- Footage of unique or desirable features, like special paint finishes, hood ornaments, wraps, emblems, etc.
- Footage of exterior car accessories, modifications and custom work, such as a front splitter, decals, canards, custom rims, etc.
- Close-up shots of any flaws on the exterior, like scratches or paint issues.
When recording a walk-around video for a vehicle interior, make sure to include:
- Footage of all seats, including close-ups of any flaws on the upholstery.
- Close-ups of the instrument cluster, including the odometer reading.
- Footage of the center console.
- Footage of the trunk.
- Remove any items or personal belongings from the trunk before recording to give bidders a better sense of its spaciousness.
- Demonstrations of important features and interior accessories, like driver-aid systems, heads-up displays, etc.
- Start up the engine with the camera focused on the instrument cluster then record footage of the engine bay as the engine starts to idle. You can have someone start the engine while you record footage of the engine bay.
EXR offers Gold and Platinum Listing Programs to help sellers create listings on the site. These programs include professional photography services, a photo shoot, and up to 100 edited photos. Contact us for more information.

